This post contains affiliate links. Please read our disclosure policy.
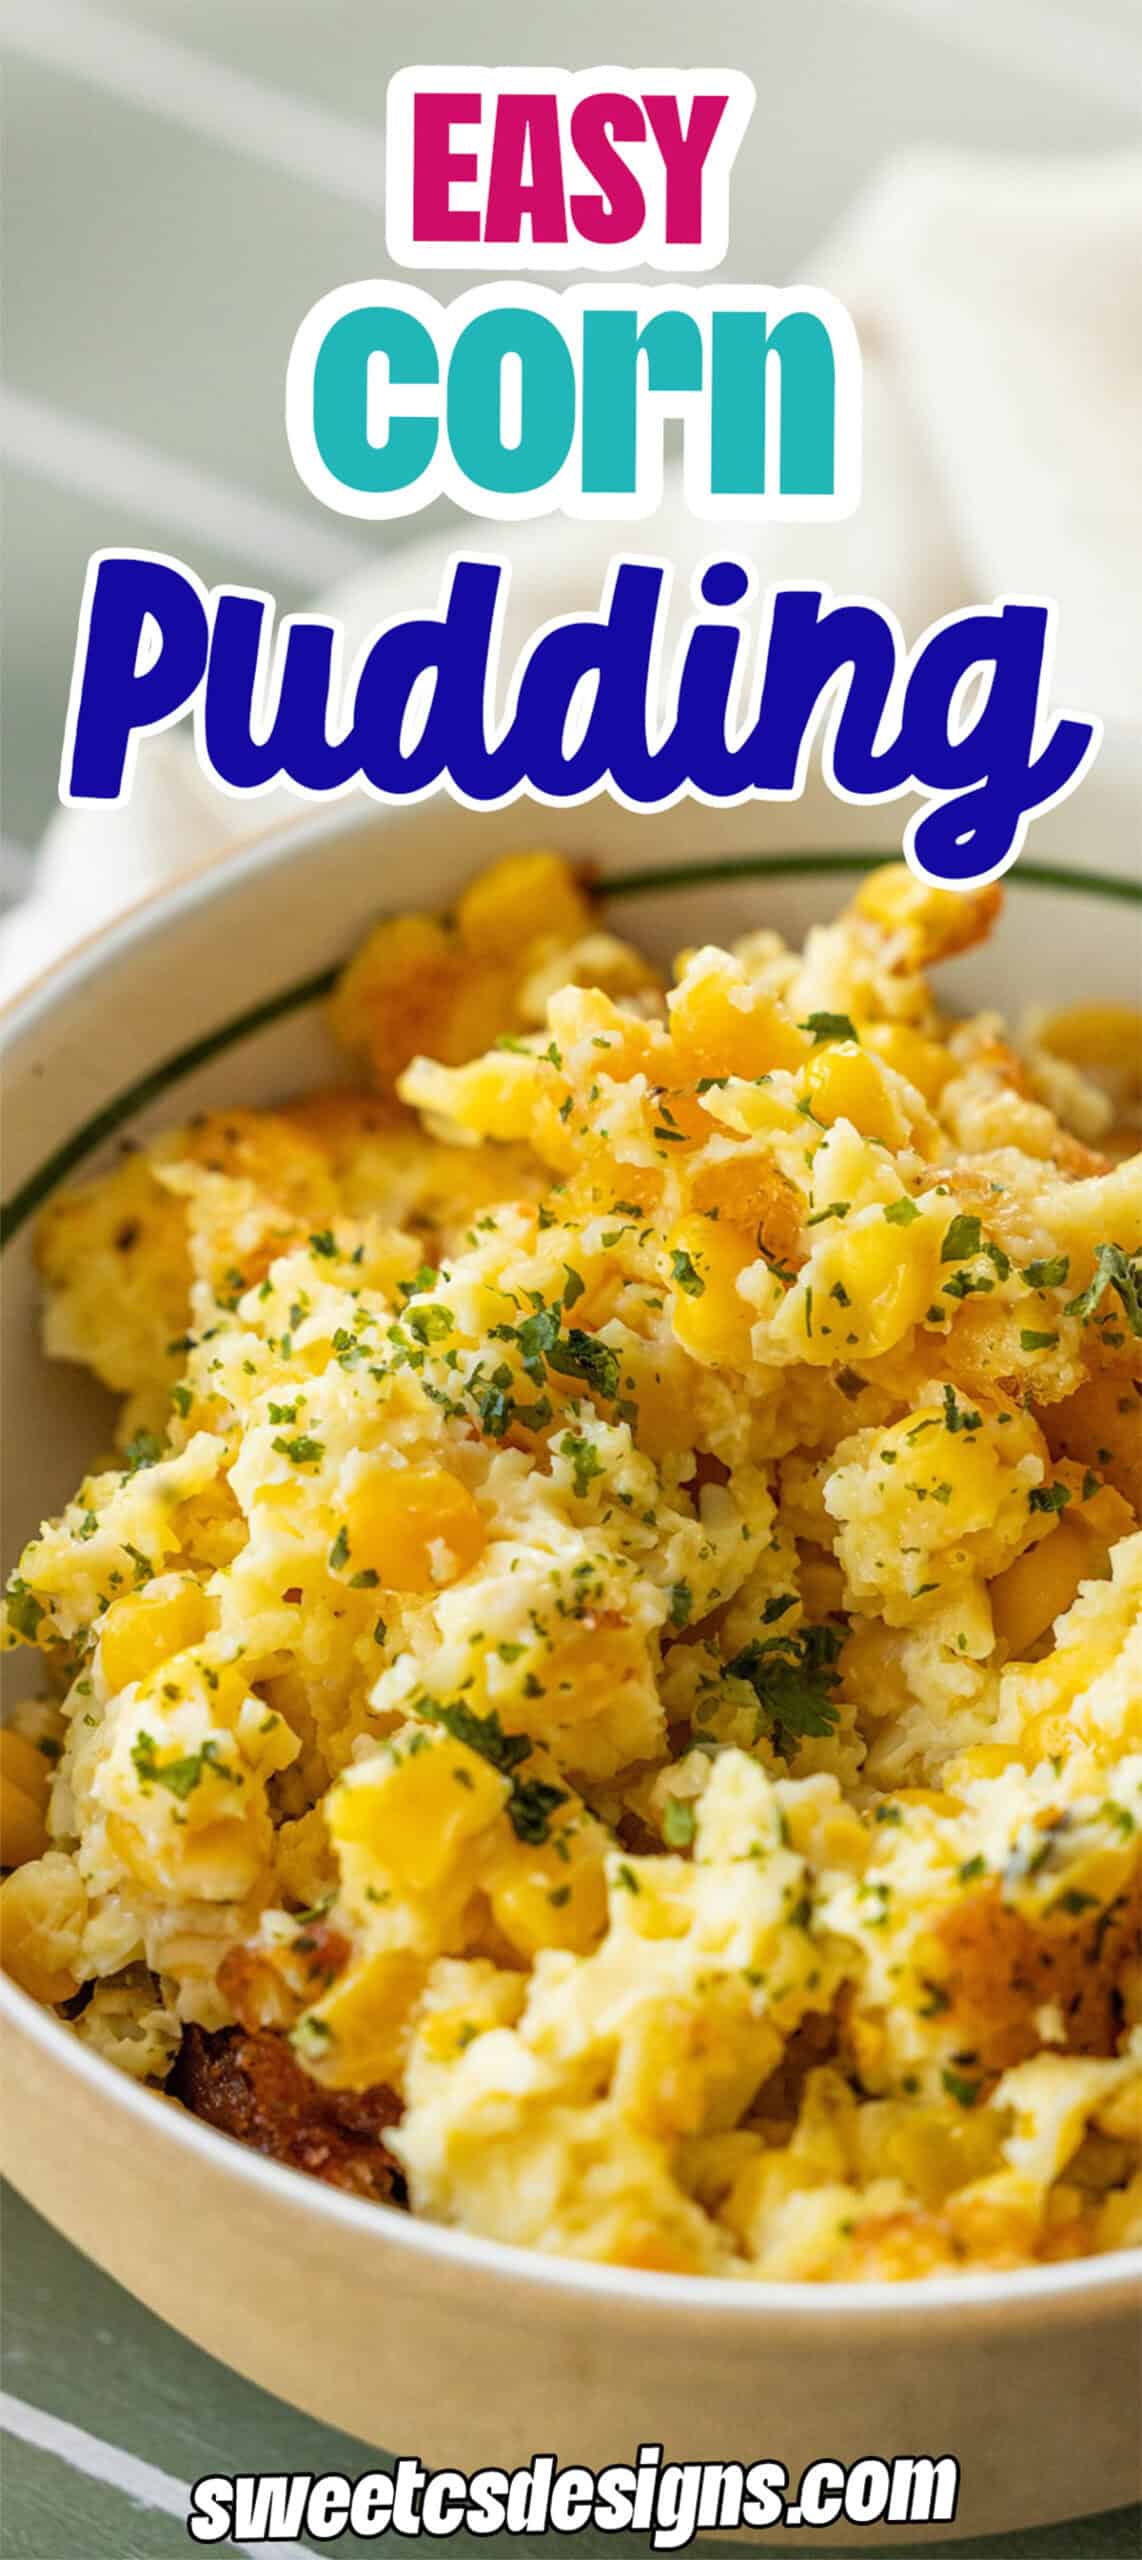
When I’m looking for an easy, quick to prepare and simple to serve Thanksgiving Side Dish, I always love to whip up this sweet and savory Corn Pudding Recipe!
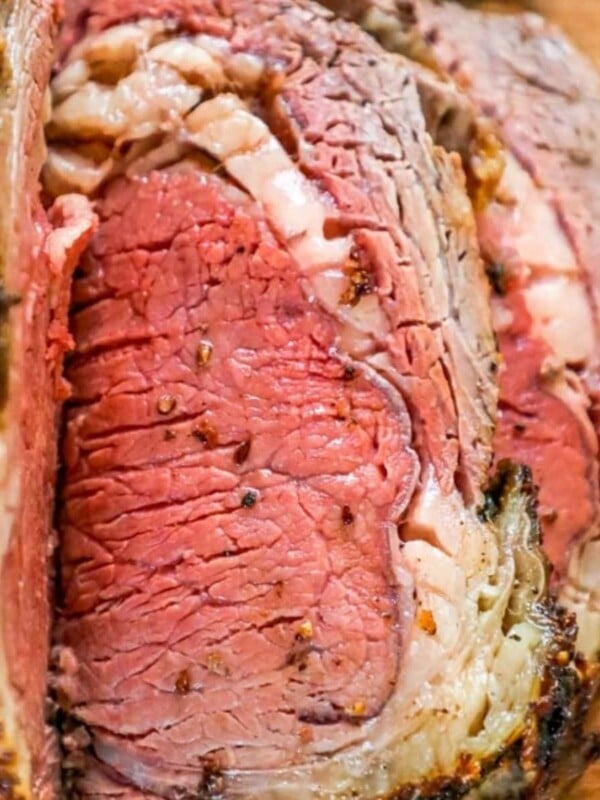
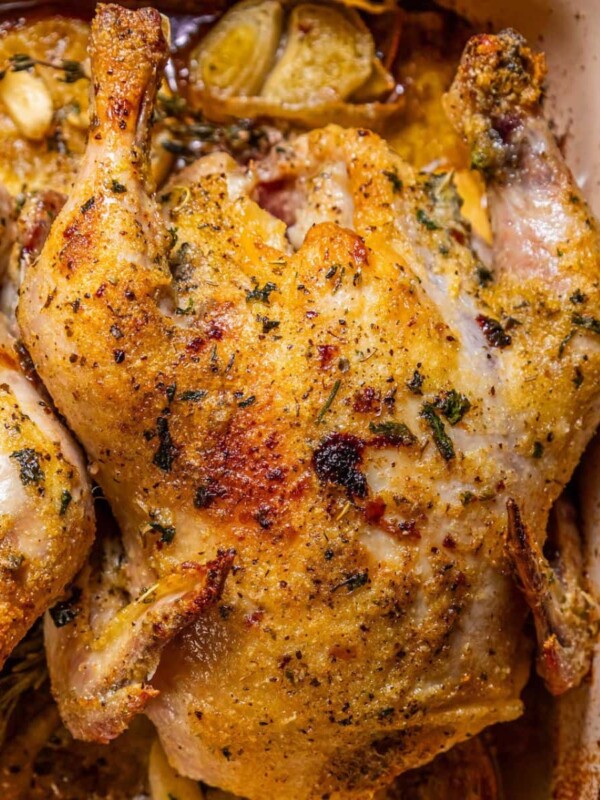
This simple side is bursting with corn flavor – you can use fresh, frozen, or dained canned corn and creamed corn for this recipe – and a few other basic pantry staples, so it is light on the wallet, and pairs perfectly with Roast Turkey or Ribeye Roast for the big meal!


Don’t want all the extras in a recipe post? We provide a skip to recipe button in the top left corner, as well as a clickable table of contents, just below, to help make this page easier to navigate.
At Sweet C’s, I add lots of tips in all of my recipes – because I am a home cook without any formal training, and I find I am more confident making dishes when I understand why it works, and what each ingredient means to the flavor of a recipe. My goal is for even the most beginner home cook to feel empowered in the kitchen.
Table of Contents
How to Make Corn Pudding
Corn pudding is super simple to prepare and bake – it is perfect for an easy Thanksgiving side dish!
Corn Pudding Ingredients
To make this recipe, we will need the following ingredients:
- 1 (15.25 oz) can whole-kernel corn (drained) – provides texture and bite, adding little pops of sweetness throughout the pudding. The whole kernels balance the creamy custard base with a pleasant chew.
- 1 (14.75 oz) can cream-style corn – creates the rich, custard-like texture that defines corn pudding. It adds natural starch from the corn, helping the mixture thicken and bind, and contributes sweetness and moisture.
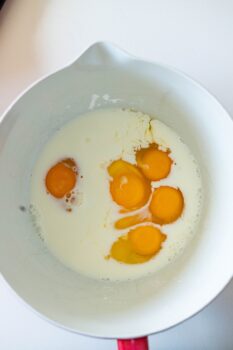
- 3 large eggs – act as the structure and binding agent, holding everything together as it bakes. The eggs set into a soft custard, giving the pudding its smooth, cohesive texture.
- ¼ cup granulated sugar – enhances the natural sweetness of the corn and rounds out the flavor. It balances the salt and butter without making the pudding overly sweet.
- ? cup milk – adds moisture and lightens the texture so the pudding stays creamy instead of dense. Milk also helps the cornstarch and eggs blend smoothly.
- ? cup melted unsalted butter – provides richness and flavor, giving the pudding a buttery aroma and soft, velvety mouthfeel. The fat from the butter also helps the top brown evenly.
- 1 tablespoon cornstarch – acts as a thickener, stabilizing the custard and preventing the pudding from separating as it bakes. It ensures a creamy but sliceable consistency.
- 1 teaspoon salt – balances the sweetness and enhances the flavor of the corn, butter, and eggs. Without enough salt, the pudding can taste flat.
- ½ teaspoon pepper – adds a subtle warmth and depth that keeps the pudding from being one-note sweet. It highlights the savory undertones and complements the corn’s natural flavor.
Steps to Make Corn Pudding
Once you’ve gathered your ingredients, we will use the following steps:

Mix Eggs, Cornstarch, and Milk
In a large bowl, whisk eggs, cornstarch, and milk until thoroughly combined and lump-free.

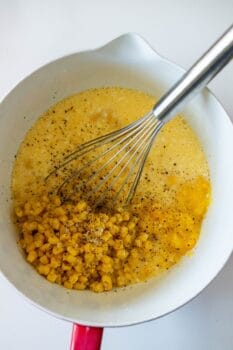
Wisk in Corn
Add creamed corn and drained corn and whisk in.
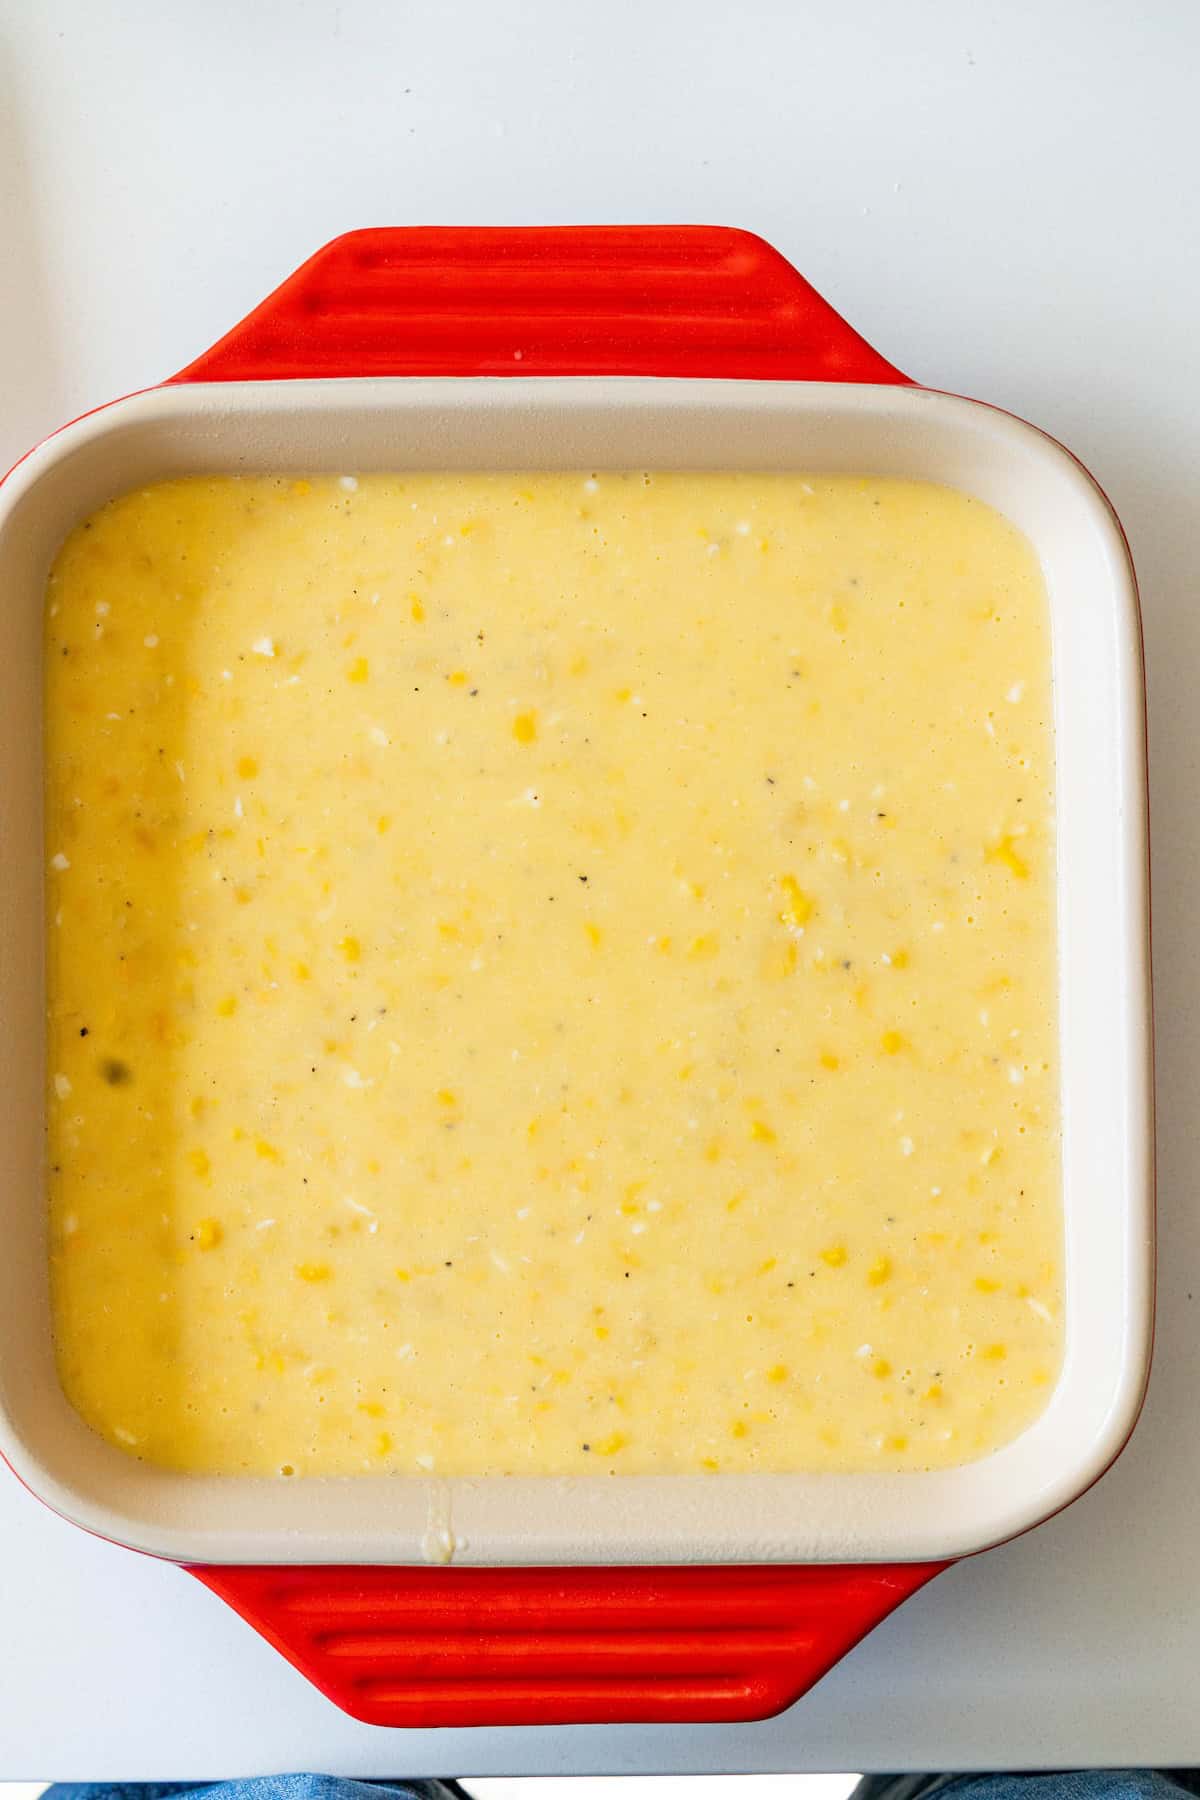
Add to Prepped Pan
Add mixture to a well-greased pan and bake about 35 minutes until lightly golden.
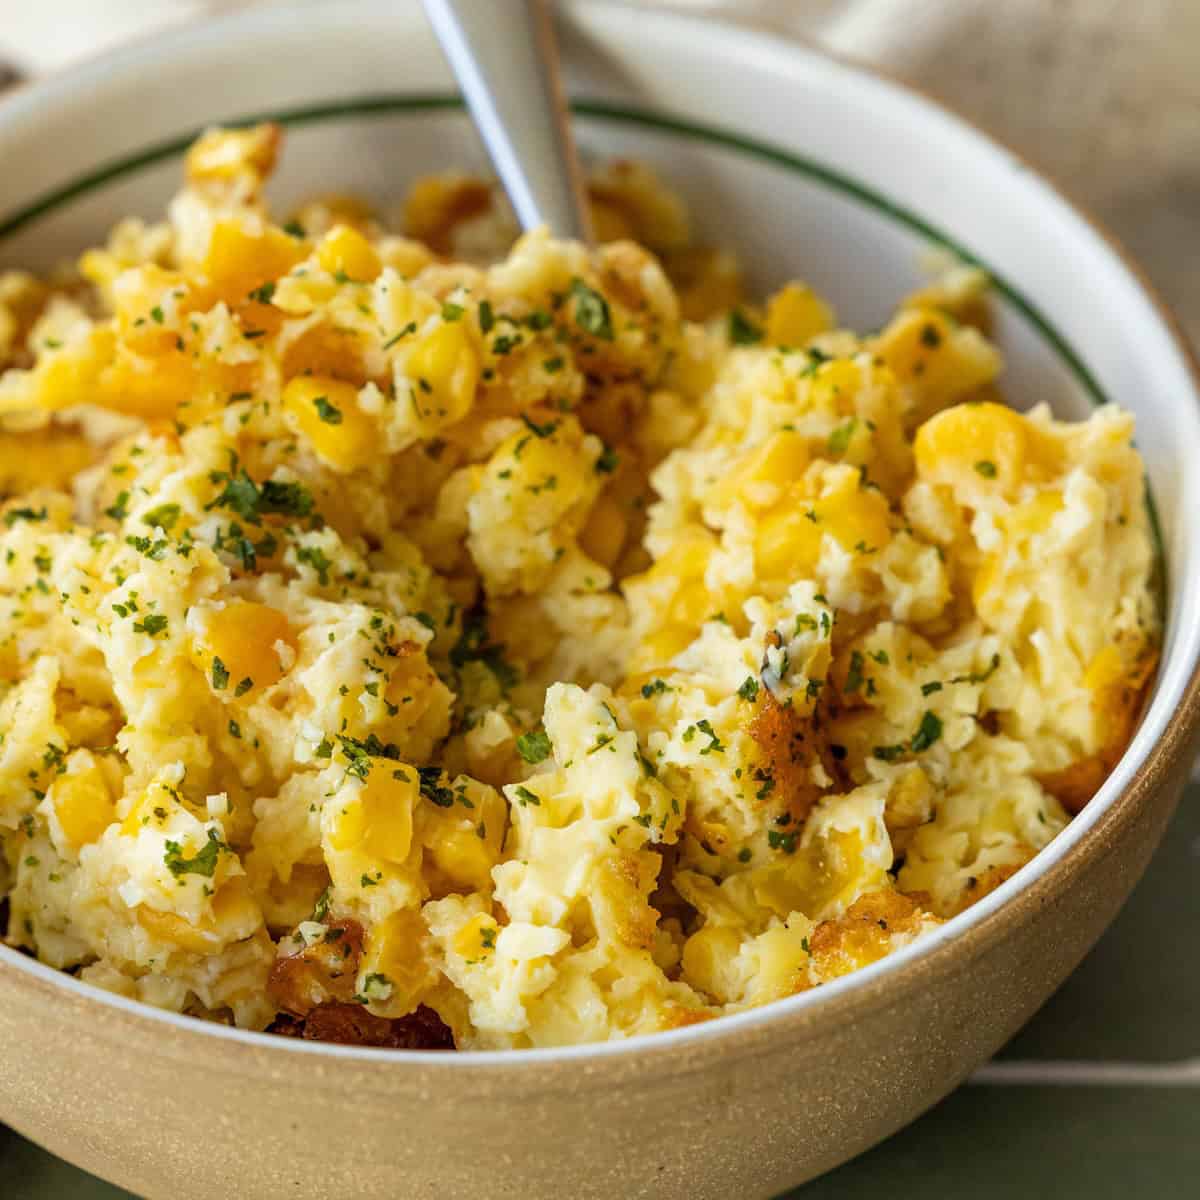
Serve and Enjoy!
Scoop from warm dish and serve – enjoy!
Tips and Tricks for Perfect Corn Pudding
Use Creamed and Whole Corn: Use both cream-style and whole-kernel corn for the best balance of texture and flavor. The cream-style makes it creamy and custardy, while the whole kernels add little pops of sweetness. If using frozen or fresh corn, thaw or cook it first and drain well to avoid extra liquid.
Keep Room Temperature: Keep ingredients at room temperature before mixing so they blend evenly. Cold ingredients can cause the custard to bake unevenly.
Melt Butter: Melt the butter completely before mixing. Warm, melted butter blends smoothly and helps the pudding bake up tender and rich.
Don’t Overmix: Don’t overmix the batter. Once everything is combined, stop stirring. Overmixing can make the pudding dense instead of light and silky.
Make it Softer: Add a little extra milk or cream for a softer pudding, or use a bit less if you want a firmer, sliceable texture.
Make Less Sweet: If your corn is very sweet, reduce the sugar slightly. For a savory version, cut the sugar in half and add a pinch of cayenne, paprika, or even shredded cheddar.
Use a Water Bath: Use a water bath if you want a smoother, more custard-like texture. Place the baking dish inside a larger pan filled halfway with hot water before baking.
Don’t overbake. The pudding should be just set in the center with a slight jiggle. Overbaking can make it dry and tough.
Let Rest: Let the pudding rest for at least 10–15 minutes after baking. This helps it finish setting and makes it easier to serve.
Season Well: Season generously with salt and pepper to balance the sweetness.
Add-In Ideas: Add-ins like caramelized onions, chopped herbs, or crumbled bacon give it extra flavor and variety.
Serve Warm: Serve warm, not piping hot, so the flavors can develop and the texture stays creamy.
Reheat Leftovers: Corn pudding reheats beautifully — cover it with foil and warm in a 325°F oven until heated through. It’s just as good the next day.
Corn Pudding FAQs
Yes. Fresh or frozen corn gives a slightly brighter flavor, while canned corn works perfectly for convenience. If using frozen corn, thaw and drain it before adding. Always include cream-style corn for the creamy custard texture that defines the dish.
It likely needed more time to bake or the ratio of liquid to thickener was off. Make sure the pudding is set around the edges and only slightly jiggly in the center before removing from the oven. Let it rest at least 10–15 minutes before serving so it can finish setting.
Yes. You can assemble it up to a day in advance, cover, and refrigerate. When ready to serve, bake just before mealtime or reheat gently at 325°F until warmed through. It’s an excellent make-ahead side for holidays.
Don’t overbake — check early, since ovens vary. Also be sure not to skimp on milk, butter, or cream-style corn, since these are what keep the pudding soft and moist.
Absolutely. Reduce the sugar, add shredded cheddar cheese, chopped jalapeños, or even cooked bacon. A touch of smoked paprika or cayenne also balances the sweetness beautifully.
Yes. Let it cool completely, then wrap tightly in plastic wrap and foil. Freeze for up to three months. Thaw overnight in the refrigerator and reheat, covered, at 325°F until warmed through.
Corn pudding has a custard-like, spoonable texture, while cornbread casserole (or corn casserole) includes corn muffin mix, which makes it more bread-like and fluffy.
The edges should be golden brown and the center should barely jiggle when shaken. A knife inserted near the center should come out mostly clean but slightly moist.
Yes, just use a larger baking dish and increase the baking time slightly. Check for doneness toward the end to avoid overbaking.
Store covered in the refrigerator for up to five days. Reheat in the oven at 325°F or in the microwave until warm. It’s also delicious cold the next day.
What to Serve With Corn Pudding
If you love this easy recipe please click the stars below to give it a five star rating and leave a comment! Please also help me share on Instagram, Facebook, and Pinterest!
Share on Facebook
SharePin this now to find it later
Pin ItFollow on Instagram
Corn Pudding Recipe

Ingredients
- 1 15.25 oz can whole-kernel corn (drained)
- 1 14.75 oz can cream-style corn
- 3 large eggs
- ¼ cup granulated sugar
- ⅓ cup milk
- ⅓ cup melted unsalted butter
- 1 tablespoon cornstarch
- 1 teaspoon salt
- ½ teaspoon pepper.
Instructions
- Preheat oven to 350°F and grease a 9×13-inch baking dish.
- In a large bowl, whisk 3 eggs, 1/4 cup sugar, 1/3 cup milk, 1/3 cup melted butter, and 1 tablespoon cornstarch until smooth.
- Stir in drained canned whole-kernel corn, and can of creamed corn, salt, and pepper.
- Pour into the dish and bake for 45-55 minutes, until the edges are golden and the center is set but slightly jiggly.

- Rest 10–15 minutes before serving.
Nutrition
Nutrition information is automatically calculated, so should only be used as an approximation.