This post contains affiliate links. Please read our disclosure policy.
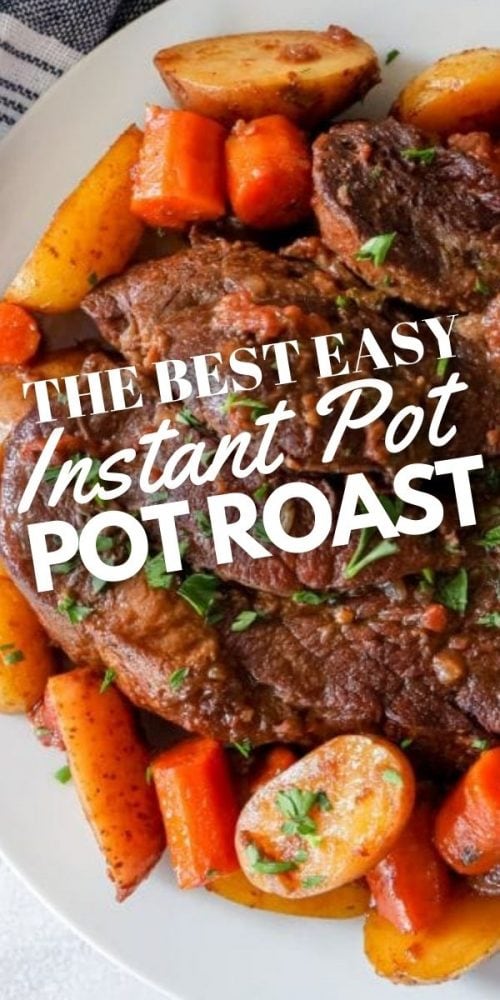
This Instant Pot Pot Roast Tastes Like It Cooked All Day: Instant Pot pot roast is my favorite way to get that slow-cooked, comfort-food vibe on a weeknight – we’re talking tender beef, carrots and potatoes, and rich gravy… without waiting all day. It’s the kind of dinner that makes the whole house smell amazing, and it’s basically guaranteed to make everyone ask for seconds.
This recipe is designed to be foolproof: a quick sear for flavor, pressure cooking for tenderness, and an easy gravy right in the pot. If you’ve ever had pot roast turn out tough, bland, or watery, this method fixes all of that- because the little details (sear + deglaze + cook time + natural release) are what make the difference. This is The Easiest Pot Roast You’ll Ever Make!


Don’t want all the extras in a recipe post? We provide a skip to recipe button in the top left corner, as well as a clickable table of contents, just below, to help make this page easier to navigate.
At Sweet C’s, I add lots of tips in all of my recipes – because I am a home cook without any formal training, and I find I am more confident making dishes when I understand why it works, and what each ingredient means to the flavor of a recipe. My goal is for even the most beginner home cook to feel empowered in the kitchen.
Table of contents
How to Make Instant pot Pot Roast
If you love pot roast – but don’t want to wait around all day while it slowly braises in a dutch oven or slow cooker – this recipe will be one of your next favorite dishes. We’re using our Instant Pot pressure cooker to cut the cook time for a classic pot roast, carrot, and potato dinner to under just an hour of cooking – making this family friendly dinner one you can whip up without a ton of notice, and can even be made from-frozen.
Also, check out my web story about this pot roast!
Pot Roast Instant Pot Ingredients
To make this recipe, you will need:
- 2 tbsp butter – butter brings a rich, delicious flavor to our roast as we brown it before cooking – this can easily be swapped for oil, but we love the flavor that butter brings to browning roast in butter before cooking roast.
- 3-5 pound boneless chuck roast – chuck roast is a cheap cut that takes a long time to break down to be soft and tender, and cooking in an instant pot brings out a perfect easy to chew, tender texture the whole family will love.
- 1 large onion, cut into fourths – onion brings an earthy, slightly sweet aromatic kick to roasts and helps round out the flavor of a rich meaty dinner.
- 4 large carrots, peeled and chopped into large 1-2″ chunks – carrots are a classic accompaniment to roast, the tender, sweet flavor helps cut through rich and meaty flavors of a roast.
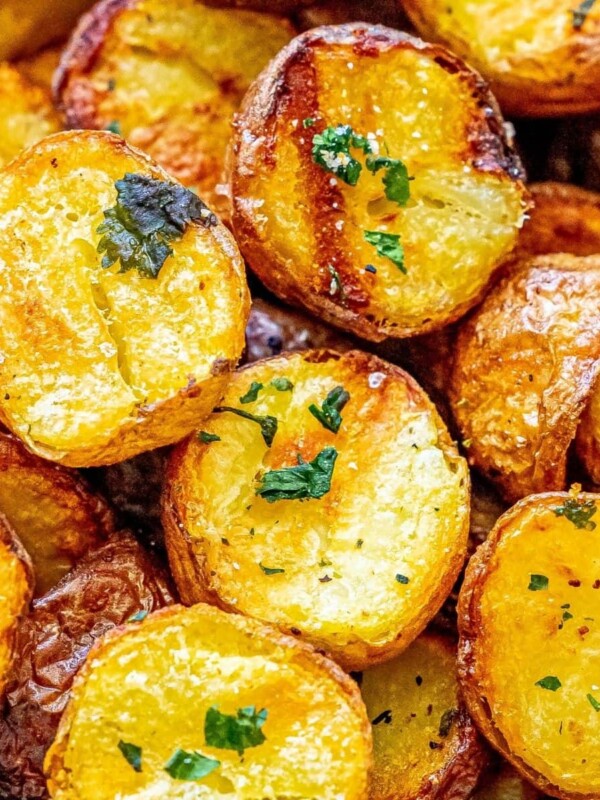
- 1 lb small boiler potatoes/yukon gold potatoes, halved – yukon gold potatoes will hold up to cooking and have a rich classic potato flavor that is great alongside beef.
- 4 stalks celery, rough chopped – celery is a great addition to roasts, as it adds a natural salty flavor as well as a fresh earthy kick.
- 6 cloves garlic, peeled (chop or toss in whole- up to you!) – I measure garlic by the cup, not the tablespoon, and am known to throw in tons of garlic – you can never get enough!
- 1 tsp fresh cracked black pepper
- 1 tsp celtic sea salt
- 1 tbsp Italian herbs seasoning
- 1-2 sprigs rosemary
- 1 cup good quality red wine – use a wine whose flavor you like, but isn’t overly expensive.
- 1 1/2 cup beef stock – use a lower sodium beef stock so you can control the amount of salt in your dish, for the best results.
Step-by-Step Instant Pot Pot Roast
We will be following this method after gathering ingredients:
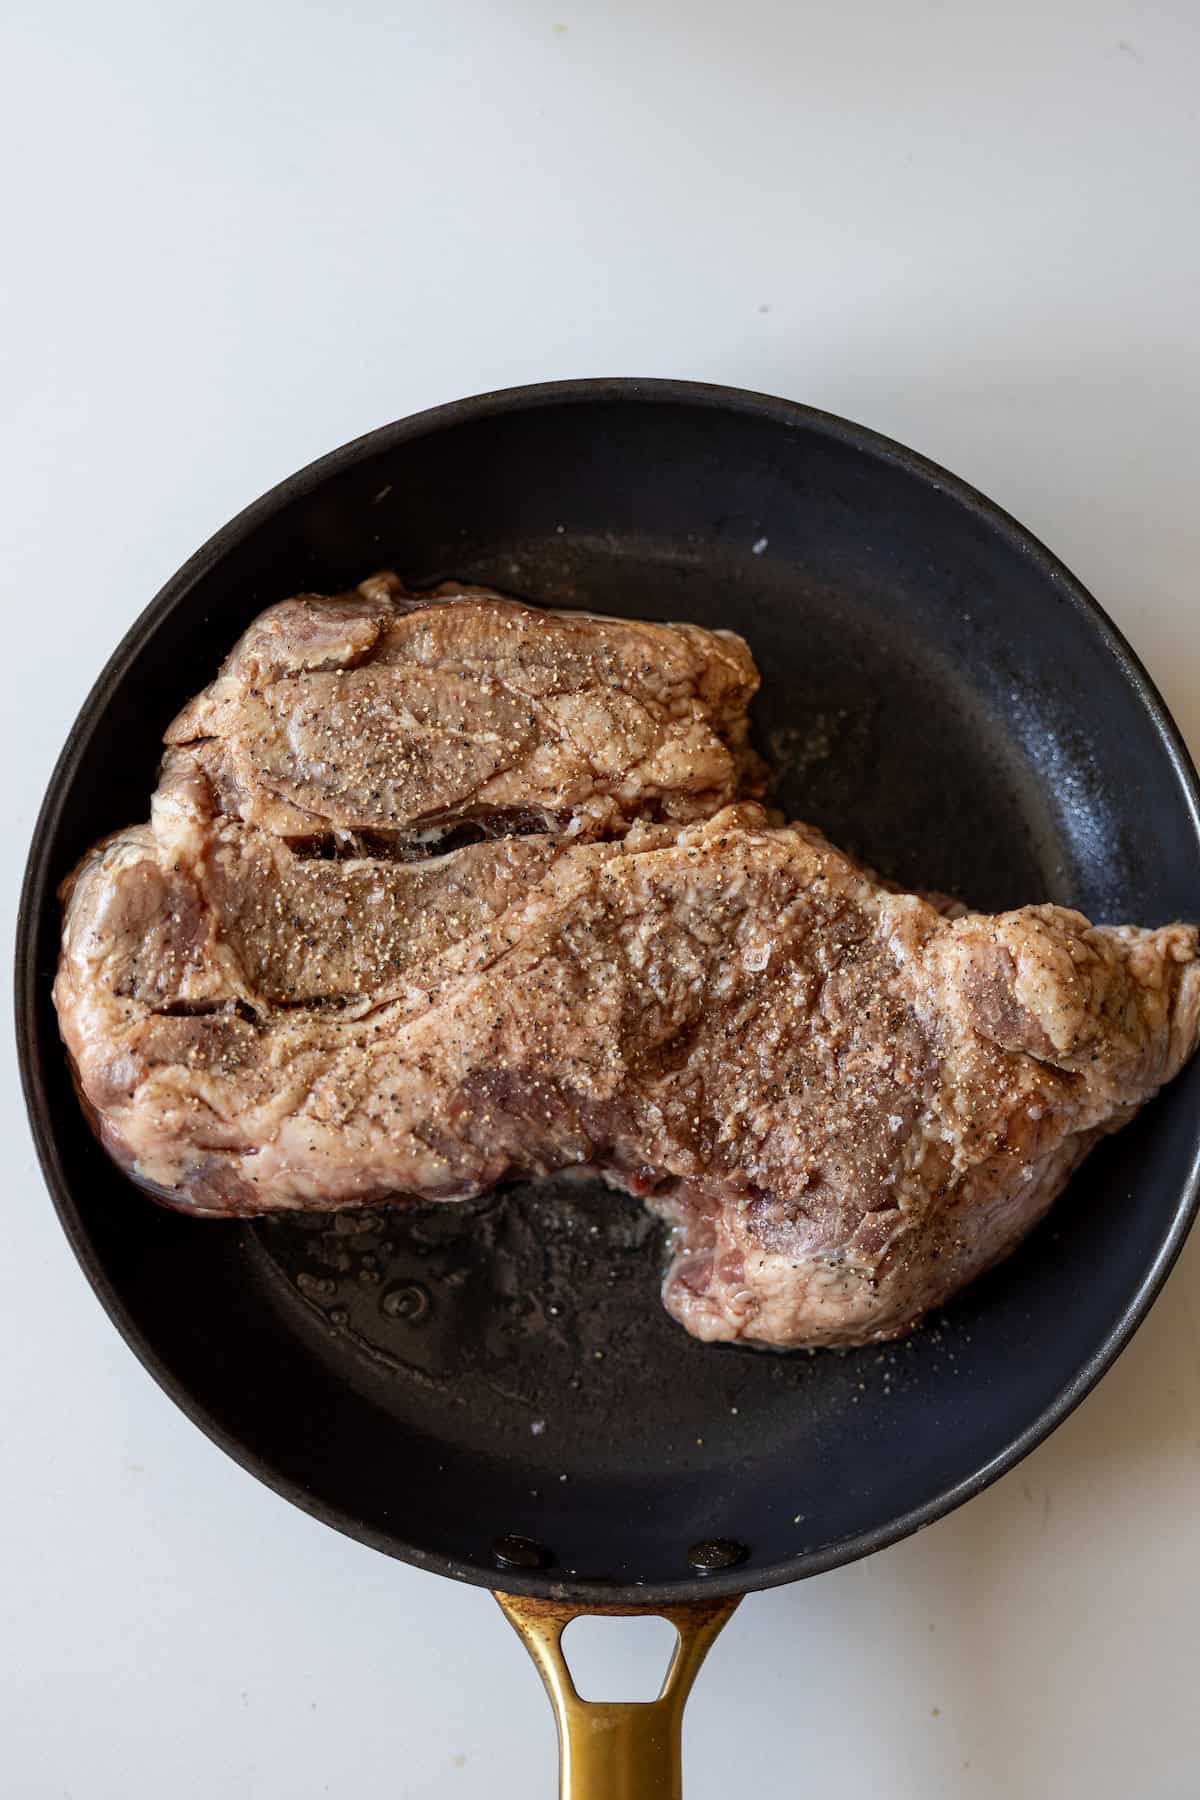
Brown Pot Roast
In your instant pot set to sauté, or a in a large skillet on the stove, melt butter. (If cooking roast from frozen, skip to step 4 and just brown vegetables – frozen roast will just stick to pan. Season roast with salt and pepper when you add to IP.)

Brown Vegetables
Add onion, celery, garlic, and carrots to Instant Pot. Brown and soften vegetables for 5-8 minutes.
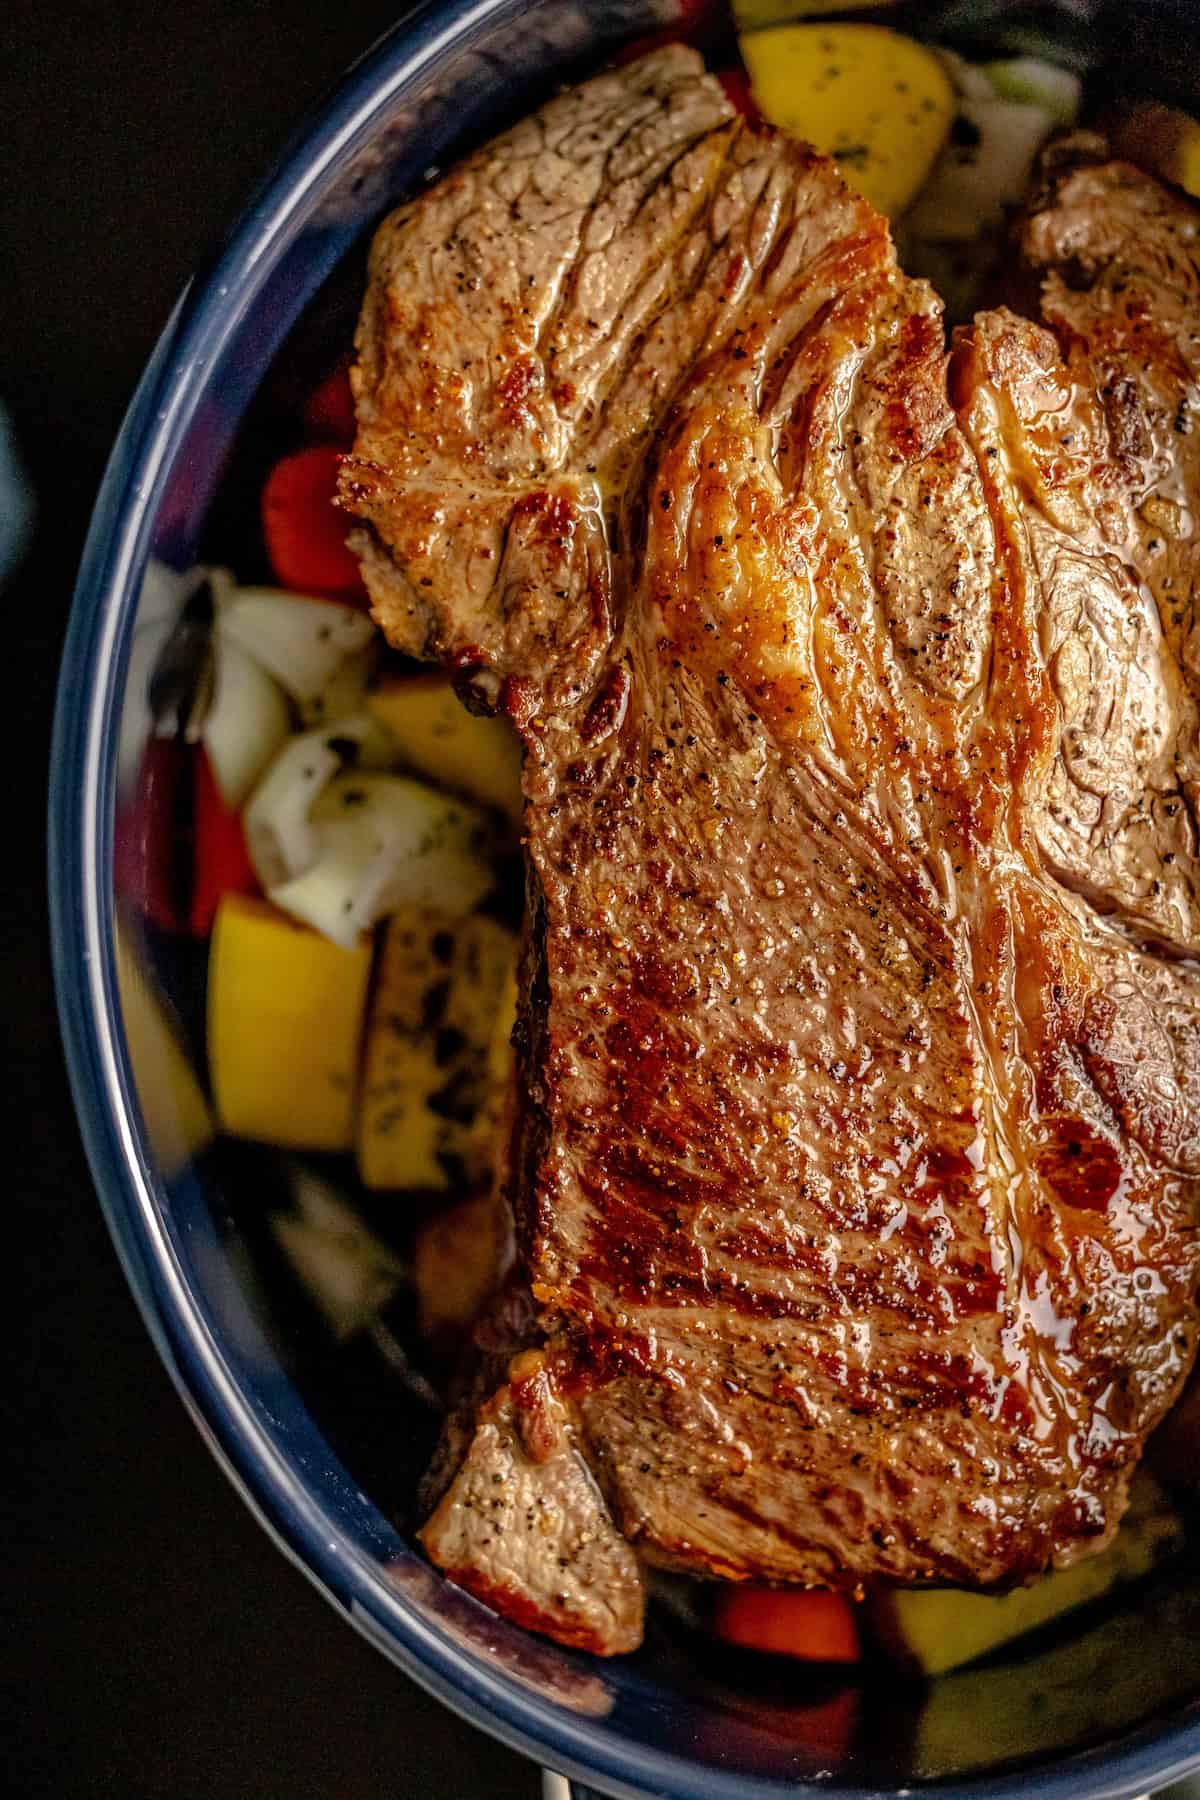
Cook
Add roast back to Instant pot, and add vegetables, potatoes, herbs, and seasonings.

Release & Serve
When Instant pot is done cooking, let naturally release, about 15 minutes.
The Gravy + Flavor Secrets You Need
Sear the roast first. This adds deep flavor and makes the gravy taste “slow cooked.”
Deglaze the pot. Scrape up browned bits with broth so you avoid a burn notice and boost flavor.
Use a chuck roast. It has the marbling needed to turn fork-tender under pressure.
Don’t quick release. A natural release helps keep the meat tender.
Add veggies later if you like them firm. You can pressure cook the roast first, then add carrots/potatoes for a short second cook.
Thicken gravy in the pot. Use cornstarch slurry after cooking for a glossy, restaurant-style gravy.
Cooking frozen pot roast. Generally, you don’t need to worry about changing your cooktime much in the instant pot if using a frozen roast – as it will thaw rapidly as the pot comes to pressure. This means you don’t need to change the time you set your Instant Pot to when you cook – but it will cook longer – so you’ll need to plan for extra time if you’re hungry waiting on dinner.
If your roast isn’t done. If your roast is a bit large, or you didn’t get a great seal, you might need to add a bit more cooktime. In the rare case it’s not tender after 45 minute pressure cook time, try an additional 5 minutes at high pressure and you should be all the way there.
Best Cut of Beef for Instant Pot Pot Roast
For the most tender, classic pot roast texture, chuck roast is the best choice. It has enough marbling and connective tissue to break down under pressure, which creates that fork-tender, “slow cooked” bite and rich flavor.
Other good options:
- Bottom round / rump roast: leaner, still works, but can turn drier-don’t overcook and slice thin.
- Brisket: delicious and flavorful, but a different texture (more sliceable than shreddy).
- Shoulder roast: similar to chuck, great if you find it.
Avoid:
- Sirloin roasts or very lean cuts – they don’t have enough fat/connective tissue to stay juicy under pressure.
Cook Time Chart by Roast Size
A reliable starting point is ~20 minutes per pound on High Pressure, then a natural release (at least 10–15 minutes). Thickness matters, so use this chart as a guide and add time if needed.
High Pressure Cook Times (plus Natural Release):
- 2 lb roast: 40–45 minutes
- 3 lb roast: 55–60 minutes
- 4 lb roast: 70–80 minutes
- 5 lb roast: 90 minutes
If it’s tough after cooking: it simply needs more time. Add 10-15 minutes on High Pressure, then natural release again.
Veggie tip: If you like firmer potatoes/carrots, cook the roast first, then add veggies for a short second cook (see below in gravy section).
How to Thicken the Gravy
The easiest way to get a rich, glossy gravy is to thicken it after the roast is done.
- Remove the roast and vegetables to a plate and tent with foil.
- Turn on Sauté and bring the cooking liquid to a simmer.
- Make a slurry: 2 tablespoons cornstarch + 2 tablespoons cold water (for a medium-thick gravy).
- Whisk the slurry into the simmering liquid a little at a time until thickened, 1–3 minutes.
- Taste and adjust seasoning (salt/pepper). Add a splash of broth if it gets too thick.
Optional flavor boost: Stir in a small knob of butter at the end for a silky finish.
Pot Roast Storage + Freezer Tips
Refrigerator:
- Store pot roast and gravy in an airtight container for up to 4 days.
- Keep meat in the gravy so it stays moist.
Freezer:
- Freeze for up to 3 months.
- For best texture, freeze sliced or shredded beef in gravy (and freeze potatoes separately if you’re picky about texture- potatoes can get a little soft after thawing).
Thaw + Reheat:
- Thaw overnight in the fridge when possible.
- Reheat gently on the stove over low heat (best) or in the microwave at 50-70% power. Add a splash of broth if needed.
Meal prep tip: Portion into containers with gravy so lunches stay juicy and reheat beautifully.
What to Serve With Pot Roast
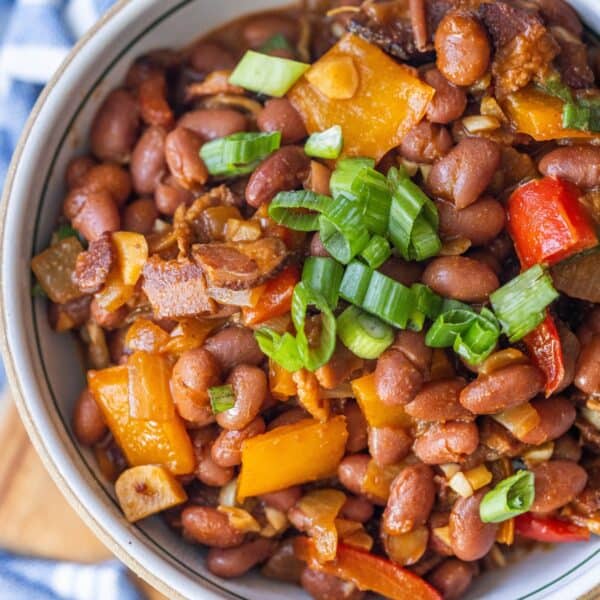

You can click here to see our complete side dish recipe archives.
Click here for our full dessert recipe index!
If you love this easy recipe please click the stars below to give it a five star rating and leave a comment! Please also help me share on Instagram, Facebook, and Pinterest!
Share on Facebook
SharePin this now to find it later
Pin ItFollow on Instagram
Only have 30 minutes to get dinner on the table? Sign up for my 30 minute dinner plans direct to your inbox!
Find and shop my favorite products in my Amazon storefront here!
Pressure Cooker Pot Roast

Equipment
Ingredients
- 2 tbsp butter
- 3-5 pound boneless chuck roast
- 1 large onion, cut into fourths
- 4 large carrots, peeled and chopped into large 1-2″ chunks
- 1 lb small boiler potatoes/yukon gold potatoes, halved
- 4 stalks celery, rough chopped
- 6 cloves garlic, peeled (chop or toss in whole- up to you!)
- 1 tsp fresh cracked black pepper
- 1 tsp celtic sea salt
- 1 tbsp Italian herbs seasoning
- 1-2 sprigs rosemary
- 1 cup good quality red wine
- 1 ½ cup beef stock
Instructions
- In your instant pot set to sauté, or a in a large skillet on the stove, melt butter. (If cooking roast from frozen, skip to step 4 and just brown vegetables – frozen roast will just stick to pan. Season roast with salt and pepper when you add to IP.)
- Pat roast dry with paper towels and generously season with salt and pepper.
- Add roast to pan and brown on all sides. Remove and set aside after browning.
- Add onion, celery, garlic, and carrots to Instant Pot. Brown and soften vegetables for 5-8 minutes.
- Remove vegetables from pot, set aside with roast, and deglaze Instant Pot with broth and wine, taking care to scrape away any browned bits on the bottom of the Instant Pot dish, as it won't seal if it has food stuck to the bottom.
- Add roast back to Instant pot, and add vegetables, potatoes, herbs, and seasonings.
- Close instant pot lid and set to seal.
- Set to high pressure for 45 minutes.
- When Instant pot is done cooking, let naturally release, about 15 minutes.
- Remove from Instant pot, slice, ad serve!
Nutrition
Nutrition information is automatically calculated, so should only be used as an approximation.
Instant Pot Chuck Roast FAQs
Boneless chuck roast is our choice for a tender pot roast.
Pot roast should be fork tender, but doesn’t necessarily fall apart when served. This recipe is for a fork-tender sliced, not fall-apart shredded roast.
Since this recipe cooks at pressure we don’t rely on temperature with a thermometer to tell when meat is cooked, since we will go over the 145 degree internal temperature guideline for food safety.
You pot roast will get to about 190 degrees internal temperature, which is when connective tissue and fat breaks down.
Your roast will be done after 45 minutes at pressure in an Instant Pot, when meat pulls back slightly with light pressure from a fork. It will be soft, and not yet soft enough to shred.
If it is still tough after release, cook an additional 5-8 minutes at pressure.
Plan on about 1/2 lb or 8 oz per person when meat is your main dish.
For the best flavor, and to keep meat from looking grey, we reccomend browning meat in a pan before adding to dutch oven with other ingredients.


Excellent recipe, made as directed and it turned out beautifully. Thanks!
So glad you loved it!
I used the amount of seasoning specified in the recipe, but I feel like it was diluted with all the liquid and could have used a little more. However, the timing was spot on (90 minutes for a 5-lb roast) and the meat was falling apart and the vegetables were soft but not too soft. Great recipe and saved me when I realized I had not put it in the crockpot like I usually do and needed a quick dinner fix.
Glad you liked it!
If we would have done a quick release after waiting 15 minutes for the natural release, it would have been better as it continued to cook for an additional 8 minutes until the natural release was finished, making the meat a bit overdone and the veggies mushy. Next time, we’ll shorten the cook time a bit.
Good to know, thanks for the feedback!
What could I use in place of the wine?
If you dont want to use wine try adding a splash of white wine vinegar (or plain white vinegar) for a similar bite. Enjoy!
I am wondering if putting the vegetables in the pot at the same time as the meat and cooking for 45 minutes make the vegetables be too mushy?
Its best to sear the meat first so you can lock in the moisture and develop better flavor. Adding everything at the same time would add more moisture so yes it would be more mushy but still very delicious.
My husband and I really enjoyed this recipe. Really tasty!
Thank you for the comment! Glad you loved it!
I am trying your recipe and adding all at one time. I did add Marsala Cooking Wine. Hope it turns out great.