This post contains affiliate links. Please read our disclosure policy.
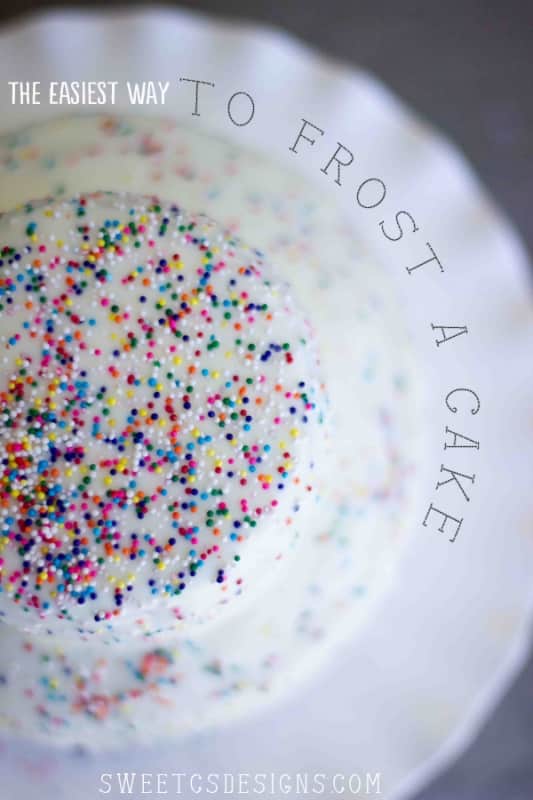
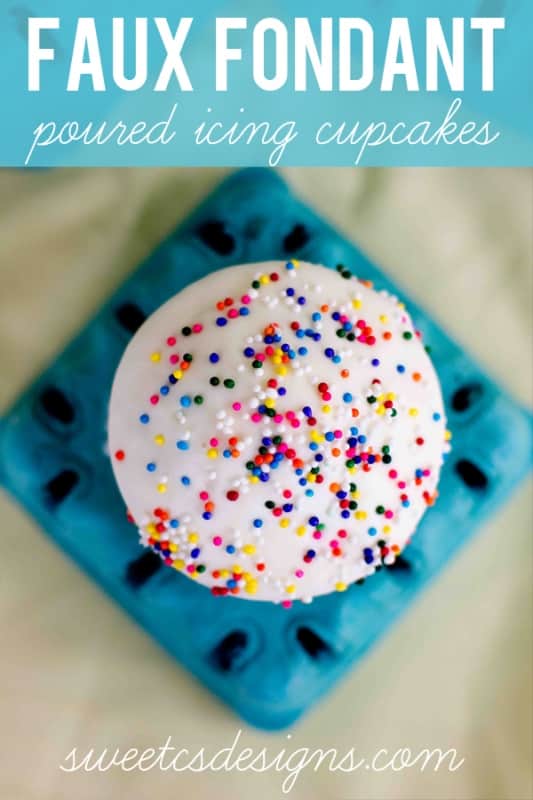
How to frost a professional looking cake with pourable faux fondant icing in minutes- with microwaved store bought icing! Get a smooth cake frosting finish for birthday cakes, wedding shower and baby shower cakes and more!
Don’t want all the extras in a recipe post? We provide a skip to recipe button in the top left corner, as well as a clickable table of contents, just below, to help make this page easier to navigate.
At Sweet C’s, I add lots of tips in all of my recipes – because I am a home cook without any formal training, and I find I am more confident making dishes when I understand why it works, and what each ingredient means to the flavor of a recipe. My goal is for even the most beginner home cook to feel empowered in the kitchen.
Easy Pourable Faux Fondant
Ever want a delicious, beautiful cake but don’t have a ton of time to make it? Take a bunch of Cake Decorating Classes, but don’t love the amount of effort you have to put in to make a beautiful cake?
Or read about pourable fondant or how to smooth icing to look like fondant- but you just don’t have the time to pull it off before a big event?
It’s time to learn How to frost a professional looking cake with pourable faux fondant in minutes!
I have the most awesome trick in the world for you- you can get a smooth cake that looks like poured fondant in minutes.
And the best part? You will be using store bought icing, so you can do it in any flavor in just minutes! It is easy to color, flavor, add sprinkles, or any other decorations.
This is the perfect way to get a professional looking finish for birthday cakes, baby shower cakes, cake pops, brownie pops, shaped cakes, petit fours and even wedding cakes!
How to Make Pourable Faux Fondant Icing
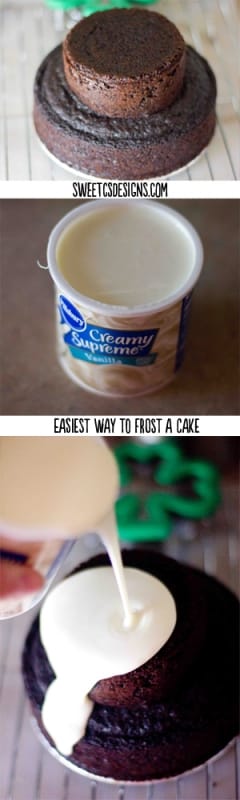
First assemble the following ingredients:
- Cake – You can frost a layer cake, cupcake, or even cake pops this way.
- Premade Frosting – I use vanilla premade frosting from the store, you can experiment with cream cheese or chocolate frosting they all have worked on me similarly.
- Sprinkles – I love to use sprinkles for some color but you can decorate however you want.
Use this Method
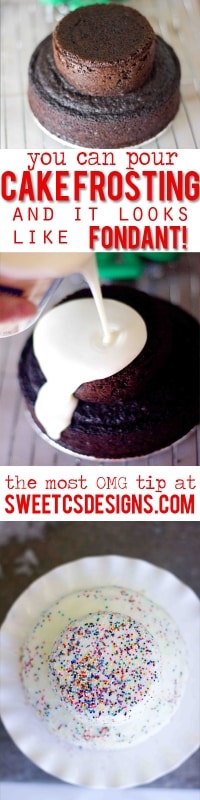
Cool. Set your cool cake on a cookie rack over a flexible cutting board. This will help catch leftover icing that you can scoop up and re-use if needed.
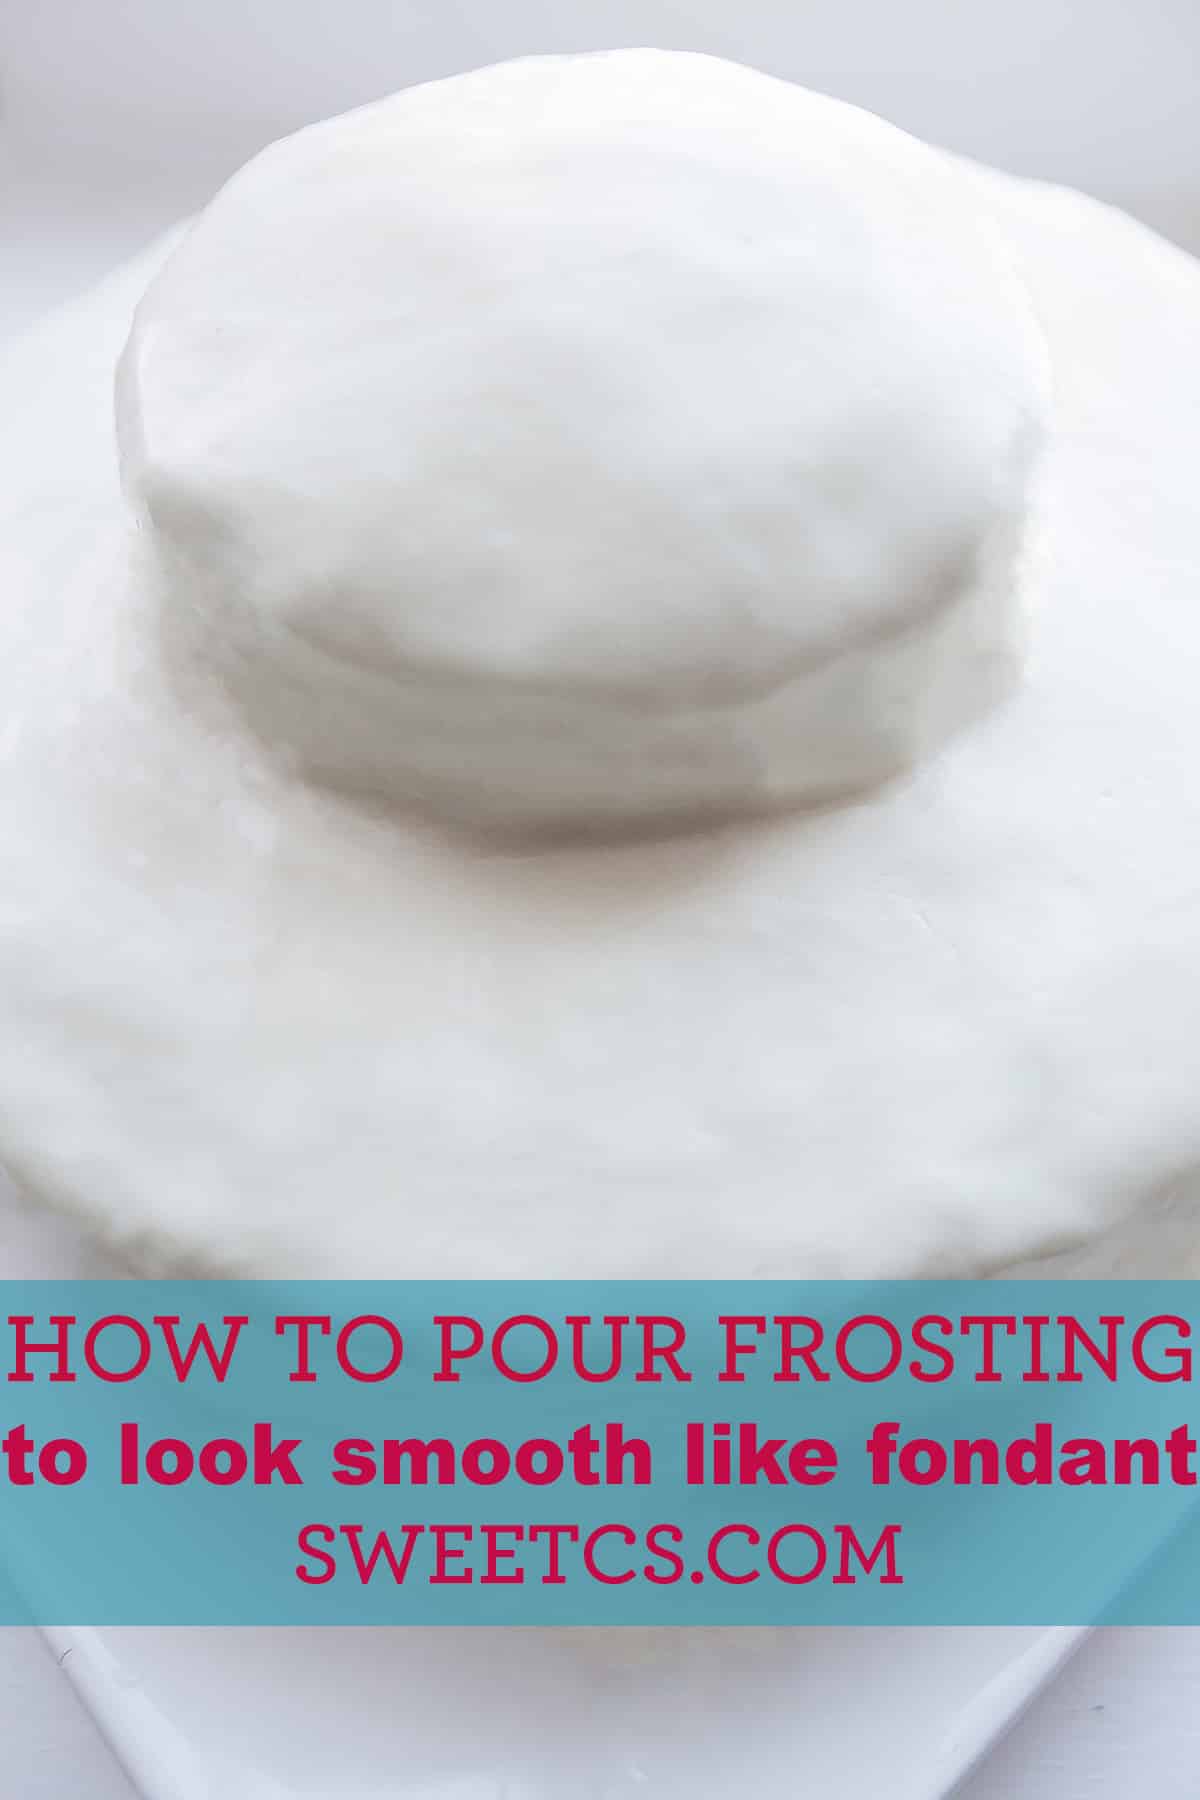
Heat up Frosting. Microwave your frosting for two 15 second bursts- it should be completely melted but not hot. Let it sit for a minute or two to cool a bit (you want it still liquid- just no warmth). Pour the frosting over your cake in a circular motion.
Firm. Once you have used about 1/4 the can of icing and it looks pretty covered, let it sit and firm up for about 10 minutes.
Repeat. Microwave the icing again, for 15 seconds. Repeat the icing step to get a thicker, more even layer. Repeat once more if needed after cool. Once cake has set, slide it off cooling rack and onto clean cake plate.
Finish. If there are any large lumps or mistakes in the frosting, you can smooth them out after the icing is set by dipping your fingers in water and softly rubbing them out. Decorate with sprinkles, fondant shapes, etc. Enjoy!

Tips and Tricks for Smooth Pourable Fauz Frosting
For Lumps. If your cake looks lumpy, take a knife or offset spatula and gently smooth the icing.
Cool Your Cake. If your icing runs like crazy, your cake is too warm. Let it cool for a few minutes. If all else fails, sprinkle that bad boy up.
Add Sprinkles. Sprinkles are instant beauty for cakes and kids love sprinkles! Wait a couple of minutes before adding sprinkles or decorations.
Refrigerate. After you have iced the cake it can help to refrigerate or freeze it to let the frosting set.
FAQs
If the frosting becomes too runny, let it cool for a few minutes. It will thicken as it cools. If needed, you can also place it in the refrigerator for a short time to speed up the process.
Wait just a minute or two after heating the frosting to ensure it’s not too hot to melt your cake or cupcake surface. It should be warm and smooth, but not hot.
Yes, dipping cupcakes into heated frosting is a great way to achieve a smooth and shiny top. Just be sure the frosting is warm enough to coat but not so hot that it drips excessively.
For an 8-9 inch cake, you’ll typically need one 16-ounce can of frosting. For a batch of 12 cupcakes, about half a can should be sufficient, depending on how much frosting you like.
Yes, you can add food coloring or flavor extracts to the frosting after heating it. Stir well to ensure the color or flavor is evenly distributed.
Heating the frosting should not significantly affect its taste. However, it may slightly change the texture, making it softer and smoother. Avoid overheating to prevent it from becoming too thin.
What to Enjoy with Your Cake
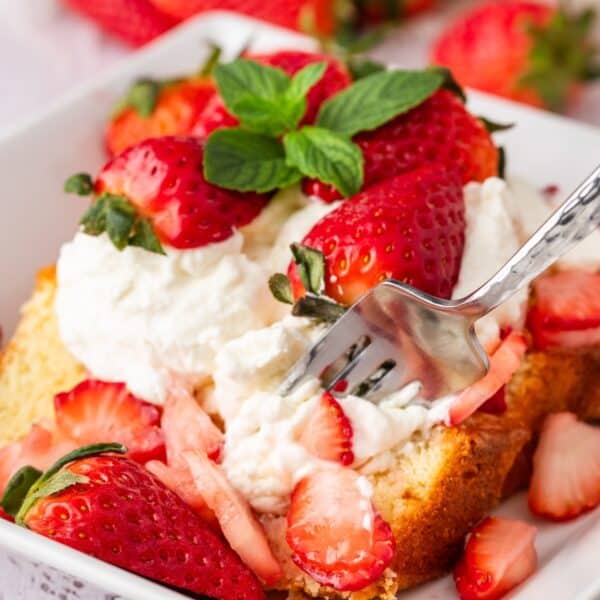
Fresh Berries. Fresh berries like strawberries, raspberries, or blueberries add a refreshing tartness that balances the sweetness of the frosted cake. They also add a pop of color and a burst of flavor.
Coffee. A cup of hot coffee, whether black or with a touch of cream, pairs well with frosted cake by cutting through the sweetness and adding a slight bitterness, enhancing the overall flavor experience.
Whipped Cream. Light and airy, whipped cream adds extra creaminess without overwhelming the palate. It’s an excellent topping to complement the frosting, especially for those who love creamy desserts.
Lemon Curd. The zesty tang of lemon curd provides a sharp contrast to the sweet frosting, adding depth to each bite. It’s particularly good with vanilla or buttercream frosted cakes.
Champagne or Sparkling Wine. The bubbles and acidity in champagne or sparkling wine cut through the richness of the cake, making it feel lighter and more celebratory. It’s perfect for special occasions.
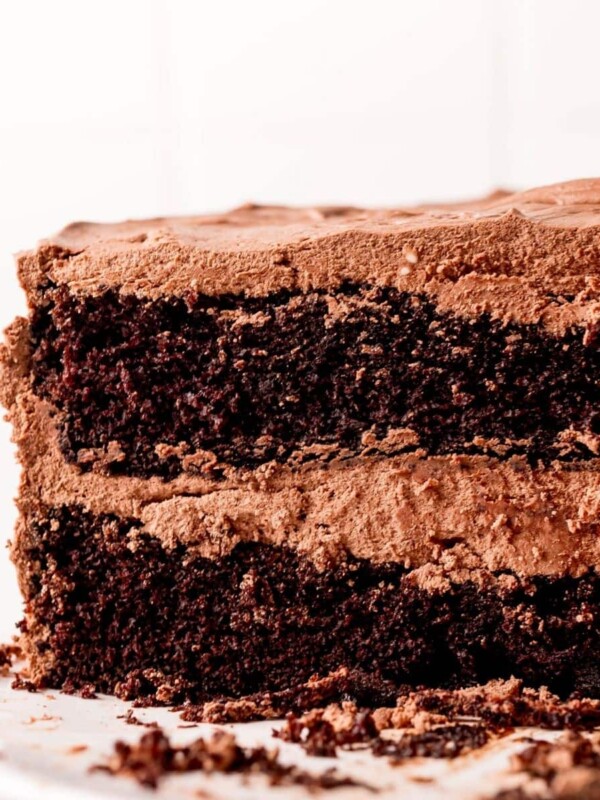
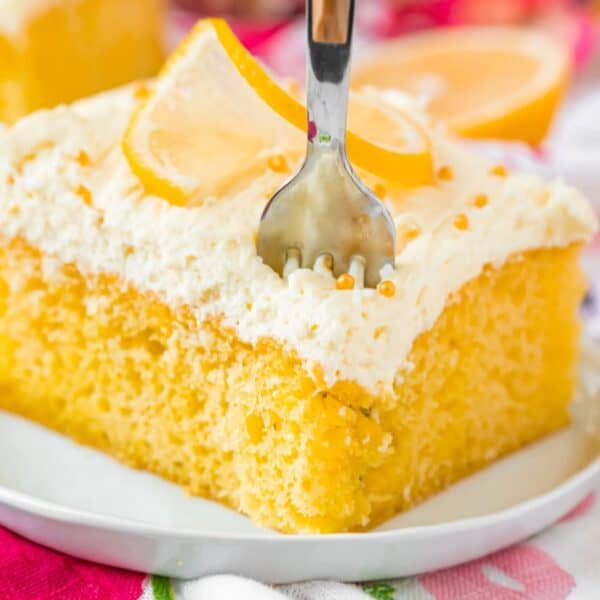
Try these cakes next:
If you love this easy recipe please click the stars below to give it a five star rating and leave a comment! Please also help me share on Instagram, Facebook, and Pinterest!
Share on Facebook
SharePin this now to find it later
Pin ItFollow on Instagram
Only have 30 minutes to get dinner on the table? Sign up for my 30 minute dinner plans direct to your inbox!
Find and shop my favorite products in my Amazon storefront here!
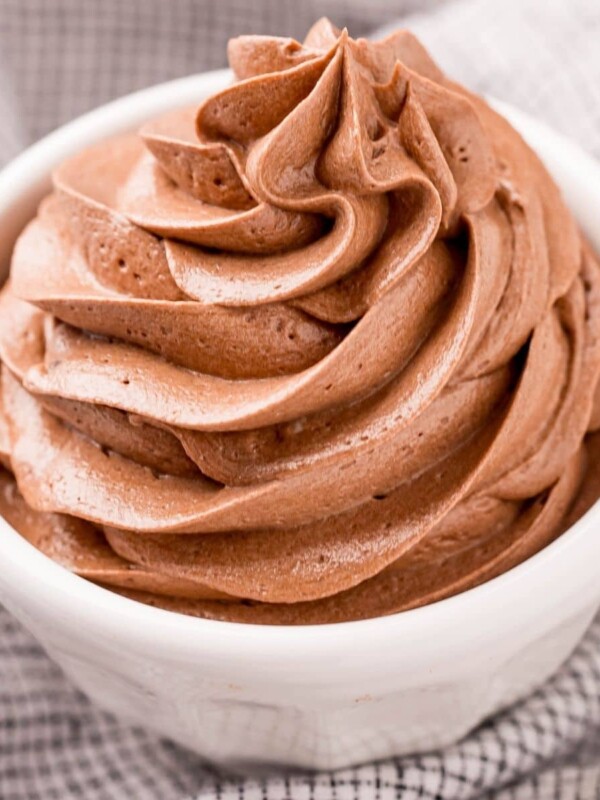
Microwaved Icing

Ingredients
- 1 cake, you can use cupcakes, layer cake, or any kind of cake you want
- 1 premade icing, you may need multiple depending how much cake you have
- 4 oz sprinkles, optional
Instructions
- Set your cool cake on a cookie rack over a flexible cutting board. This will help catch leftover icing that you can scoop up and re-use if needed.
- Microwave your frosting for two 15 second bursts- it should be completely melted but not hot.
- Let it sit for a minute or two to cool a bit (you want it still liquid- just no warmth).
- Pour the frosting over your cake in a circular motion.
- Once you have used about 1/4 the can of icing and it looks pretty covered, let it sit and firm up for about 10 minutes.
- Microwave the icing again, for 15 seconds.
- Repeat the icing step to get a thicker, more even layer.
- Repeat once more if needed after cool.
- Once cake has set, slide it off cooling rack and onto clean cake plate.
- If there are any large lumps or mistakes in the frosting, you can smooth them out after the icing is set by dipping your fingers in water and softly rubbing them out.
- Decorate with sprinkles, fondant shapes, etc. Enjoy!
Video
Nutrition
Nutrition information is automatically calculated, so should only be used as an approximation.


In my teaching years, a big ol 17 year old, who probably tilted out at 250 lbs, told me that his favorite thing from childhood was that his Mom let them decorate their own birthday cakes. After that, I would make and frost a simple cake, provide some toppers, etc., and let my kids go for it.
Great idea, but I would suggest removing the frosting from the original plastic container into a microwave safe container before heating in the microwave.
Thanks for the tip.
So after you put icing on and let it sit,, if there is any extra icing on the plate surrounding the cake is there a trick to get it off so you have a clean plate around the cake?
That is why I ice it on a cooling rack… the icing drips down below the cake. Then you can slide the cake off the rack and onto a clean cake plate!
Please show the cake from the front so we can see what it actually looks like when frosted this way. Thanks!
Added a side shot!
I LOVE this idea! Frosting is my nemesis. Thank you for the inspiration!
I tried this with the two different-sized layers like you show at the top. I had LOTS of frosting pool in the corner between the two layers. When I tried to “fix” it I just made it look worse. Any suggestions?
I’d try warming the icing a tad more so it runs off more.
How about trying to lift the rack a little in a circular motion to gently encourage the frosting to continue its journey. 🙂
Kathy- you sure could!
Maybe you could frost the two layers separately, then put it together.
You certainly could. You;d just want to be careful when adding the top cake on. Store bought frosting sets beautifully, but it wont harden unless you get it really cold, so it could smudge when moving. But I am NOT a cake decorating pro (hence the need for this method) so others might be better at that than I!