This post contains affiliate links. Please read our disclosure policy.
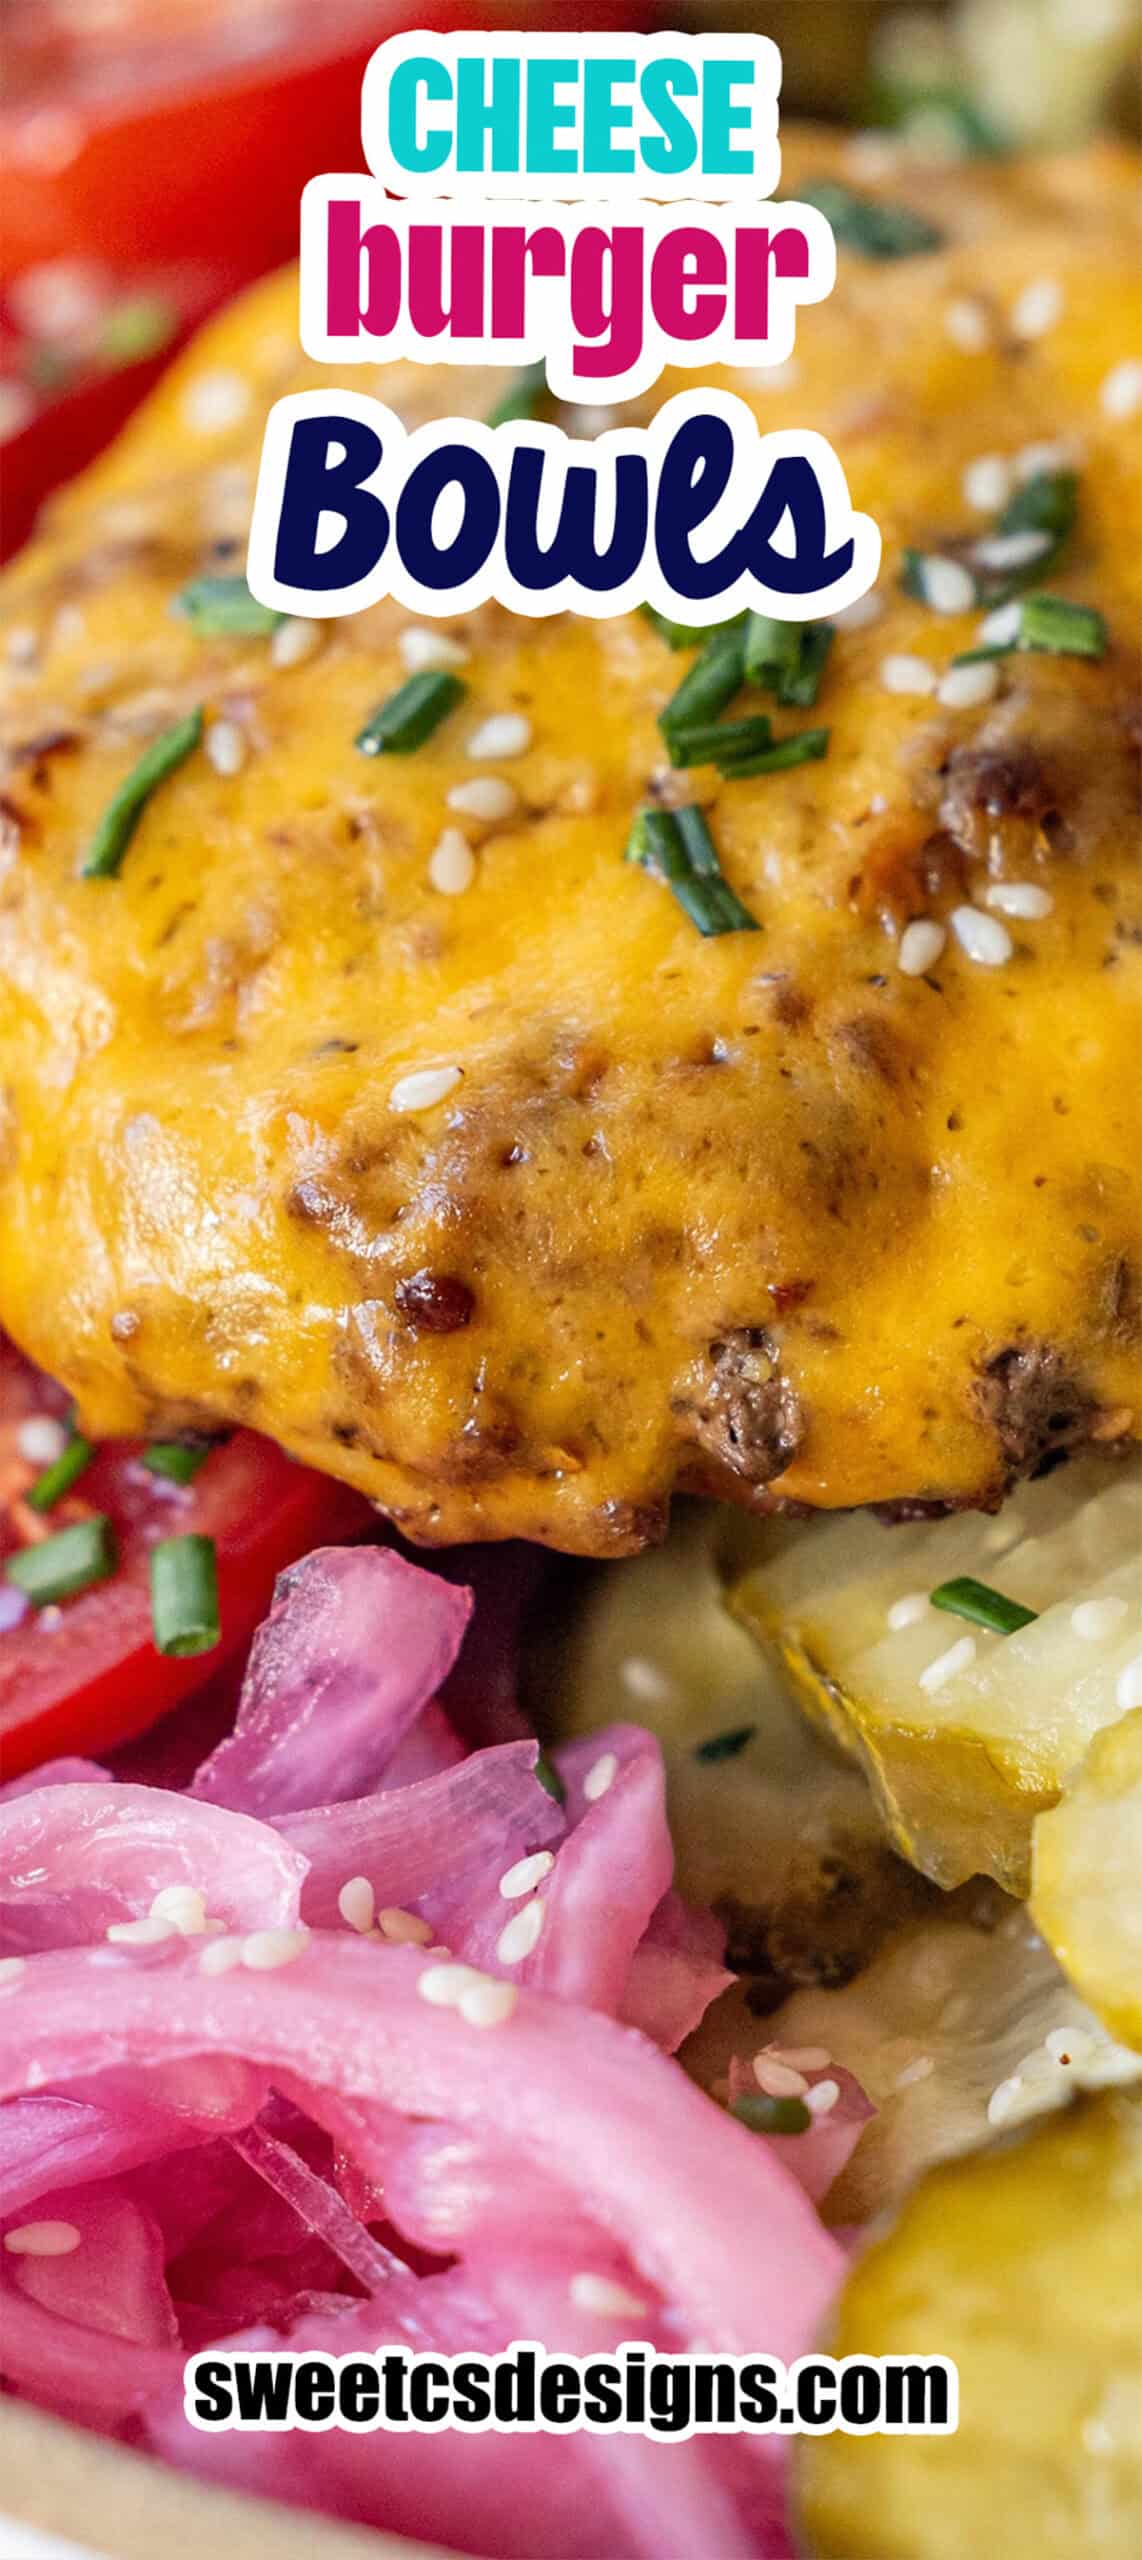
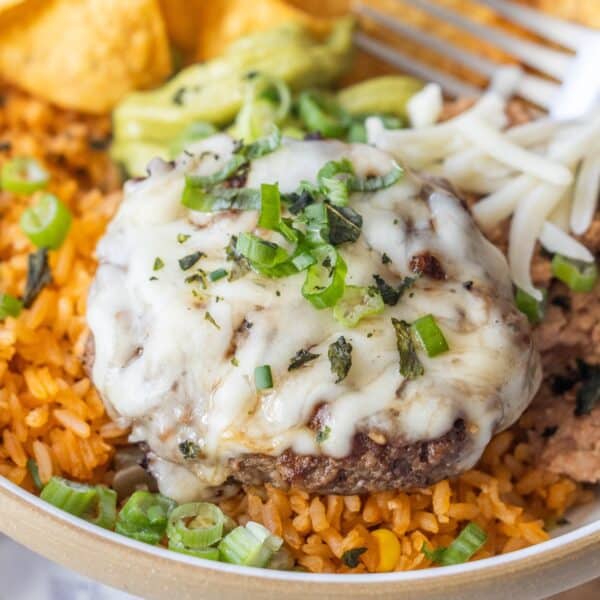
Cheeseburger Bowls are everything you love about a juicy, cheesy backyard burger – piled high over fluffy rice with tangy pickles, pickled red onion, creamy kewpie mayo, and a generous shower of toasted sesame seeds to mimic the top of a bun.
My kids and I love Cheeseburger Bowls because they come together in about 20 minutes, are totally customizable, and they are the one dinner I know I can get my kids to eat, no matter what.


Don’t want all the extras in a recipe post? We provide a skip to recipe button in the top left corner, as well as a clickable table of contents, just below, to help make this page easier to navigate.
At Sweet C’s, I add lots of tips in all of my recipes – because I am a home cook without any formal training, and I find I am more confident making dishes when I understand why it works, and what each ingredient means to the flavor of a recipe. My goal is for even the most beginner home cook to feel empowered in the kitchen.
Table of Contents
If you’ve spent any time around here, you know I have a deep, abiding love for two things: a perfect smashburger and a giant rice bowl piled with all the fixings. So really, this recipe was inevitable. Cheeseburger Bowls take all the best parts of a classic American cheeseburger – savory seasoned beef, melty sharp cheddar, briny pickles, that crave-worthy “special sauce” energy – and turn them into a quick, weeknight-friendly dinner you can build right in the bowl.
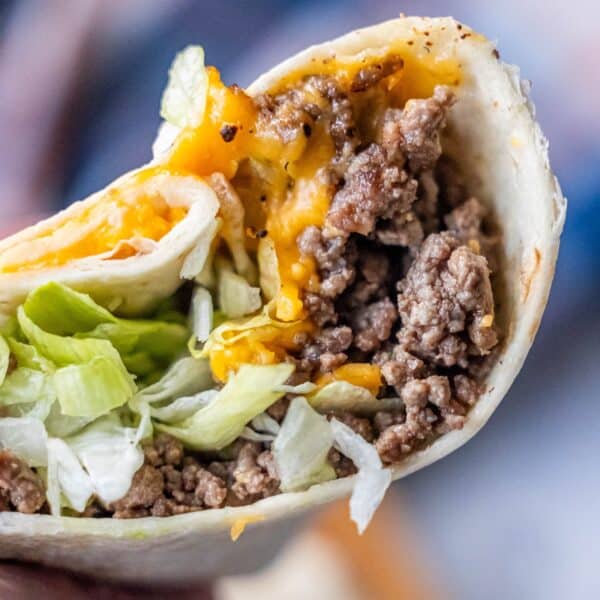
This is one of those recipes that started as a “clean out the fridge” situation and quickly became a regular request from my husband and kids. It’s now firmly in our weekly rotation, right alongside our Crockpot Cheeseburger Soup and Smash Burger Tacos. If you’ve got 20 minutes and a hungry crew, this one’s going to be your new best friend.
Why You’ll Love These Cheeseburger Bowls
There’s a reason these bowls have become such a favorite at our house, and I think you’re going to love them just as much as we do.
They’re ridiculously fast. Start to finish, you’re looking at about 20 minutes – and most of that is hands-off rice cooking time. If you have leftover rice or a bag of microwave rice, you’re looking at more like 10 minutes.
Endlessly customizable. Everyone in the family gets to build their own bowl exactly the way they want it. Picky eaters, big eaters, low-carb eaters – everyone wins.
Better than takeout. All the flavors of your favorite fast-food cheeseburger combo, but made with real ingredients you actually feel good about feeding your family.
Meal prep gold. The components store beautifully in the fridge for easy lunches and quick dinners all week long.
Ingredients You’ll Need
One of the best things about this recipe is that you probably have most of the ingredients on hand already. Here’s everything you’ll need to build the perfect cheeseburger bowl.
For the burger base:
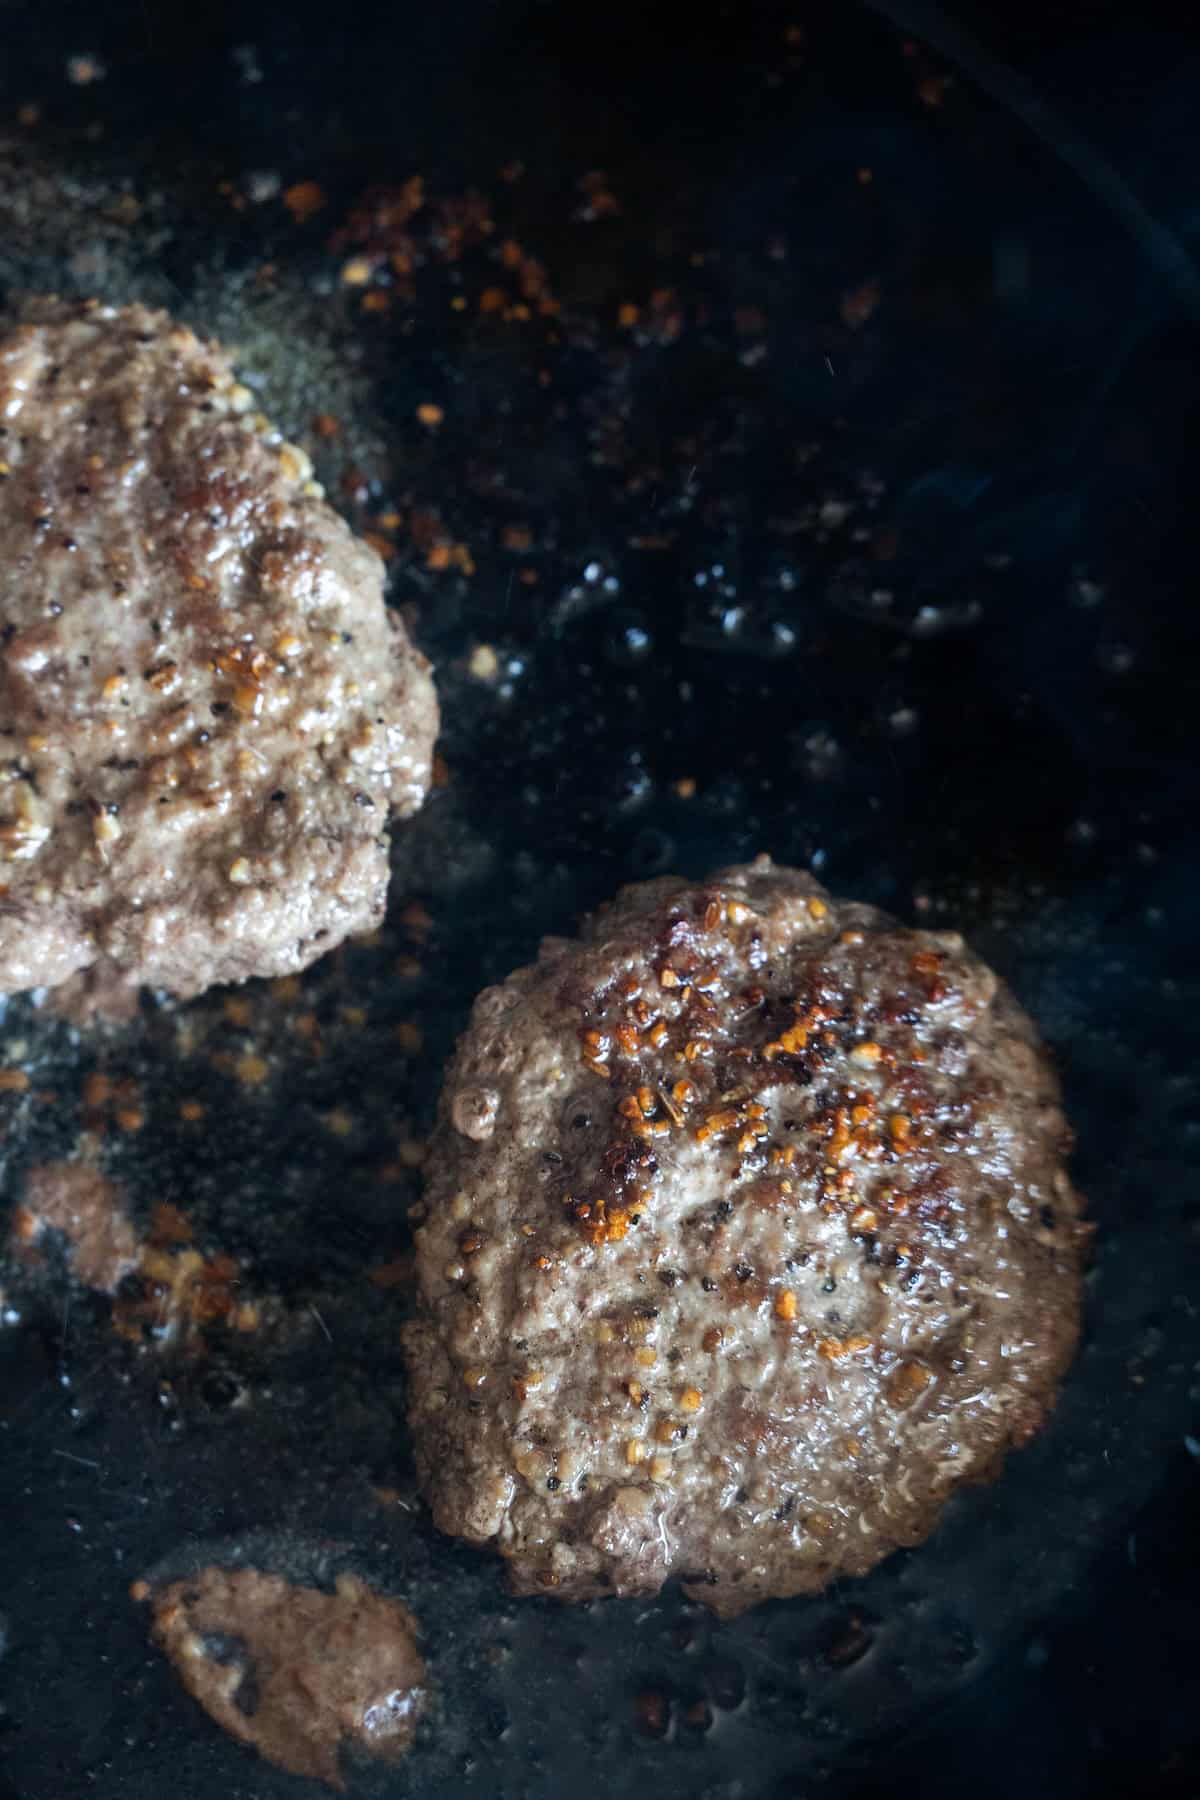
- Ground beef patties – I like to use an 80/20 ground beef for the best flavor and juiciness. Form them into small, thin smashburger-style patties so they cook quickly and develop that gorgeous crust.
- Montreal steak seasoning – This is the secret weapon. That bold, garlicky, peppery blend takes plain ground beef from “fine” to “WOW” with zero extra effort.
- Thin slices of sharp cheddar cheese – Slice it as thin as you can so it melts instantly over the hot patties. Sharp cheddar is non-negotiable for me here – you want that tangy, grown-up cheddar flavor to balance the rich beef.
For the bowl:
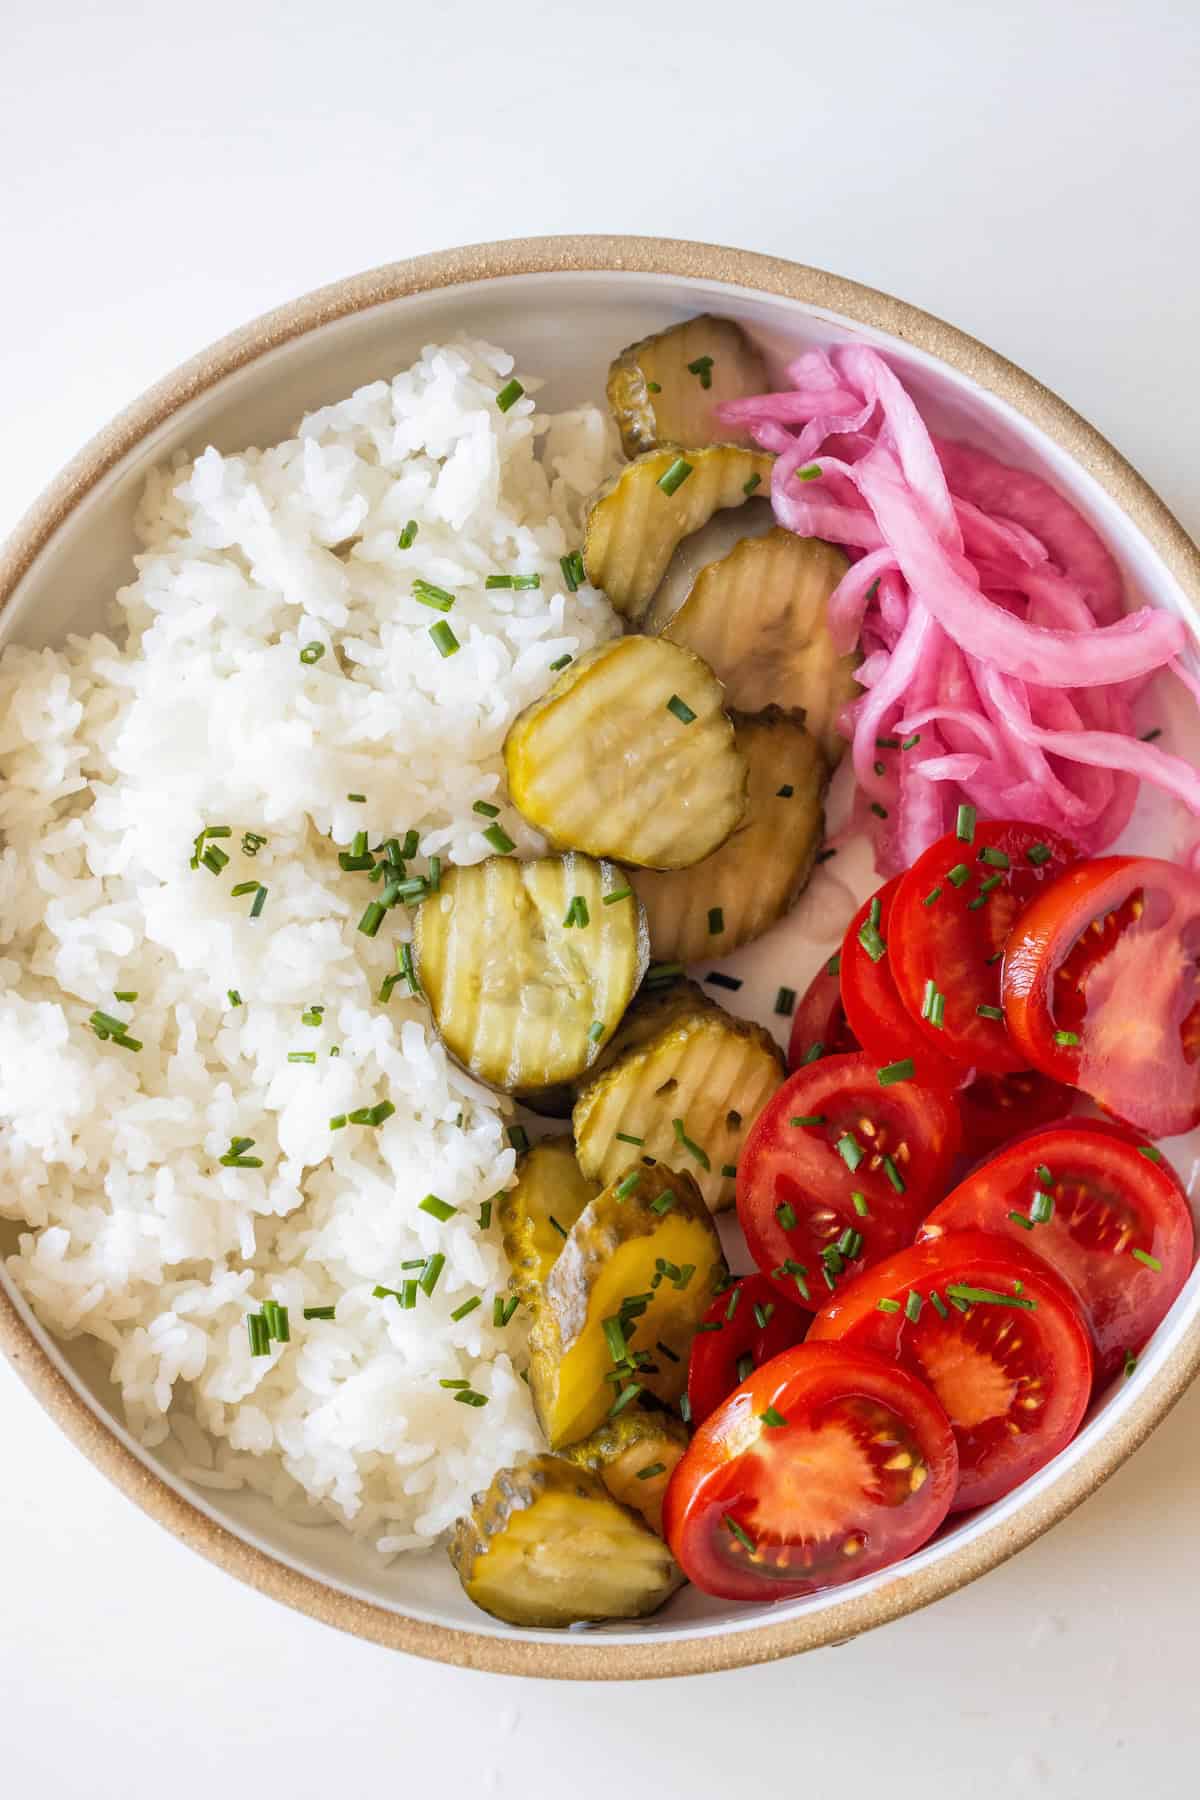
- Cooked white rice – Fluffy, hot, freshly cooked rice is the perfect base. Jasmine or short-grain both work beautifully, and brown rice is great too if you prefer.
- Kewpie mayo – If you’ve never tried Japanese kewpie mayo, prepare to have your world rocked. It’s richer, tangier, and a thousand times more flavorful than regular mayo. You can find it at most grocery stores in the Asian foods aisle.
- Pickle chips – Crunchy dill pickle chips bring that classic cheeseburger tang. Use your favorite brand.
- Sliced Tomato – Just like a sweet juicy slice of tomato on a burger, slices of tomato are delicious in a burger bowl!
- Pickled red onion – These add gorgeous color, crunch, and a sweet-tangy bite that ties everything together. I always have a jar in my fridge.
- Toasted sesame seeds – Don’t skip these! They add a beautiful nutty flavor and texture that mimics the sesame seed bun of a classic burger.
Optional Burger Bowl Toppings (Go Wild)
This is where the fun really begins. The toppings list is endless, but here are some of our family favorites:
- Fry sauce or Big Mac-style special sauce
- Crispy fried onions
- Chopped romaine or iceberg lettuce
- Sweet pickle relish
- A jammy fried egg
- Diced tomatoes
- Crumbled bacon
- Sliced jalapeños
- Yellow mustard or stone-ground mustard
- A drizzle of ketchup (you know you want to)
- Sliced avocado
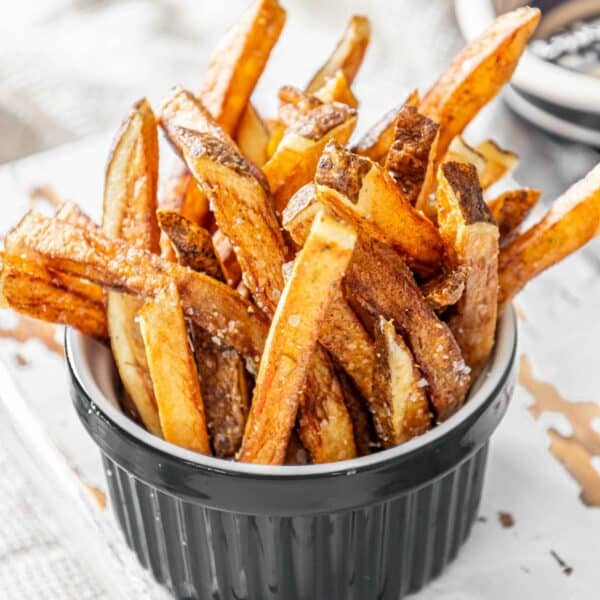
- Crispy shoestring fries on top
How to Make Cheeseburger Bowls
This recipe couldn’t be more straightforward, but here’s how I make them so they come out perfect every single time.
Prep Bowls
Make rice according to package directions. Slice tomato thin, drain pickle chips and pickled onions, finely chop chives, assemble bowl.
Cook Burger
Season burger patty and cook in pan (or on grill) to 130 degrees. Flip partway.

Add Cheese
Flip again, add slices of cheese and cook until melted.
Add Burger
When burger is cooked and cheese is melted, place burger on bowl, and top rice with kewpie. Sprinkle sesame seeds over the top.
Tips for the Best Cheeseburger Bowls
A few small things will take these bowls from good to absolutely unforgettable.
Get your skillet HOT. A screaming hot pan is the key to that perfect crust on the burger patties without overcooking the inside. Cast iron is my favorite for this.
Don’t press the patties. I know it’s tempting, but pressing the patties down squeezes out all those gorgeous juices. Let them sear in peace.
Slice the cheese ultra-thin. Thin slices melt instantly when laid over a hot patty. If your cheese is too thick, it won’t melt all the way before the burger is done.
Toast your sesame seeds. It only takes 1-2 minutes in a dry skillet but the flavor difference is huge – way more nutty and fragrant.
Make the pickled onions ahead. They only take about 10 minutes to throw together and they last for weeks in the fridge. I always have a jar going.
Mix and match sauces. A big drizzle of kewpie mayo PLUS a swirl of fry sauce or big mac sauce is chef’s kiss. Don’t pick – use both.
Burger Bowl Variations to Try
Once you’ve made the classic version, have fun playing with these riffs.
Bacon Cheeseburger Bowls – Add crumbled crispy bacon and a swipe of BBQ sauce.
Western Bacon Bowls – Top with bacon, crispy fried onions, and a tangy BBQ sauce.
Mushroom Swiss Bowls – Swap the cheddar for Swiss and pile on sautéed mushrooms.
Patty Melt Bowls – Use rye-toasted breadcrumbs and add caramelized onions and Swiss cheese.
Spicy Jalapeño Popper Bowls – Add cream cheese, pickled jalapeños, and pepper jack.
Low-Carb Bowls – Swap the rice for cauliflower rice or chopped romaine for a lighter version that still hits all the right notes.
Storage and Meal Prep
These bowls are absolutely perfect for meal prep. Store all the components separately in airtight containers in the fridge for up to 4 days. When you’re ready to eat, just reheat the rice and burger patties, then assemble with the cold toppings.
I love portioning these into glass meal prep containers for easy grab-and-go lunches all week.
Recipe FAQs
Absolutely – just be aware that leaner meats can dry out faster, so don’t overcook them and consider adding a little olive oil to keep them juicy.
You can substitute with a mix of kosher salt, black pepper, garlic powder, onion powder, and a pinch of dill or coriander. Or use your favorite all-purpose seasoning blend.
Yes! Kewpie is made with egg yolks only (not whole eggs) and uses rice vinegar, which gives it a richer, more umami-packed flavor. Once you try it, you’ll be hooked.
This recipe is naturally gluten-free as written – just double-check your Montreal steak seasoning and any sauces you add to make sure they’re certified GF.
This is a fantastic build-your-own dinner for entertaining. Set up a “bowl bar” with all the toppings in little dishes and let everyone go wild.
What to Serve With Burger Bowls
If you make these Cheeseburger Bowls, I would absolutely love to hear how they turned out! Leave a comment and a star rating below, and don’t forget to tag me on Instagram @sweetcsdesigns so I can see your creations.
If you love this easy recipe please click the stars below to give it a five star rating and leave a comment! Please also help me share on Instagram, Facebook, and Pinterest!
Share on Facebook
SharePin this now to find it later
Pin ItFollow on Instagram
Cheeseburger Bowls

Ingredients
- 1 lb ground beef, 80/20, formed into 4 thin patties
- 2 teaspoons Montreal steak seasoning, or to taste
- 4 thin slices sharp cheddar cheese
- 3 cups cooked white rice, about 1 cup uncooked
- ¼ cup kewpie mayonnaise
- ½ cup dill pickle chips
- 1 medium tomato, sliced thin
- ⅓ cup pickled red onions
- 2 tablespoons toasted sesame seeds
- Optional toppings: fry sauce, big mac sauce, crispy fried onions, chopped romaine lettuce, sweet relish, fried eggs, diced tomatoes, crumbled bacon
Instructions
- Cook rice according to package directions and keep warm.
- Form ground beef into 4 thin patties and season generously on both sides with Montreal steak seasoning.
- Heat a cast-iron skillet or griddle over medium-high heat until very hot. Add patties and cook 2-3 minutes per side until a deep brown crust forms.
- Top each patty with a slice of sharp cheddar after flipping; allow to melt while the second side finishes cooking.
- Divide hot rice between 4 bowls. Top each with a cheesy burger patty.
- Drizzle generously with kewpie mayo and add pickle chips, pickled red onion, and a sprinkle of toasted sesame seeds.
- Add any optional toppings desired and serve immediately.
Notes
- For a low-carb version, swap rice for cauliflower rice or chopped romaine.
- Components can be stored separately in the fridge for up to 4 days – perfect for meal prep.
- Make pickled red onions ahead by combining sliced red onion with equal parts apple cider vinegar and water, plus a pinch of sugar and salt. Let sit at least 10 minutes before using.
Nutrition
Nutrition information is automatically calculated, so should only be used as an approximation.


I substituted air fried Tater Tots for the rice and it was delicious. I will have to try it with rice next time.