Rustic Wine Barrel Ring Light DIY
Jan 27, 2016, Updated Feb 12, 2023
This post contains affiliate links. Please read our disclosure policy.
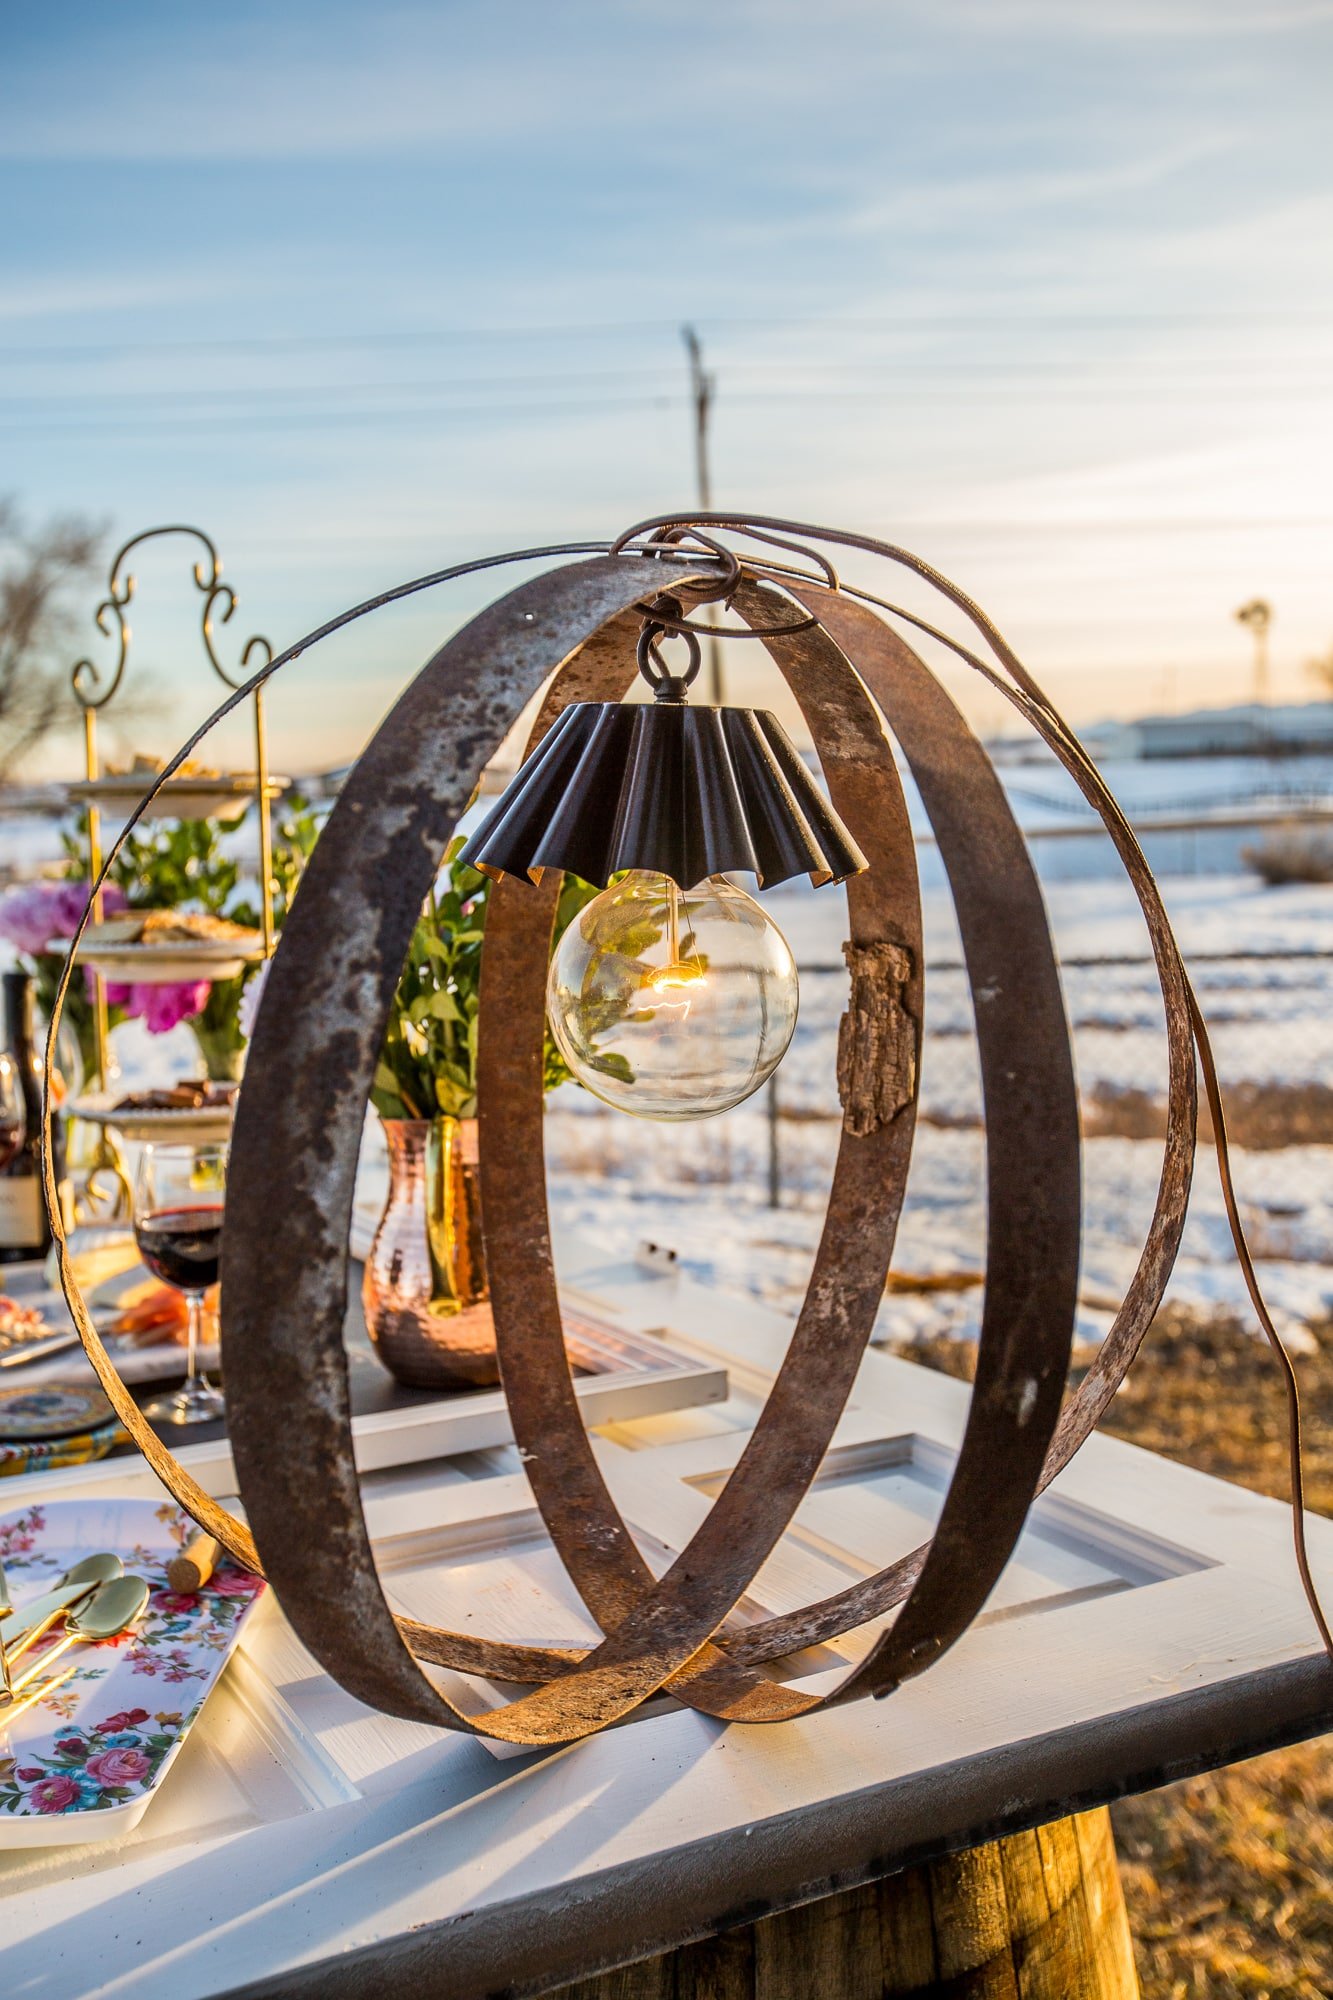
This easy, rustic wine barrel ring light DIY is a perfect project for party decor – and can be made entirely without tools for a temporary light (or opt to make a few quick drill holes for something permament).
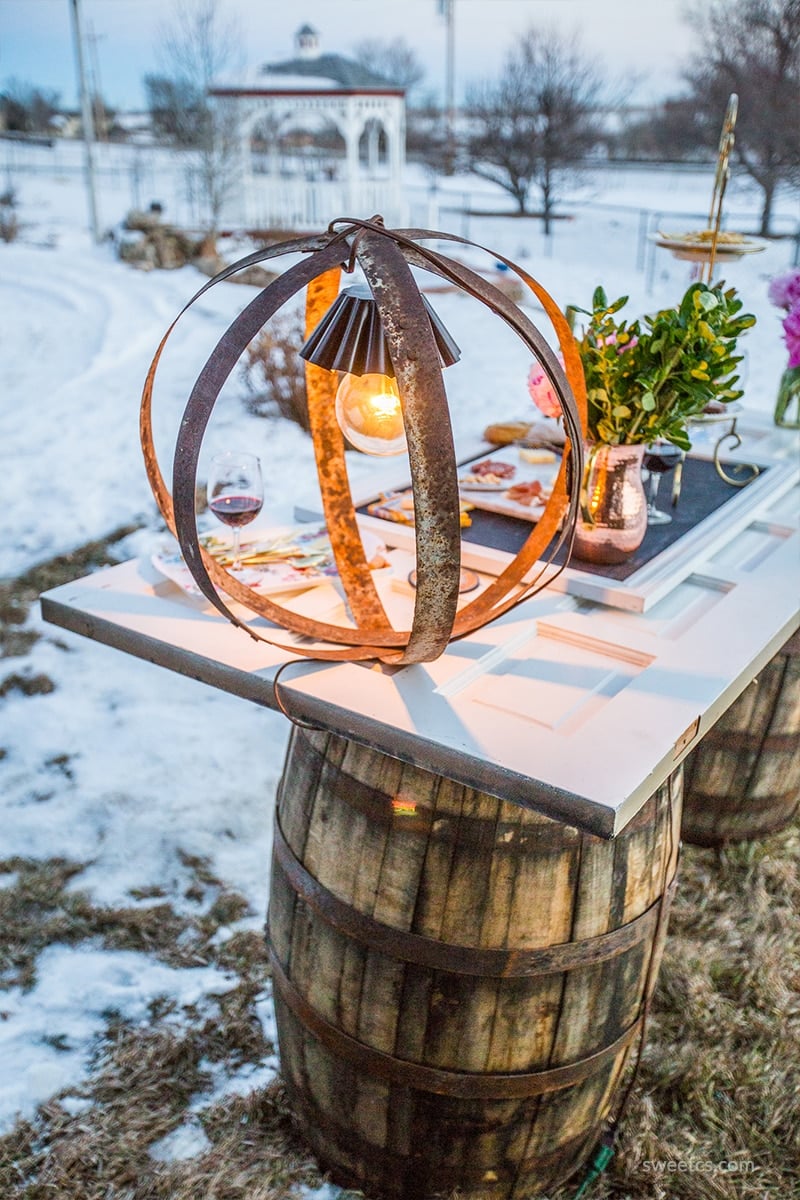
I recently decided it was time to put some of the wonderful antiques and collected odds and ends around our new (to us) house to use and throw a little housewarming party with some delicious food and some of my favorite La Crema Wines.
When moving from our old home to my husband’s family farm, we had a lot of organizing and downsizing as we blended all of our possessions with family antiques and lots of random stuff my husband’s grandpa had in his old barn.
We had some old wine barrels that we kept at our old house in hopes of someday making a cool outdoor table with, and we had piles and piles of random wine barrel rings from the barn. Don’t ask me where they all came from- but there are tons!
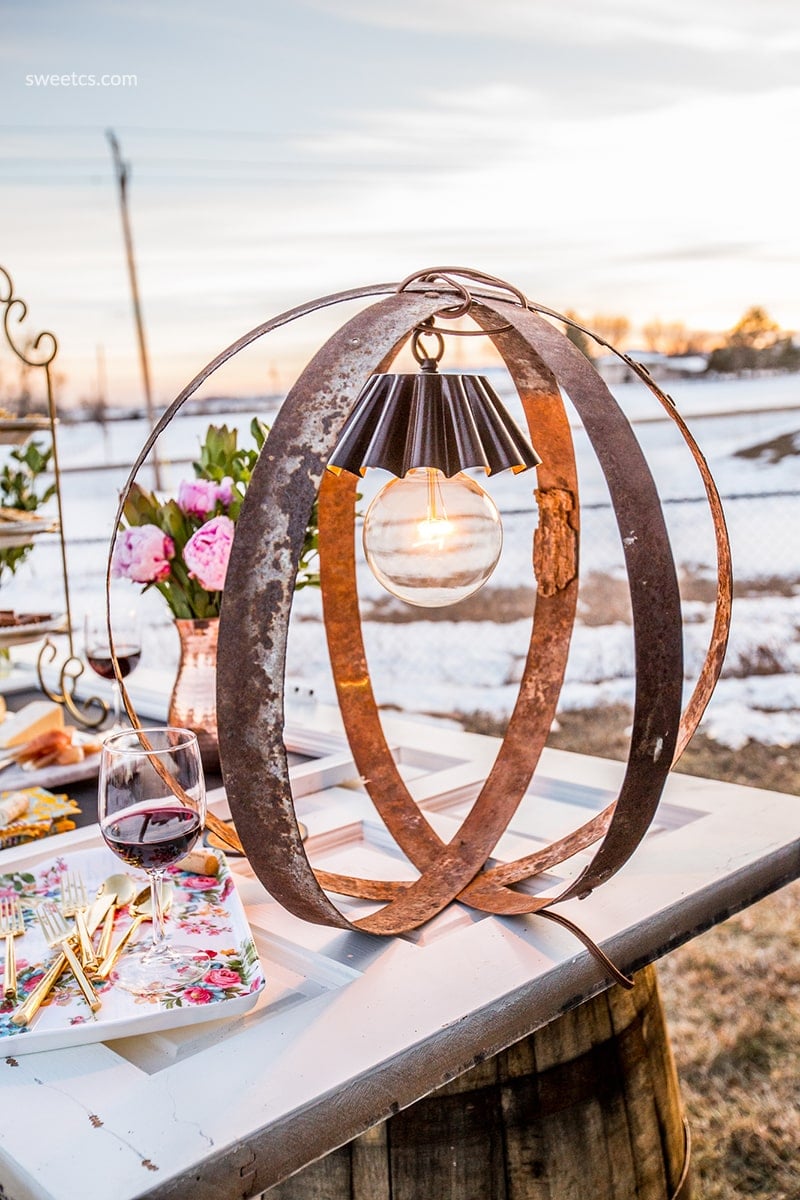
I wanted to make something really cool and fun with them, and came up with this awesome idea for a light that can be either a permanent fixture, or an easy-to-make option for a party that involves absolutely no tools!
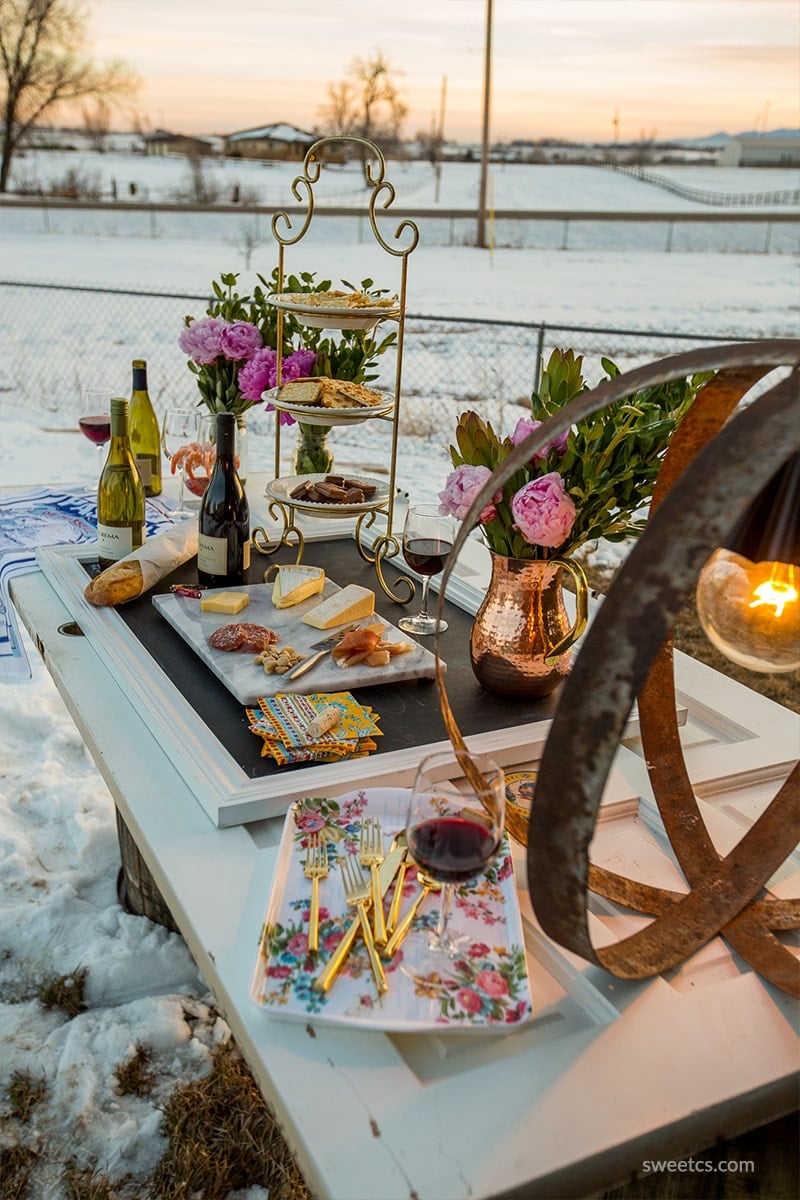
To Make This Light, You’ll Need:
-Pendant light (mine is from Urban Outfitters, but lots of stores sell them- look for plug-in kinds)
-3 wine barrel rings of about the same size
-a large edison bulb
(optional, for a permanent light)
-A drill
-Metal drill bit
-Long threaded screw
-Locking Washer
To begin, start nesting the rings inside each other and find about how you want them to be set. I slid the smallest ring into the nest smallest, into the biggest, and then kind of twisted them around into a shape I liked.
If you are making this quickly (non-permanent), hold the pendant (without bulb in) in place in one hand, and wrap the cord tightly around the rings with the other.
Weave the lamp cord all around the light, making different patterns, so it won’t slide out of place. The cord will act to secure the rings together.
When the lamp is tight, plug in the cord and add edison bulb, and place on table! Do not hang unless you hang light from part of the metal rings- the lamp cord will not be designed to hold the weight of the metal rings and could cause damage.
If making more permanently, follow first step above.
When lamp is lined up, clamp rings together so they are sturdy when you drill.
Drill a small hole through each ring in the side that will become the bottom of the light.
Add a threaded screw and locking washer to the lamp to keep it in place.
Drill through the other side, but don’t add a washer- instead, thread the lamp cord through the holes.
If hanging from ceiling, hang off metal rings, unless you find a pendant designed to be used with a heavy pendant.
I love how this simple and easy light looked on this table! I can’t wait to use this setup for parties in the summer!
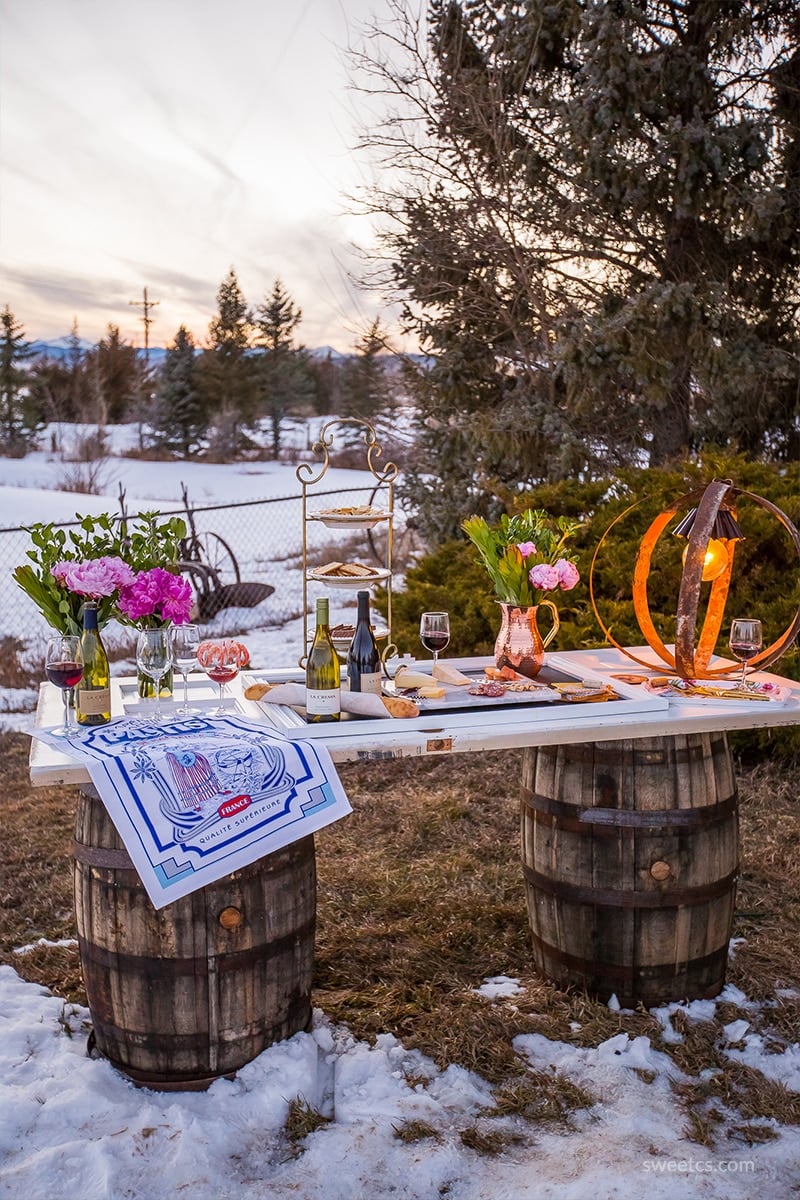
I mean, really- how gorgeous is this table?
Head to the La Crema Blog to find out how I made it from some reclaimed wine barrels and a salvage door!






Question actually, what do you do with the plug end. Obviously won’t fit in a small hole. Struggling!
Thanks
Depending on the type of rings and the type of pendent light you are using, you may need to cut the metal hole a little bit larger to fish the plug end in. When I buy pendent lights for these, I look for ones with really small plugs for that reason. Thanks for commenting, I will put a blurb in there for people in future to consider how the plug will go through.
Amazing designs, I love these designs. I try this in my house. Good Job!!