This post contains affiliate links. Please read our disclosure policy.
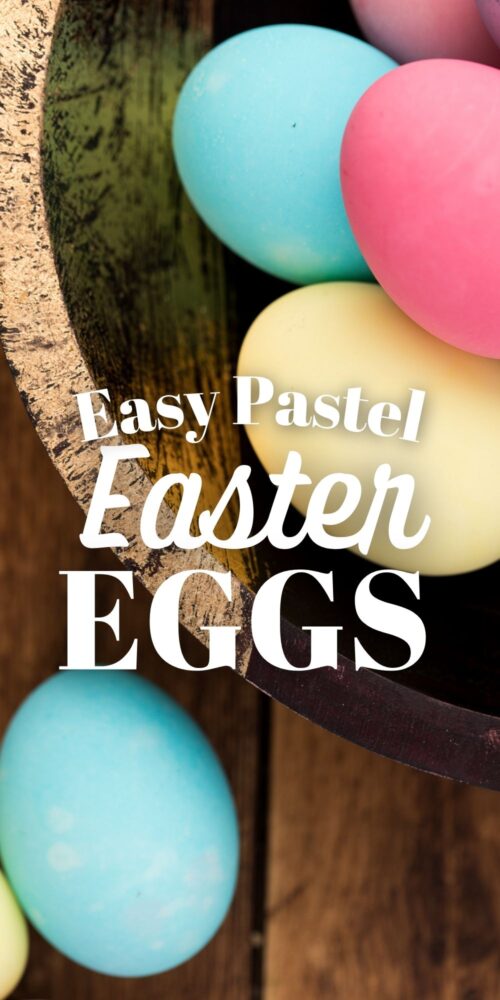
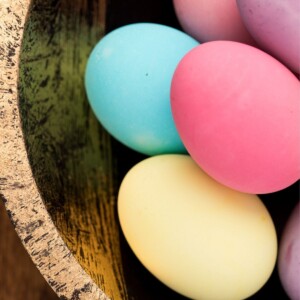
I love dying Easter Eggs with my kids, even as they get older – but I never remember to buy the kits. This recipe is a super simple, tried and true method we use year after year for perfect pastel Dyed Easter Eggs – along with tons of tips on How to Dye Easter Eggs perfectly!
Did you procrastinate on buying your Easter Egg dying kit, and there’s not anymore left to buy? Don’t worry, you aren’t the only one! With a few simple ingredients, you’ll learn how to dye Easter eggs without a kit, and you may never go back to a kit again!


Don’t want all the extras in a recipe post? We provide a skip to recipe button in the top left corner, as well as a clickable table of contents, just below, to help make this page easier to navigate.
At Sweet C’s, I add lots of tips in all of my recipes – because I am a home cook without any formal training, and I find I am more confident making dishes when I understand why it works, and what each ingredient means to the flavor of a recipe. My goal is for even the most beginner home cook to feel empowered in the kitchen.
Table of Contents
How To Dye Easter Eggs
Dying Easter eggs is very easy but you want to make sure you use the right method, so you end up with eggs that aren’t dying your hands!
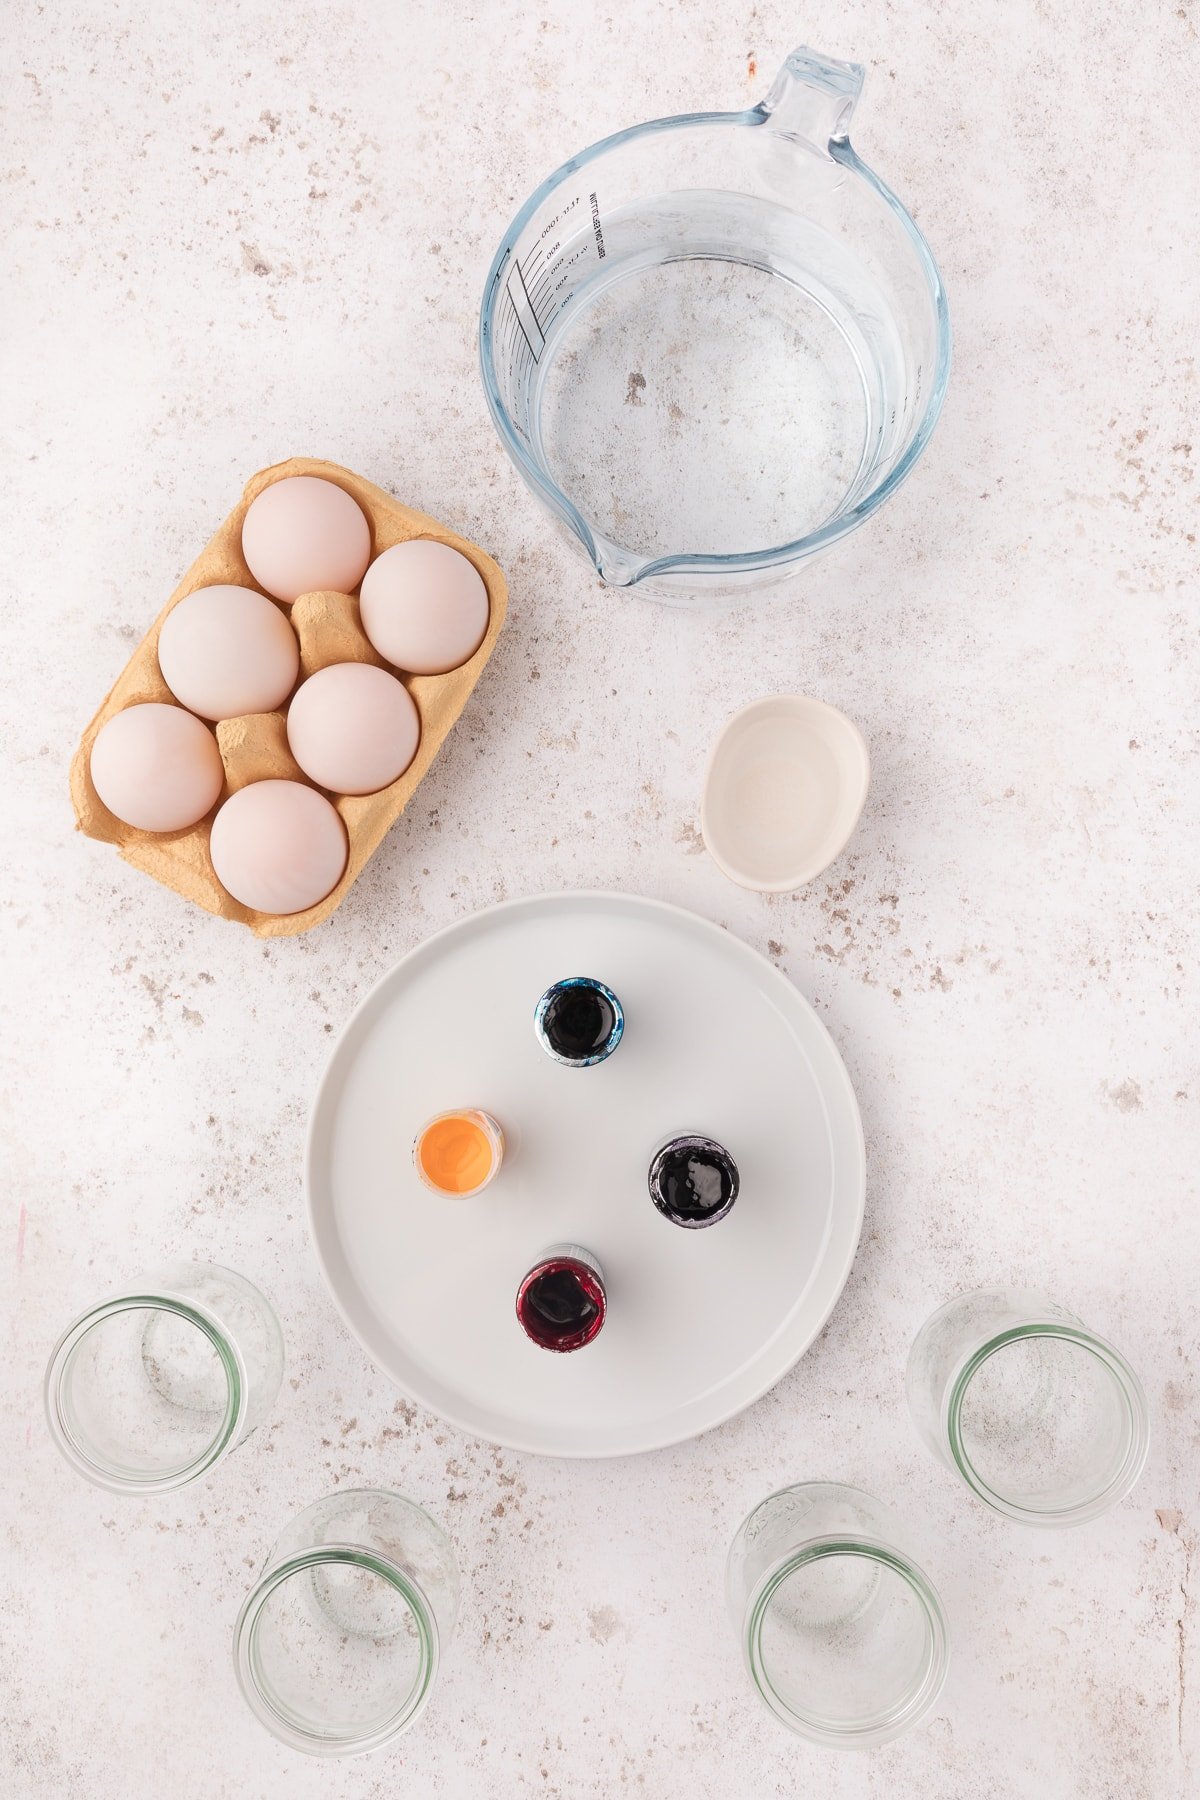
Easter Egg Ingredients
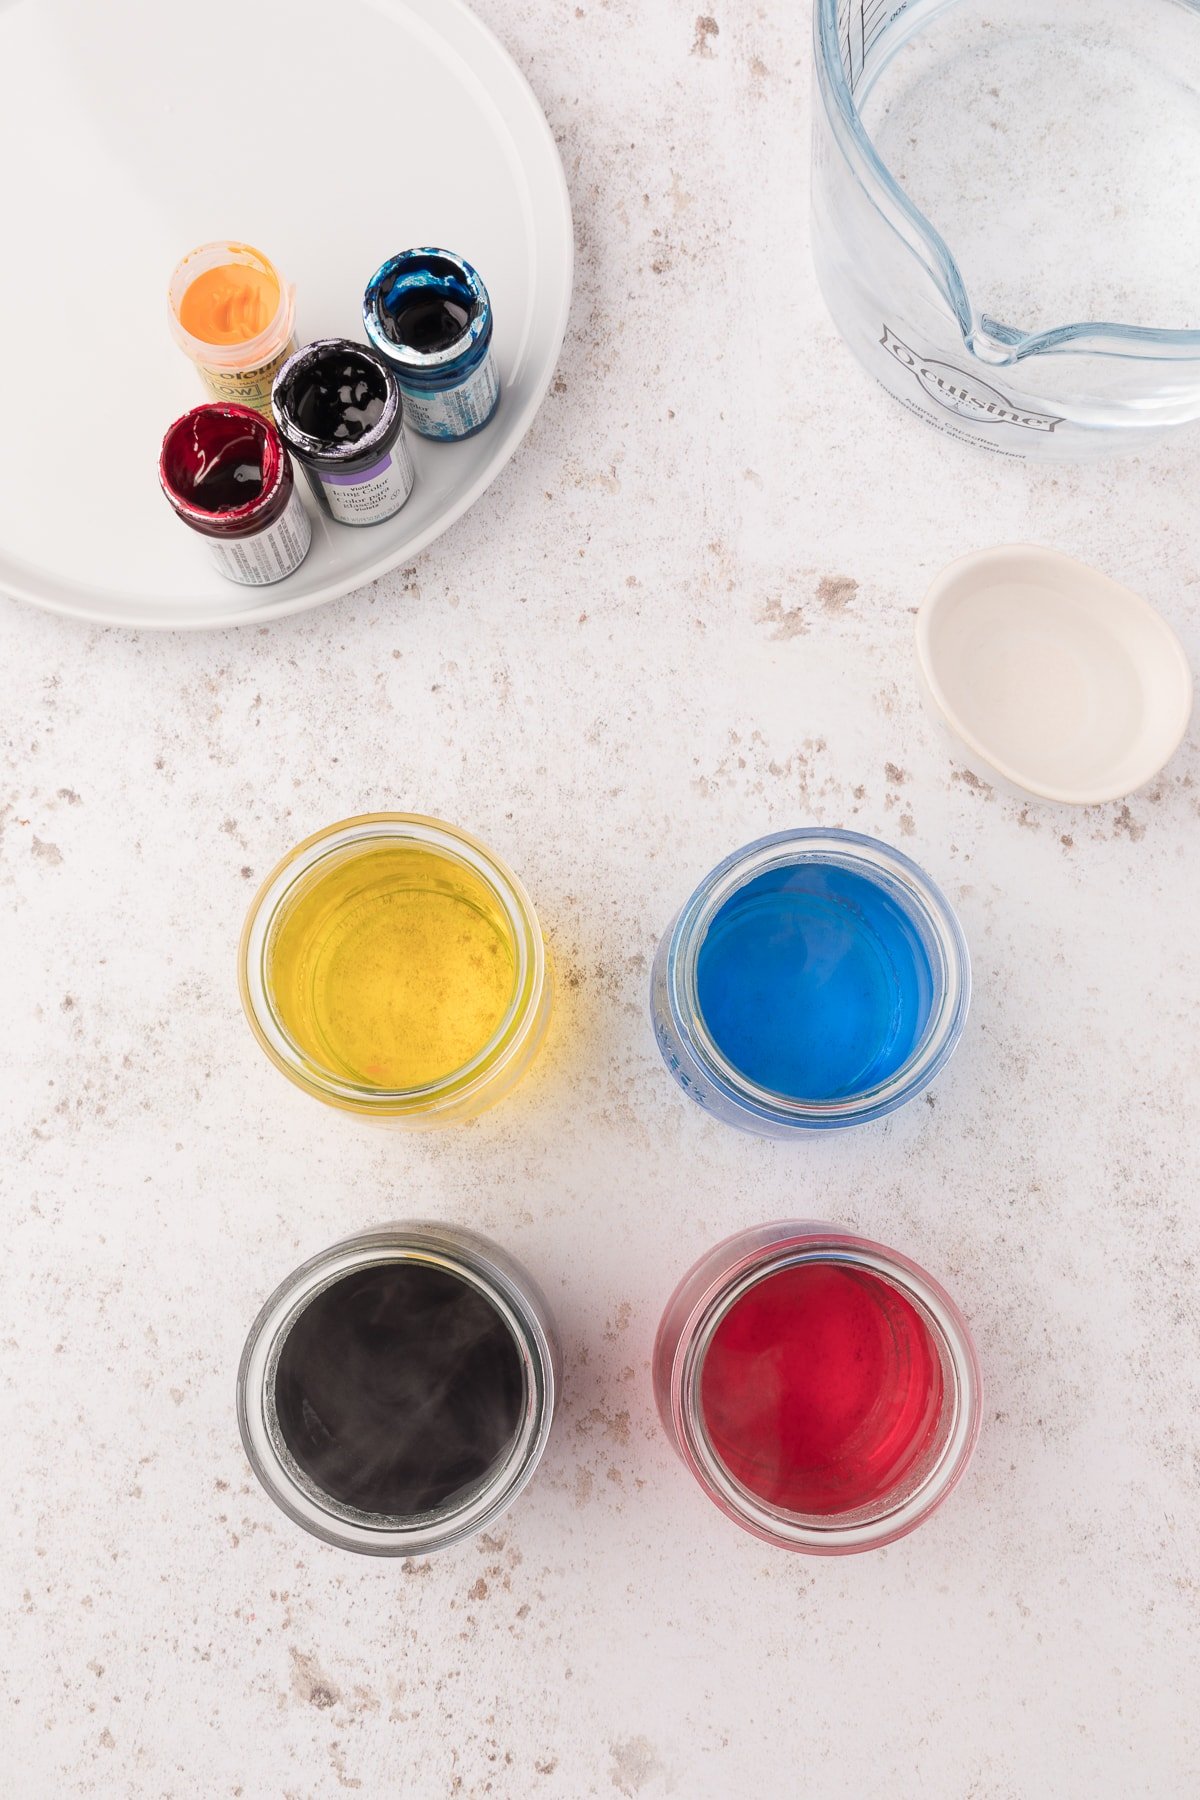
There’s no need for store-bought kits when you can use this recipe with ingredients you probably already have in your kitchen. Here’s what you’ll need:
- Eggs– Let the eggs sit on the counter for about 30-minutes so they reach room temperature. By bringing the eggs to room temperature, they are much less likely to crack in the hot water.
- Salt– Adding a pinch of salt and a splash of white vinegar once the water has reached boiling point will prevent your eggs from cracking. You will end up with perfectly set hard boiled eggs with their shells completely intact.
- Vinegar– Since the egg shell is made of calcium carbonate, it reacts with the acid in the vinegar to create ideal conditions for food coloring to dye your eggs.
- Food coloring– You will want a variety of different colors to make different dyes for your eggs. We used gel food coloring in pink, purple, yellow and blue. Liquid food coloring also works well
- Water– Water is needed for hard-boiling your eggs and coloring.
- Jars or containers– You will also need glass jars or containers to dye the eggs in.
Steps to Dye Easter Eggs
Once you have assembled all the ingredients, use this method.
Gather Ingredients
To dye Easter Eggs without a kit, we will need to gather ingredients we will need, like food colorings, vinegar, and eggs – as well as jars for dying.
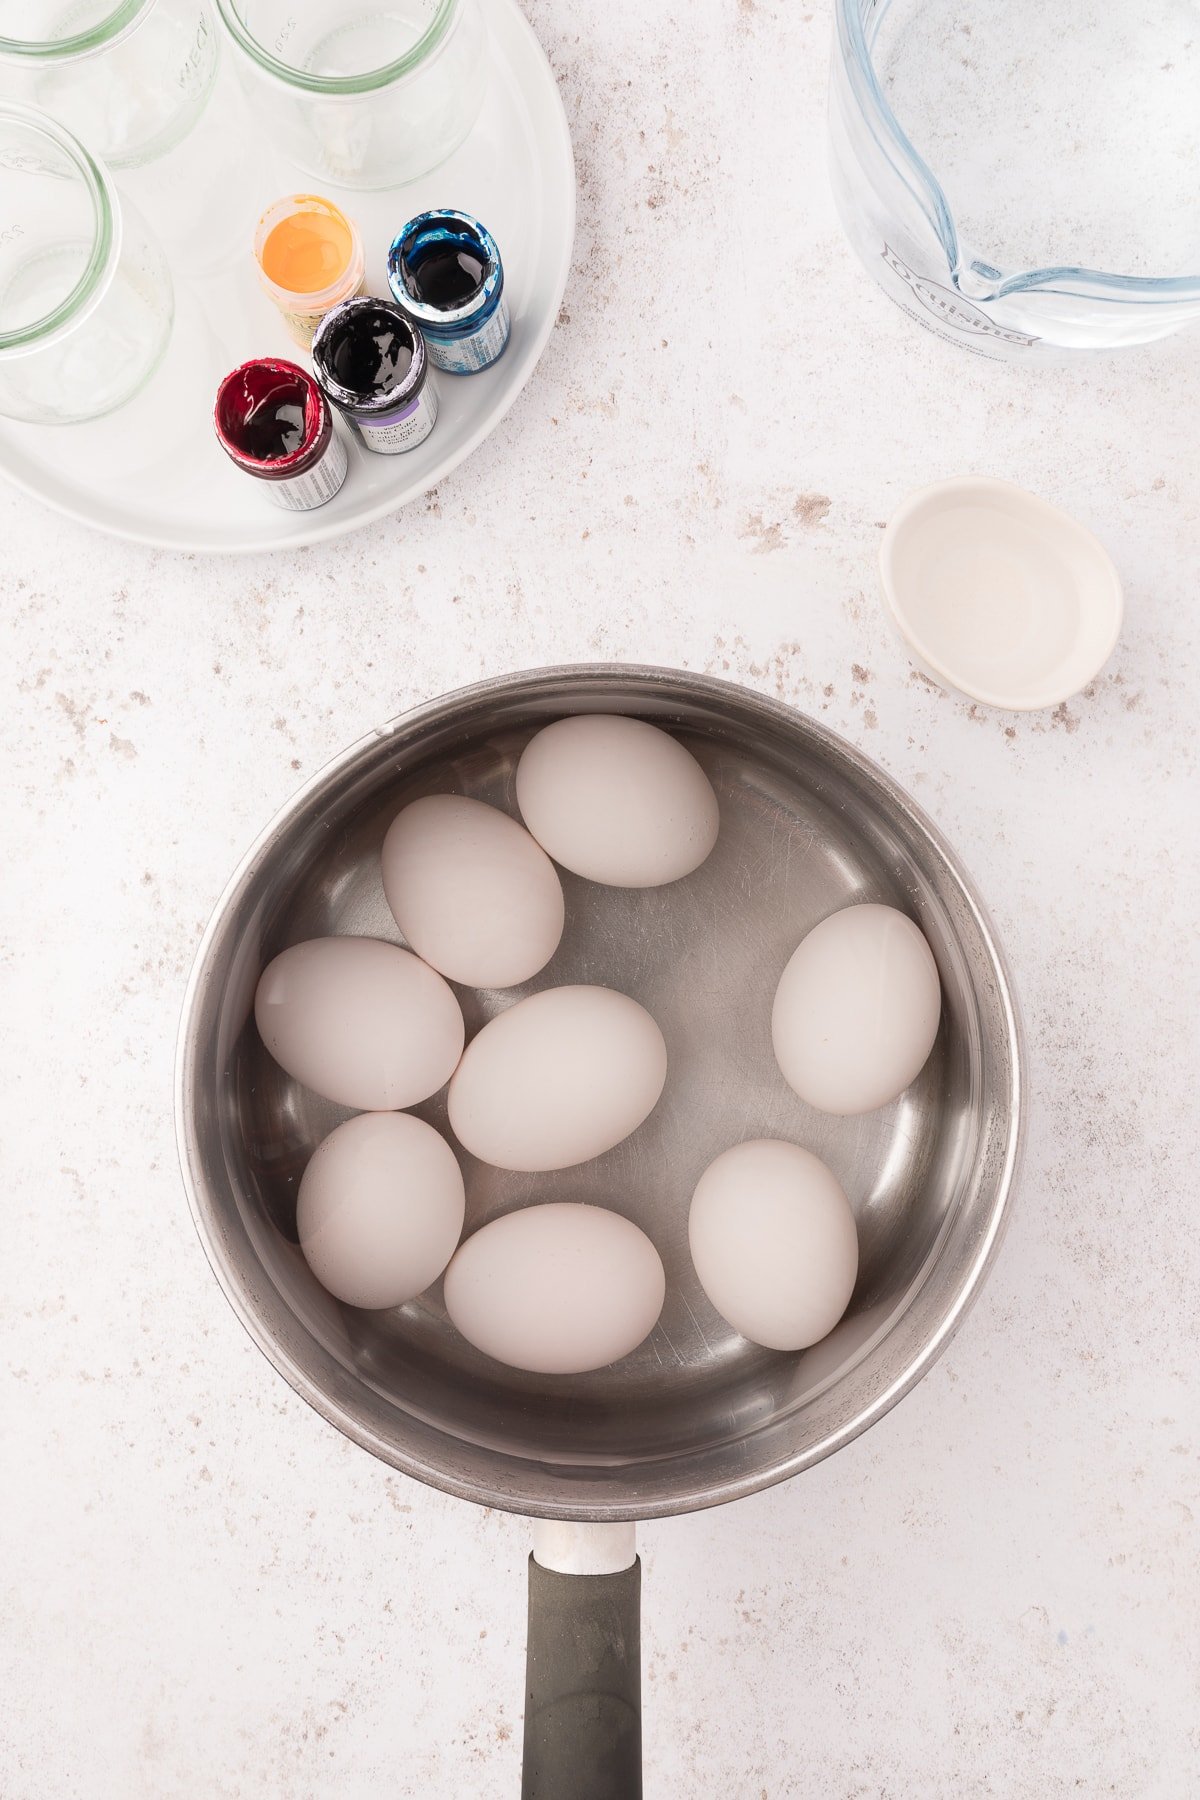
Boil Eggs
First, you will need to hard boil your eggs. Fill a pot with a couple inches of cold water, add the eggs, and then cover the eggs with cold water.
Make Egg Dye Jars
While you’re waiting on the eggs, boil a kettle. Then, fill each of your jars or containers with boiling water and 2 teaspoons of white vinegar.
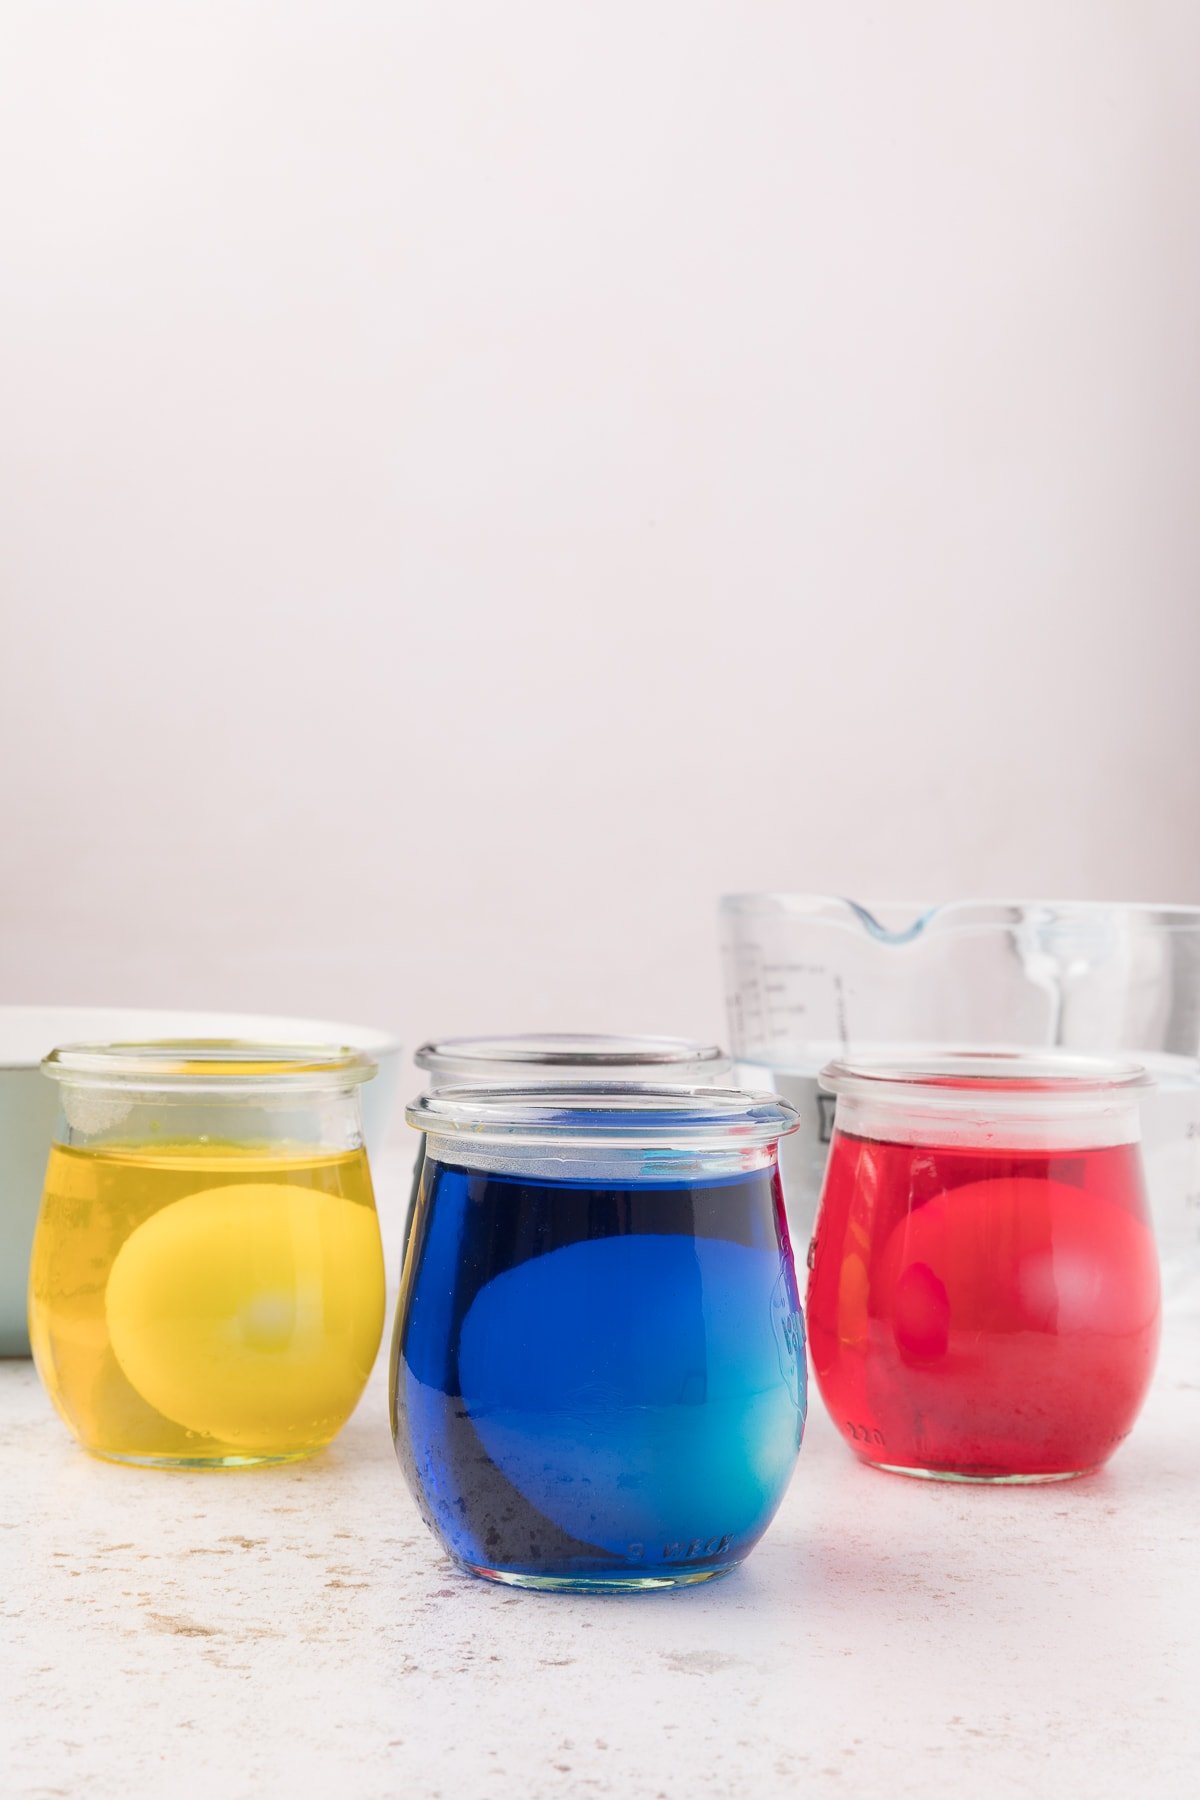
Dye Eggs
Once the eggs have sat for 12-minutes, allow them to cool completely before dying the eggs.
Tips and Tricks to Perfect Egg Dying
Deeper Colors: For a deeper more intense color add more food coloring.
Pastel Colors: For a lighter pastel shade, add less food coloring. You can experiment as you go and switch out the water/food coloring to get the desired shade.
Cool eggs: You can dye the eggs while they are still warm, but it is easier to dye them after they have cooled.
Start with Room Temperature Eggs: Let your boiled eggs come to room temp before dyeing—they take color more evenly and won’t crack as easily.
Use White Vinegar for Vibrant Color: Add 1 tablespoon of white vinegar per cup of dye liquid (water + food coloring). It helps the dye bond with the eggshell for richer, deeper hues.
Use Gel Food Coloring for Bolder Shades: Gel food coloring gives more intense color than liquid dyes. Start with just a few drops and build from there.
Time = Saturation: The longer you soak the eggs, the deeper the color.
- Pastel? 3–5 minutes.
- Bold? 8–10+ minutes.
Just make sure to stir occasionally for even coating.
Gently Wipe, Don’t Rinse: After dyeing, pat eggs dry with a paper towel instead of rinsing. Rinsing can fade or streak the color.
Chill in an Egg Carton: Place dyed eggs in an empty egg carton to dry completely—this prevents smudging and dripping.
Try Natural Dyes for Earthy Tones: For a natural look, try:
- Red cabbage = blue
- Onion skins = rust orange
- Turmeric = yellow
- Beets = pink
Simmer each ingredient in water, strain, and add vinegar before soaking eggs.
Add Texture with Crayons or Rubber Bands: Draw on eggs with white crayons before dyeing for fun resist designs. Wrap eggs in rubber bands for cool stripe patterns.
Shine Them Up: After eggs are dry, lightly rub with a drop of olive oil for a beautiful sheen.
More Easter Recipes You’ll Love
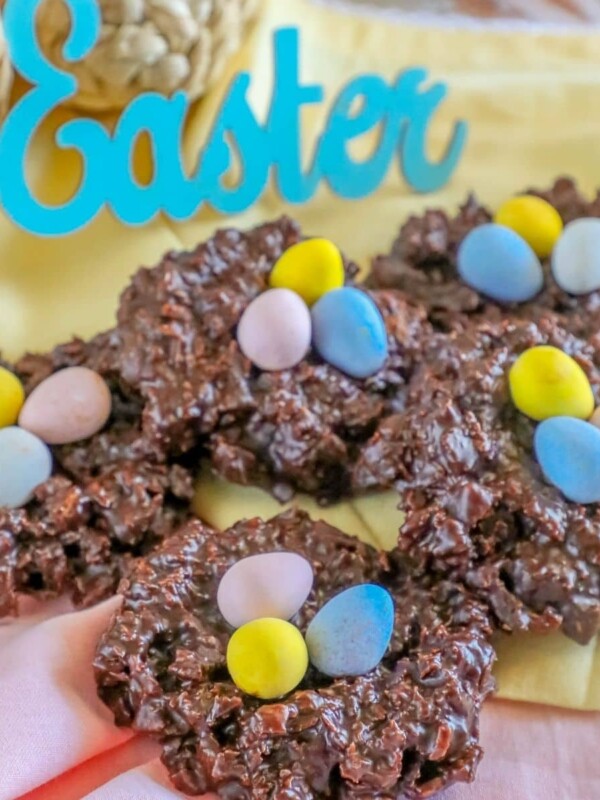
Although coloring Easter eggs is a timeless tradition, you can get into the holiday spirit with some tasty treats too! After you’ve dyed eggs, have the kiddos help make Last Minute Easy Easter Egg Cookies or Easy Cadbury Mini Egg Blondies as a treat. If you feel like getting into the spring spirit, check out my compilation of Easter and Spring Card Printables to use to decorate your house.
Also, check out my web story on dyeing the perfect pastel Easter eggs!

For more fun Easter recipes, click here.
If you love this easy recipe please click the stars below to give it a five star rating and leave a comment! Please also help me share on Instagram, Facebook, and Pinterest!
Share on Facebook
SharePin this now to find it later
Pin ItFollow on Instagram
Only have 30 minutes to get dinner on the table? Sign up for my 30 minute dinner plans direct to your inbox!
Find and shop my favorite products in my Amazon storefront here!
How to Dye Easter Eggs
Ingredients
- 12 white shell eggs
- Pinch salt
- ½ cup white vinegar
- food coloring in various colors
- water
Instructions
- First, you will need to hard boil your eggs. Fill a pot with a couple inches of cold water, add the eggs, and then cover the eggs with cold water.
- Put the pot on the stove and bring the water to a boil.
- After the water is boiling, add a pinch of salt and a splash of white vinegar. Then, turn the heat off and put a lid on the pot. Let it sit for 12-minutes.
- While you're waiting on the eggs, boil a kettle. Then, fill each of your jars or containers with boiling water and 2 teaspoons of white vinegar.
- Next, add as much or as little food coloring as you prefer.
- Once the eggs have sat for 12-minutes, allow them to cool completely before dying the eggs.
- Then, drop each egg one at a time into the jars of dye. Let them sit for 5-minutes to absorb the colors.
- Remove the eggs from the jars when they have reached a color you are happy with using tongs.
- Put your dyed eggs in an egg carton or on a paper towel to dry.
- Repeat the process for all the hard boiled eggs.
- Have fun and enjoy!
Notes
Nutrition
Nutrition information is automatically calculated, so should only be used as an approximation.
Dyed Easter Egg FAQs
To hard boil eggs, you will turn your stove to medium high or high until the water boils. After you have brought the eggs to a boil, you will let the eggs sit for 12-minutes with the heat off.
It will take you about 20-minutes to prepare all the colors, and 12 minutes to cook the eggs. If you are dying your eggs while they are still warm, you will be able to dye them in about 32-minutes. If you prefer cool eggs, you’ll add on at least another 10-minutes.
Colored eggs are edible and can be stored just as you would regular hard boiled eggs. Place your eggs in an egg carton or other container and store them in the refrigerator for up to 3-days.
White vinegar works best for dying eggs, but if you don’t have any, you’ll need another acidic substitute. Lemon juice would work as a substitute if you don’t have vinegar. Additionally, you could just use water, but the eggs would not be as vibrant.
There are lots of ways to make your eggs creative and fun. Kids will love trying out different ideas. Here are some ways to get creative:
1. As stated above, you could use rubber bands to create stripes, or you could get creative in other ways.
2. Place decals on the egg before placing it in the dye. After you dye the egg, let it dry, and then remove the decals to reveal the shape on the egg.
3. Use a white crayon to draw designs or words on the egg. Then, place the egg in the dye. The dye will not color that part of the egg.