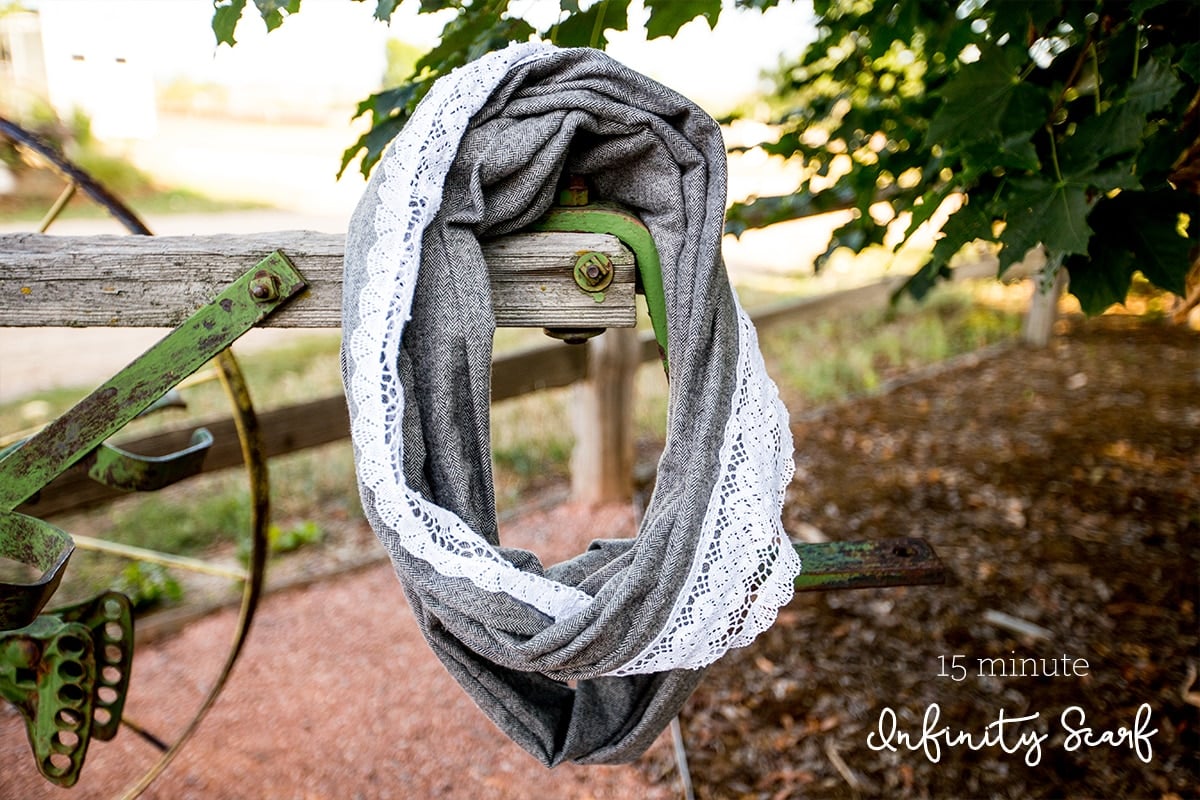
15 Minute Lace Embellished Infinity Scarf
Sep 23, 2015, Updated Feb 12, 2023
This post contains affiliate links. Please read our disclosure policy.
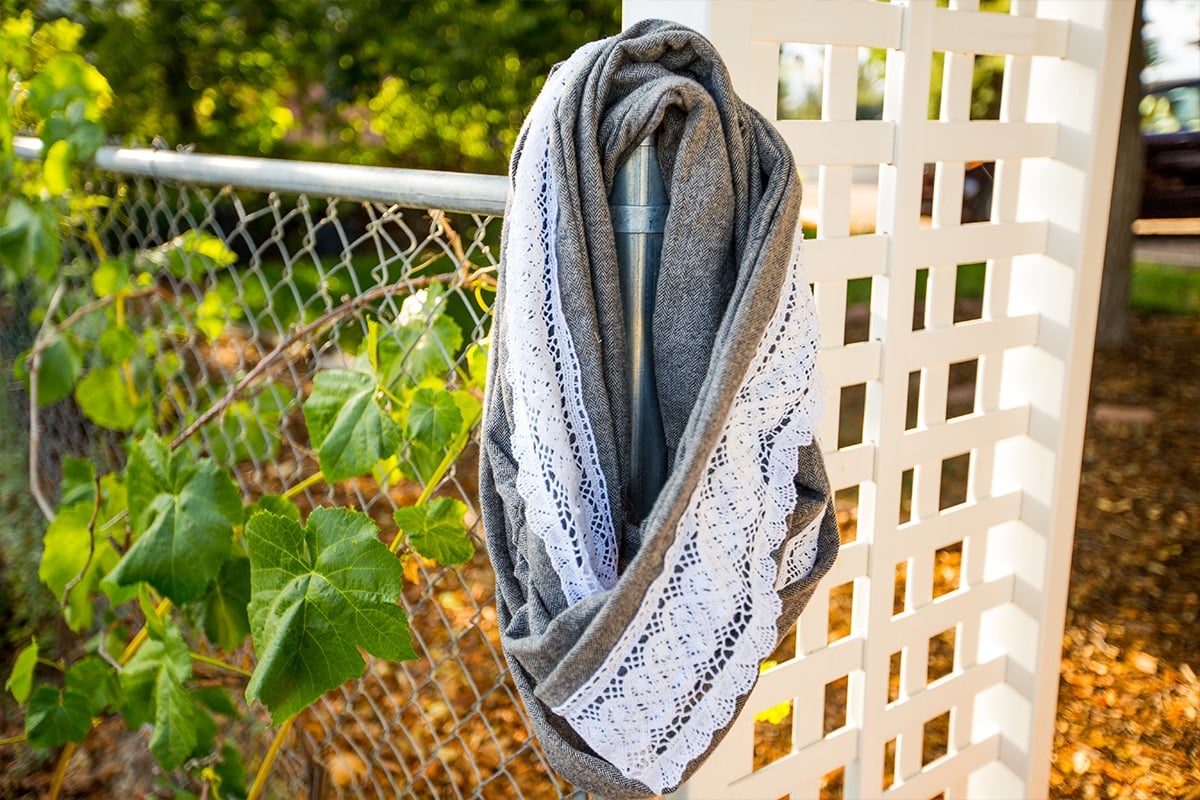
This 15 Minute Lace Embellished Cotton Infinity Scarf is a gorgeous fall accessory and fantastic beginner sewing project!
This article first appeared on the Jo-Ann Fabric and Craft Stores Blog, The Creative Spark.
I love fall- it is such a beautiful time outside- and this year, since we’ve moved to a small farm, I really can’t wait for all the beauty of autumn. The thing I am most excited for though? Scarves! I am a scarf addict- I can’t get enough. While I am not a sewist by any stretch of the word, I love making beautiful, easy infinity scarves. Quick and easy five minute infinity scarves were one of my first projects ever on Sweet Cs Designs!
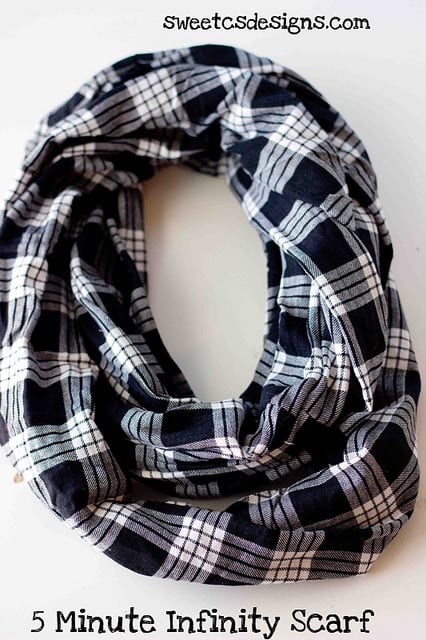
A few years ago, I shared my secret to quick and easy infinity scarves you can make in just ten minutes that you can see here– but today I am upping the glamour with a fun and feminine twist- some cotton lace detailing.
Cotton lace is fabulous to work with- it is easy to sew over (or even glue onto projects!!) It is also easy to clean and great for people looking to avoid synthetic fabrics. And when it is added to a luxurious cotton fabric scarf, it is so beautiful!
This scarf is a wonderfully easy project- and great for beginners or experts! I actually honed my sewing skills making infinity scarves since we’re just sewing a few straight lines.
To make this scarf, you’ll need:
2 yards cotton fabric (I went for flannel wardrobe fabrics)
2 yards cotton lace ribbon
Sewing Machine
Scissors
Optional- Iron-on hemming tape or fabric mod podge
Optional- Pins
First, we need to cut the fabric. To get the long, flowy shape of an infinity scarf, you need to fold it in half lengthwise, to make a long rectangle. For apparel fabrics, your material should already come folded this way, making it easy.
Cut the fabric down the middle to create two long strips.
Identify which sides of the fabric you’d like to be the inside and outside. I chose a fabric that looks the same inside and out- so it didn’t matter, but if you’d like to do a printed fabric, you’ll need to pay attention to which side you’d like showing.
Fold the fabric so that the outside (side you’d like to show) of the fabric is inside.
Sew a quick straight line at the top of the two fabrics to create a seam, joining them together to make a very long strip. This seam will end up inside your scarf, so you don’t need to pay too much attention to how it looks if you are a beginner.
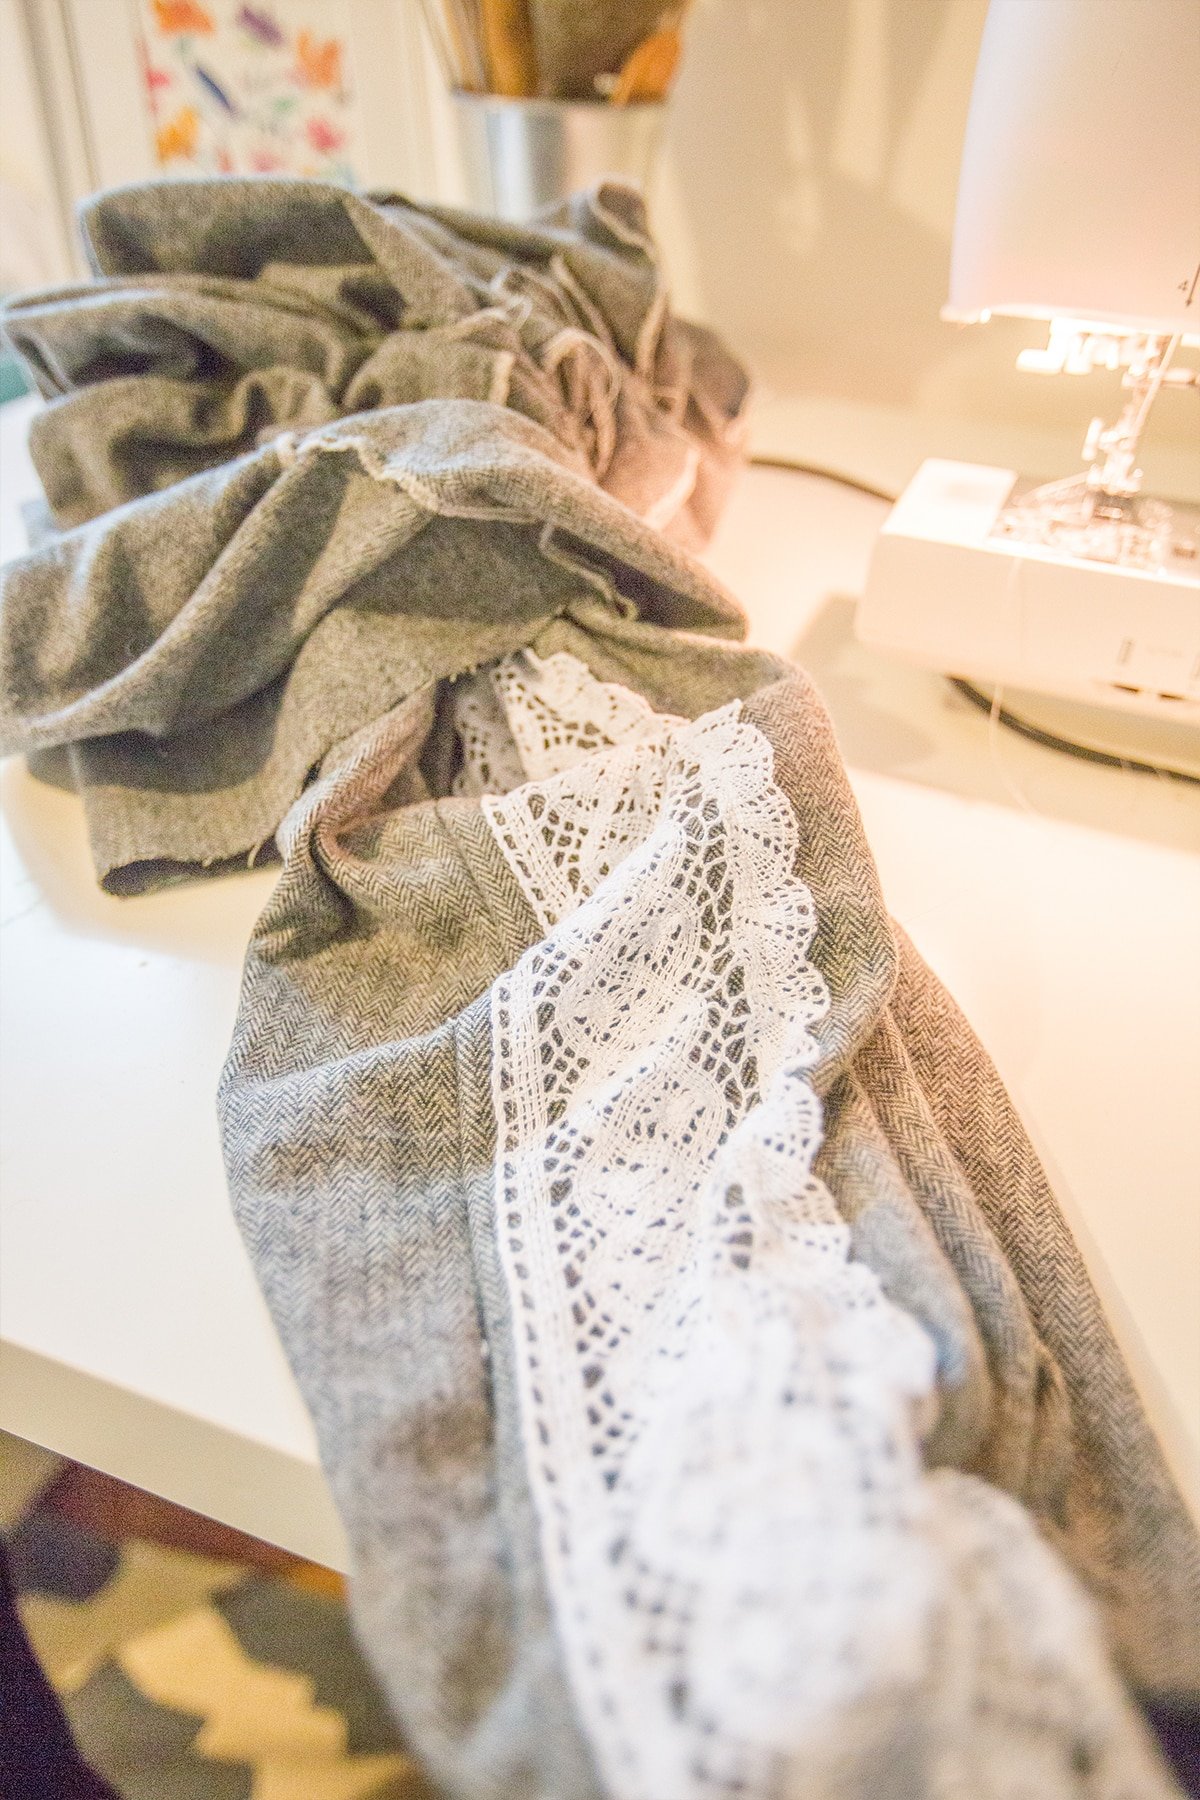
At this point, you have two options. You can either sew the lace trim onto the scarf (chose a coordinating thread and run a straight stitch along the sides through areas with a lot of detail)- OR you can iron on the cotton ribbon with hemming tape/glue it on with fabric mod podge.
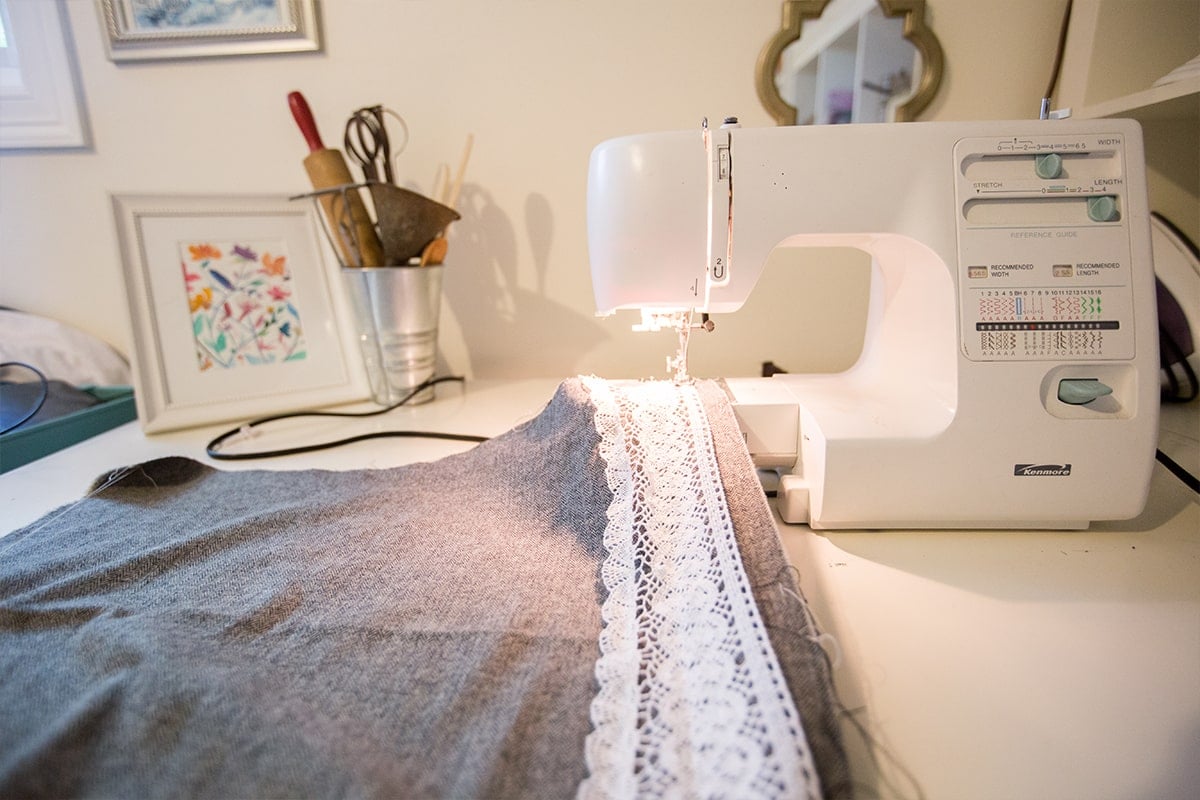
Both ways work well- just be sure to add them to the finished side. If you plan on washing your scarf option, sewing it is the easiest way to keep the lace safe (be sure to wash in a delicates bag on cold, and hang to dry. I put mine in for a no-heat cycle to fluff them after line drying.) I was worried I might see the stitch after sewing it on, but I can barely find it when I look very closely!
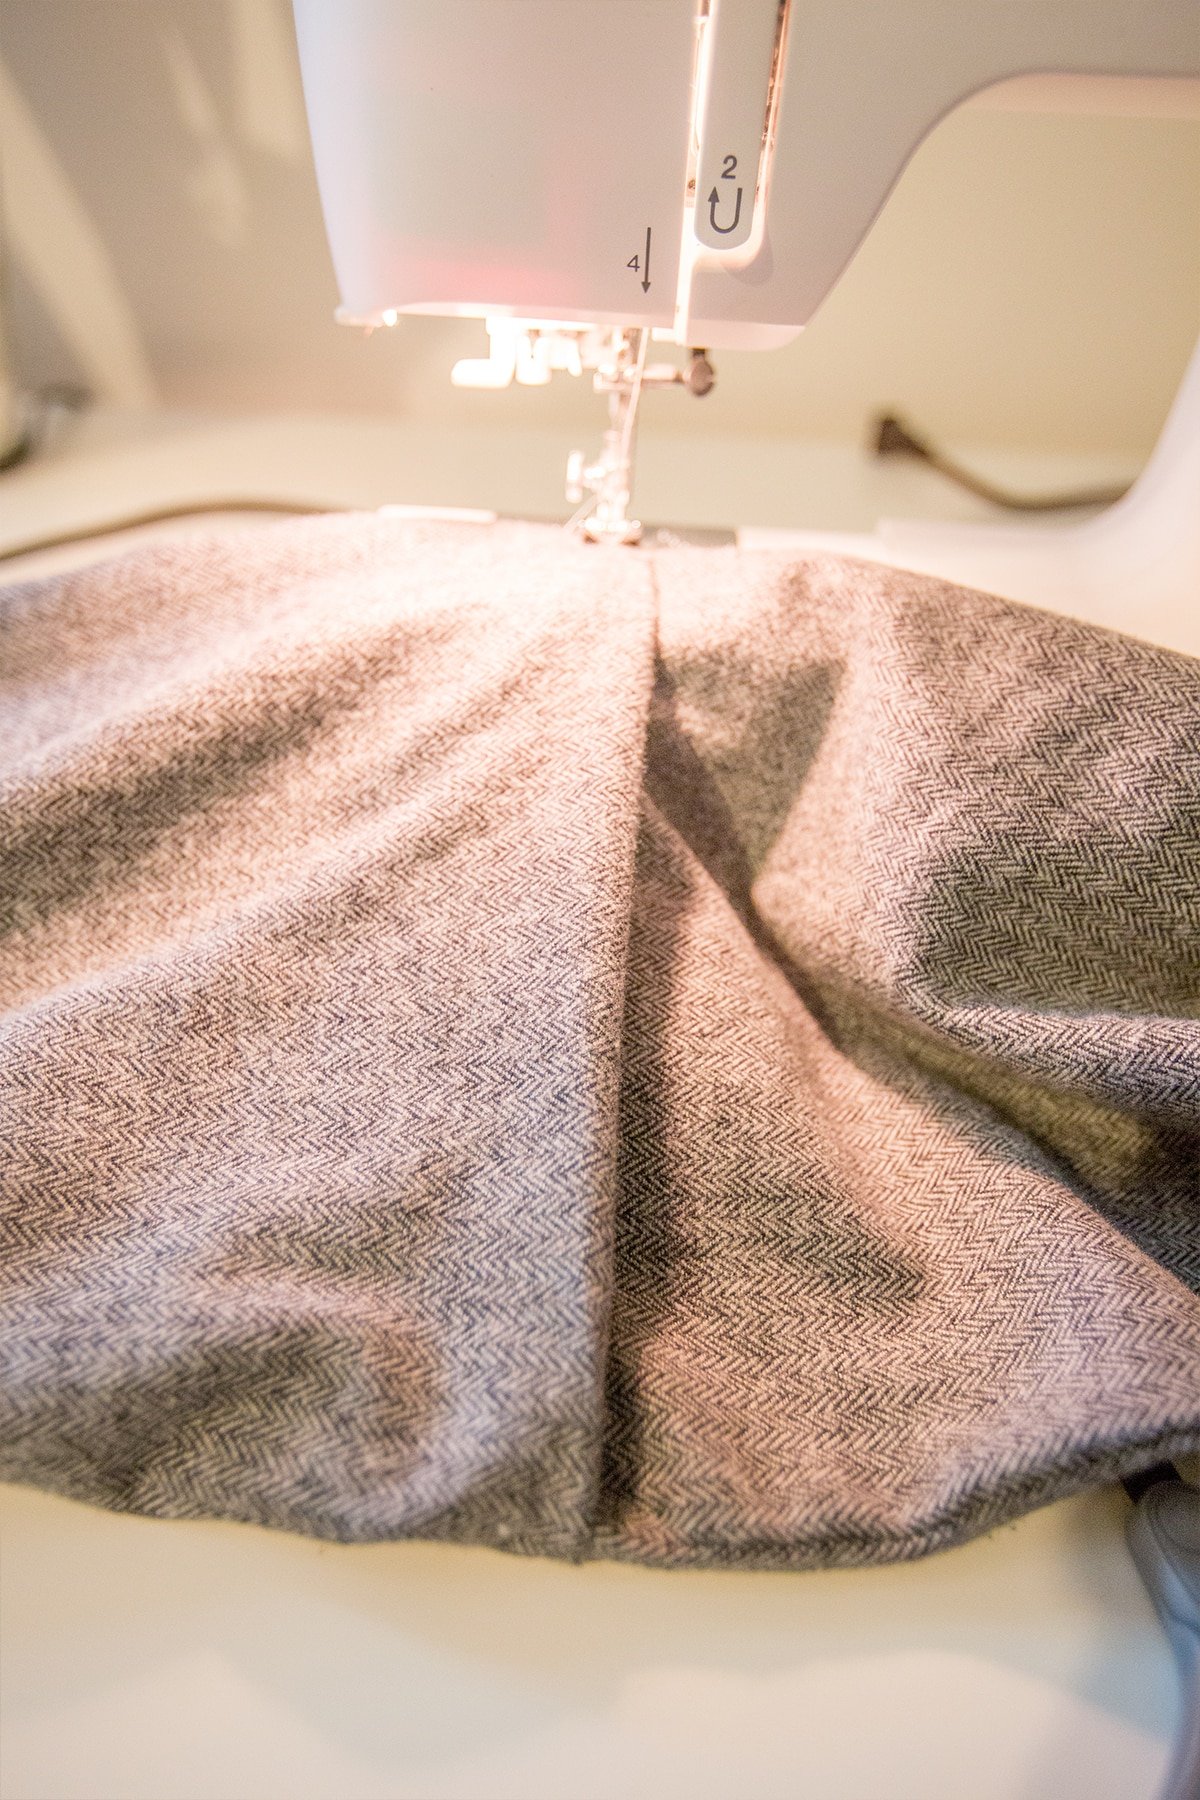
Once the lace detail is added on, fold the scarf in half, lengthwise, so that the lace now sits inside the long strip and your seam will be facing out.
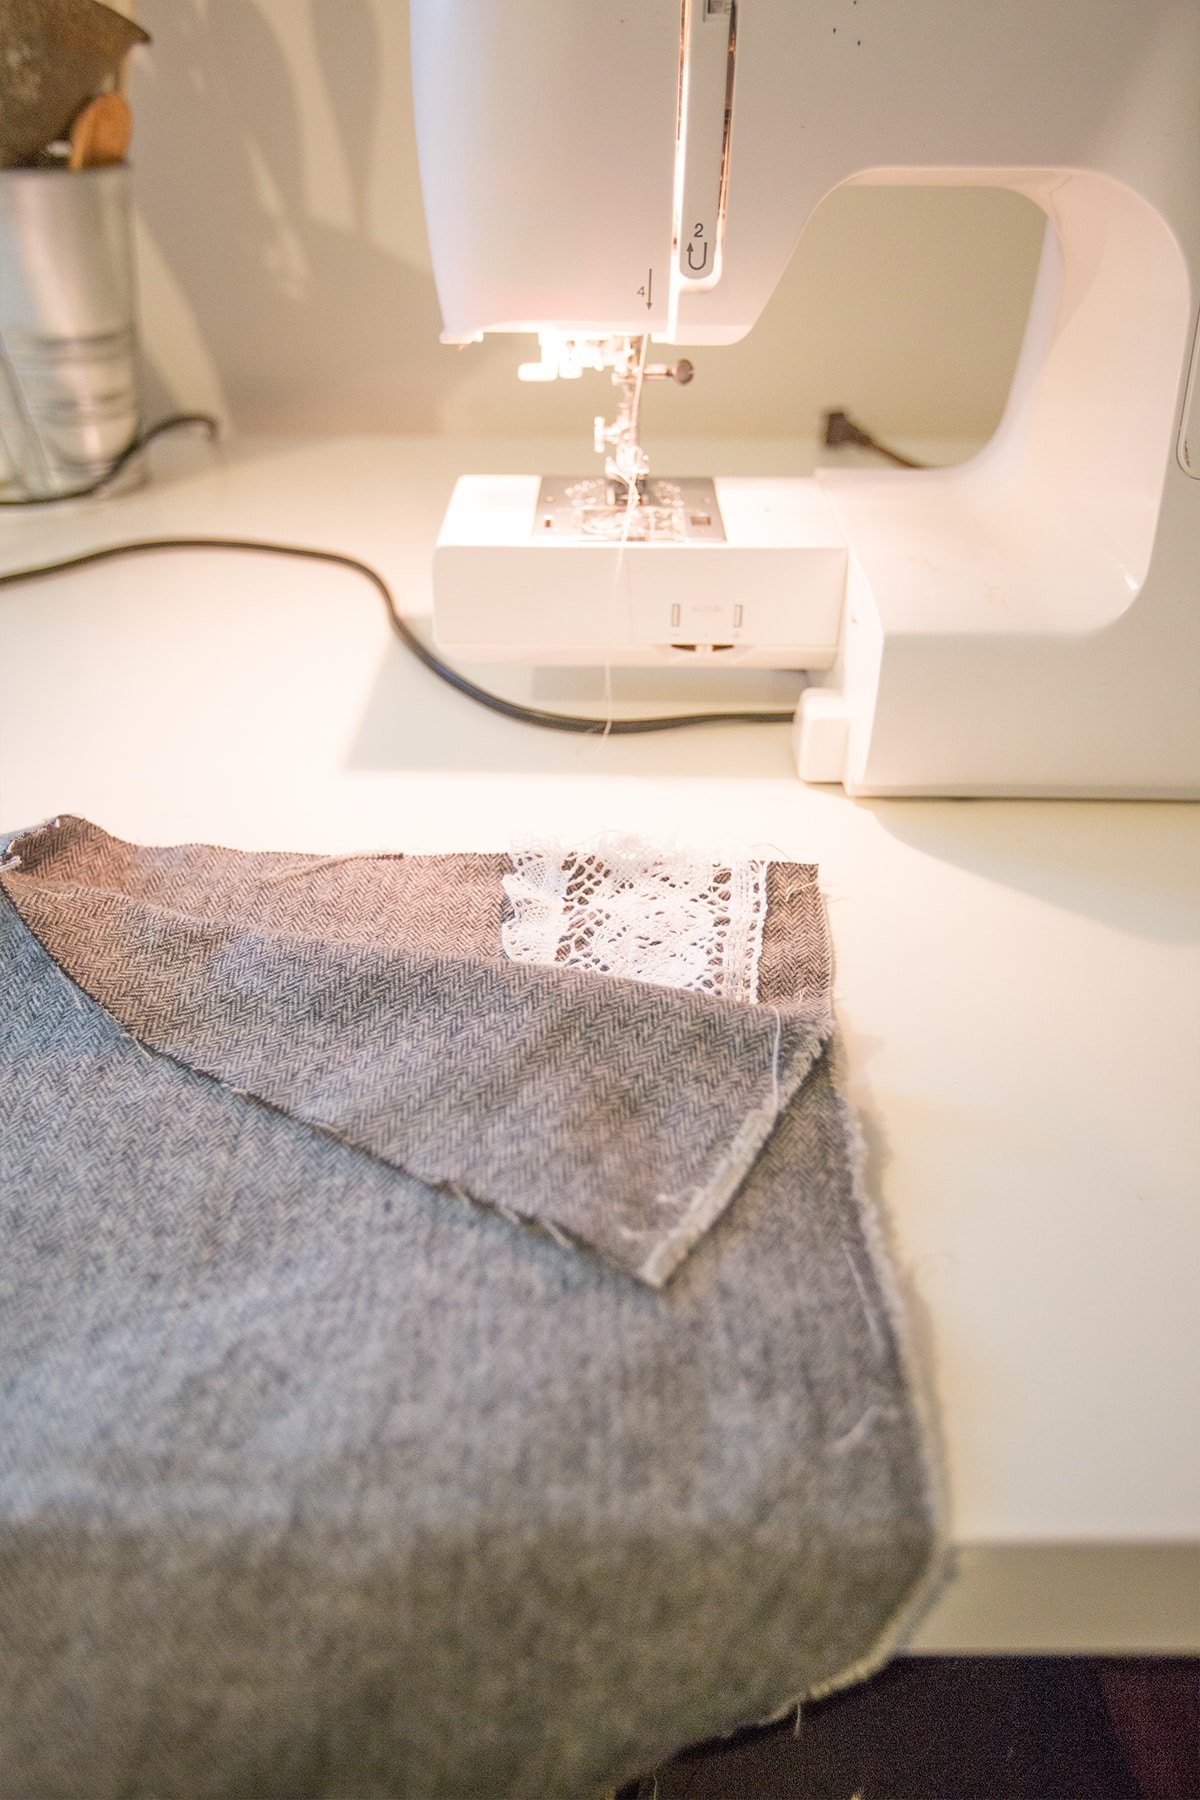
Starting at the top of your long strip of fabric, sew a straight line with 1/2” seam allowance. Don’t worry if the line isn’t perfect- but try to keep it as straight as you can, to avoid giving your scarf an odd shape. Little variances won’t matter- but an inch might. If you’re committed to a perfectly straight line, you can pin the material in place. I usually skip that step though because it doubles the time it takes to make this scarf.

You won’t see the seam when the scarf is finished, making this a perfect beginner project.
When you’ve finished, you will have a long inside-out tube. Carefully turn it right-side out (don’t pull on the lace too hard!)
Tuck the edges inside one side of the scarf about 1”.
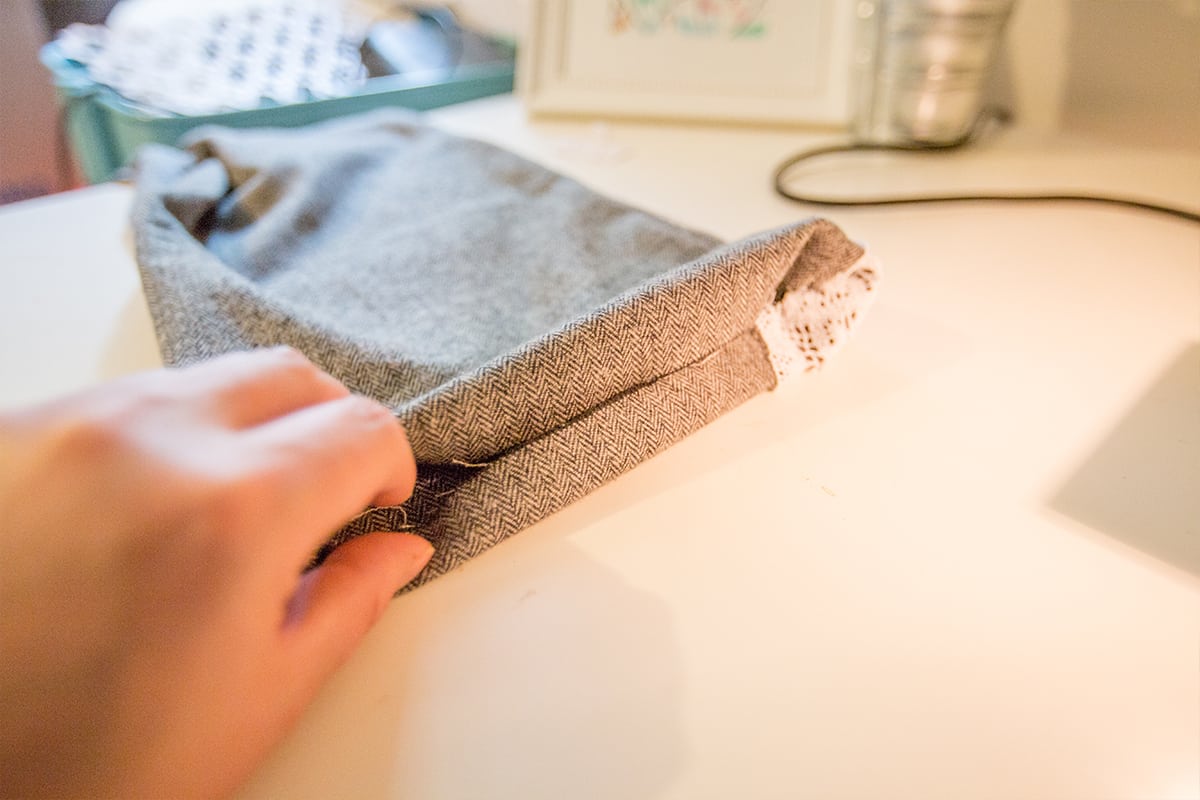
Slide the other side into the side you folded down. Pin in place.

Make a straight stitch on top of the two ends to join them together. This seam is very minimal- I keep it to the back of my scarf so you can’t see it- but the lace detail helps to hide it as well.
You now have a beautiful scarf! These are perfect to loop three times around, and are even great for tall girls like myself (many infinity scarves look comically short on me, so this one is perfect!).
Helpful tips:
Keep a seam ripper on hand- mistakes aren’t a big deal since we’re hiding most of the seams on this scarf, but you want to be sure that you have secured it well. I had a gap in one I didn’t find until later, and had to take the whole thing apart. Checking closely and going over your work will help prevent this!
Opt for high quality cotton- cotton lasts long, is comfortable, wicks moisture and helps retain heat- basically everything you want in a scarf. It’s also a breeze to work with, especially for beginners. Cotton is forgiving, slides through your machine easily, and isn’t temperamental!


Glad to have found your recipes, especially jumbo muffins. They are so much like the ones I have been baking for years, but Better!
After reading thru your tips and tricks; I got a better understanding of the temp adjustment, wahla=better muffins!
Being a “sweet c” myself, I signed up for your emails to see what else I may find.