This post contains affiliate links. Please read our disclosure policy.
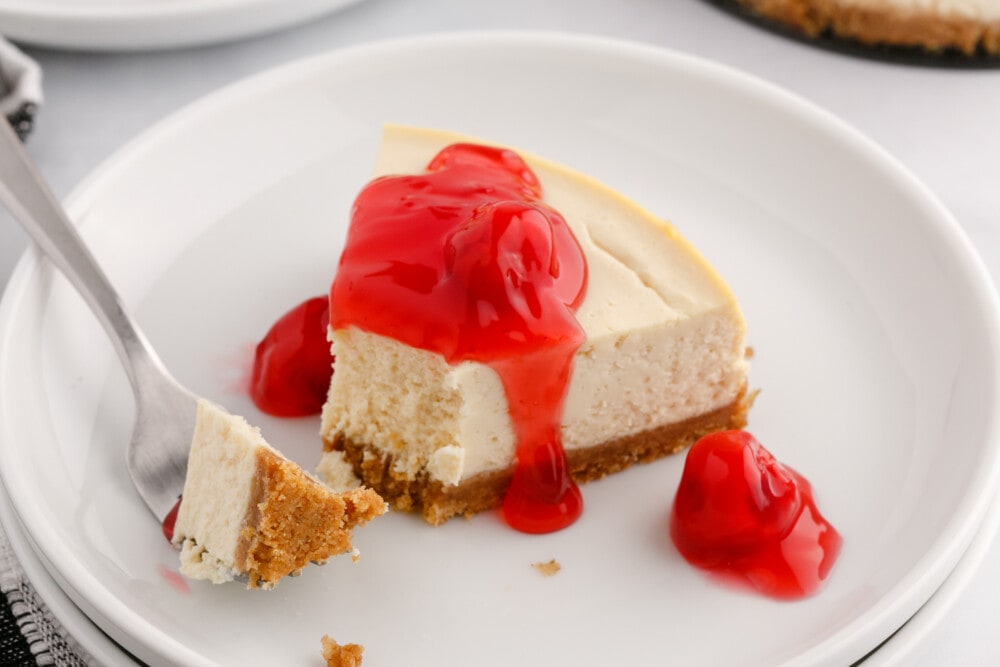
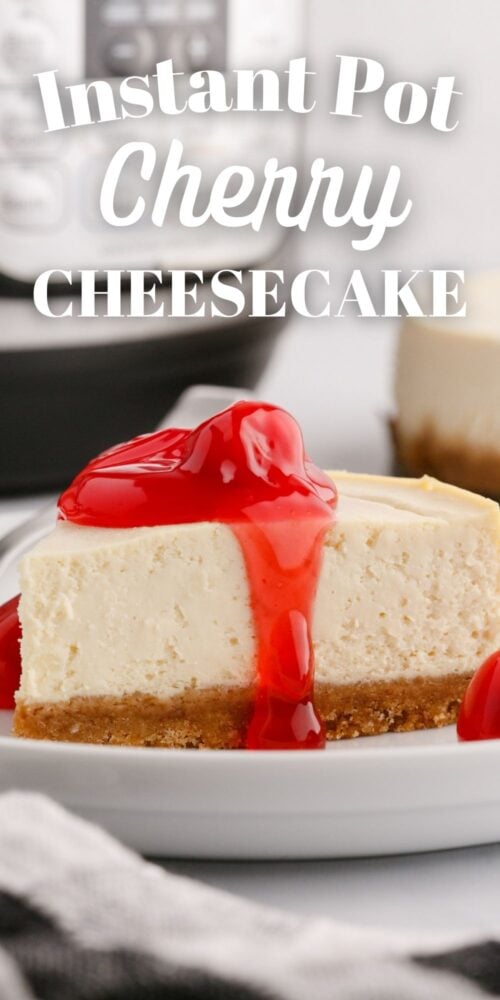
Skip the fussy recipes and cheesecake confusion with this easy, simple to prepare cherry topped cheesecake recipe – right from your instant pot!

Don’t want all the extras in a recipe post? We provide a skip to recipe button in the top left corner, as well as a clickable table of contents, just below, to help make this page easier to navigate.
At Sweet C’s, I add lots of tips in all of my recipes – because I am a home cook without any formal training, and I find I am more confident making dishes when I understand why it works, and what each ingredient means to the flavor of a recipe. My goal is for even the most beginner home cook to feel empowered in the kitchen.
Table of contents
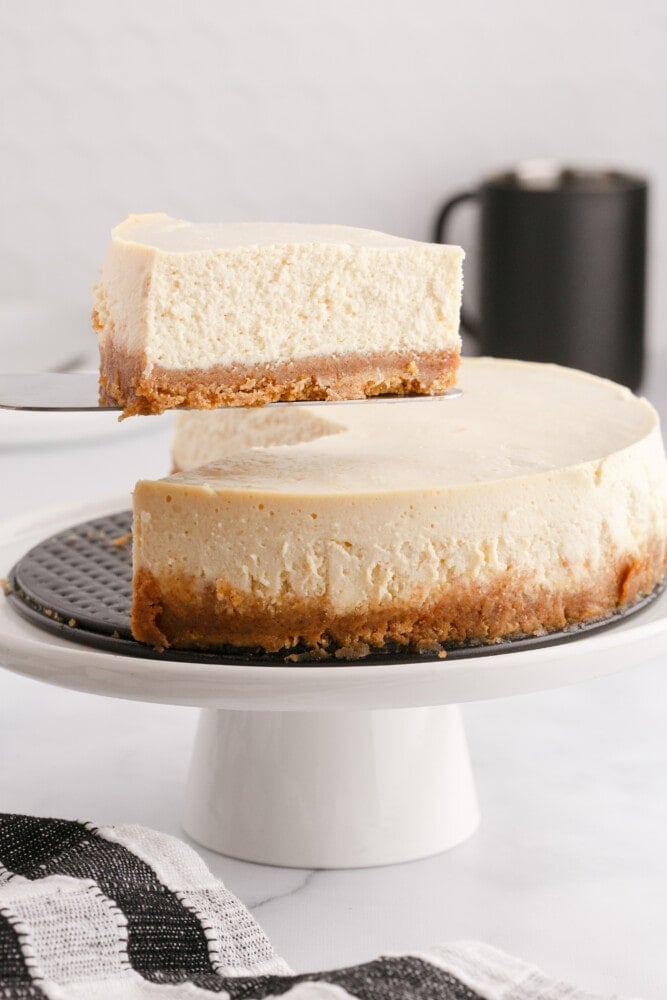
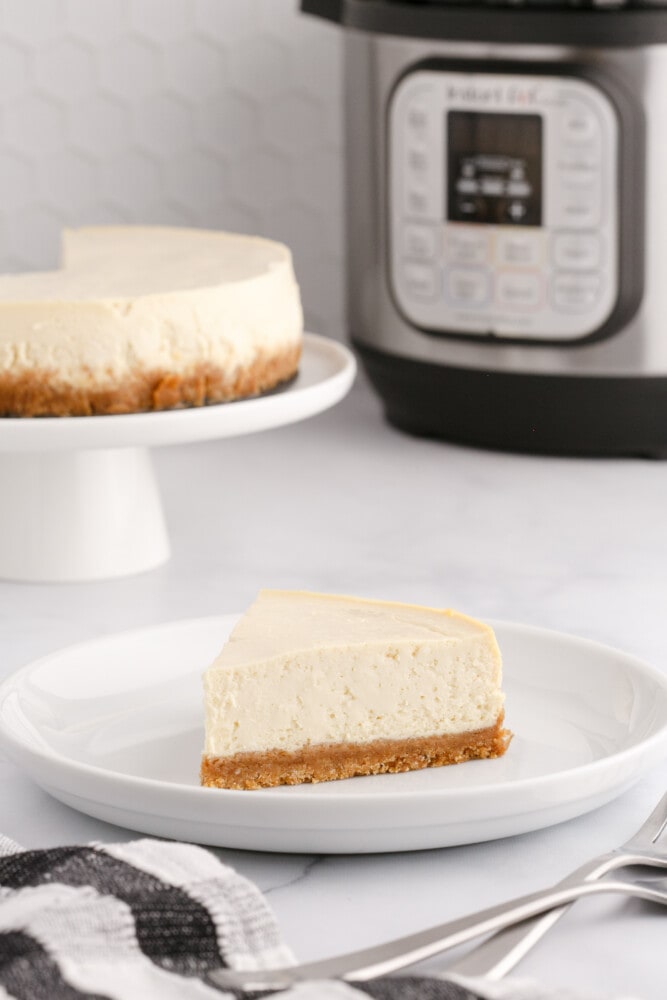
Easy Instant Pot Cheesecake
Cooks everywhere have been raving about making Instant Pot cheesecake. In fact, cheesecake remains at the top of the list of popular Instant Pot recipes. This is because the pressure cooker creates the perfect environment for making a smooth and creamy cheesecake that doesn’t crack.
Not only is this the best cheesecake, but it’s much quicker than traditional baking. This easy Instant Pot cheesecake only takes 75-minutes to cook which includes prep time whereas a baked cheesecake takes 1 hour and 45-minutes to cook and prep.
How To Make Instant Pot Cherry Cheesecake
For this recipe, you will need ingredients for the sweet graham cracker crust, filling, and the cherry topping. Here’s what you’ll need:
- Water– Since you are using the Instant Pot, you will need 1 ½ cups of water put in the inner pot to create the steam that cooks your cheesecake.
- Graham cracker crumbs– You can either place whole graham crackers in a ziploc bag and crush them, or you can buy premade graham cracker crumbs.
- Butter– You will need to use unsalted butter. Melt it in the microwave in a bowl in 30-second increments until thoroughly melted.
- Light brown sugar– Use your measuring spoon to scoop and pack the brown sugar. This recipe calls for light brown sugar, but you can use dark brown sugar if that’s all you have.
- Cream cheese– Let the cream cheese sit on the counter for about 30-minutes. You want it to be at room temperature.
- Sugar– Use your measuring cup to scoop and pack the sugar.
- Eggs– In baking, room temperature eggs work best. Set the eggs on the counter with the cream cheese for about 30-minutes prior to using them.
- Heavy cream– To make 1 cup of heavy cream, mix 2/3 cup of whole milk with 1/3 cup melted butter.
- Vanilla extract– Vanilla extract complements the sugar making your cheesecake sweet and delicious.
- Cornstarch– Cornstarch is needed to help thicken the cheesecake filling.
- Cherry pie filling– This is optional, but this added topping makes your classic cheesecake irresistible.
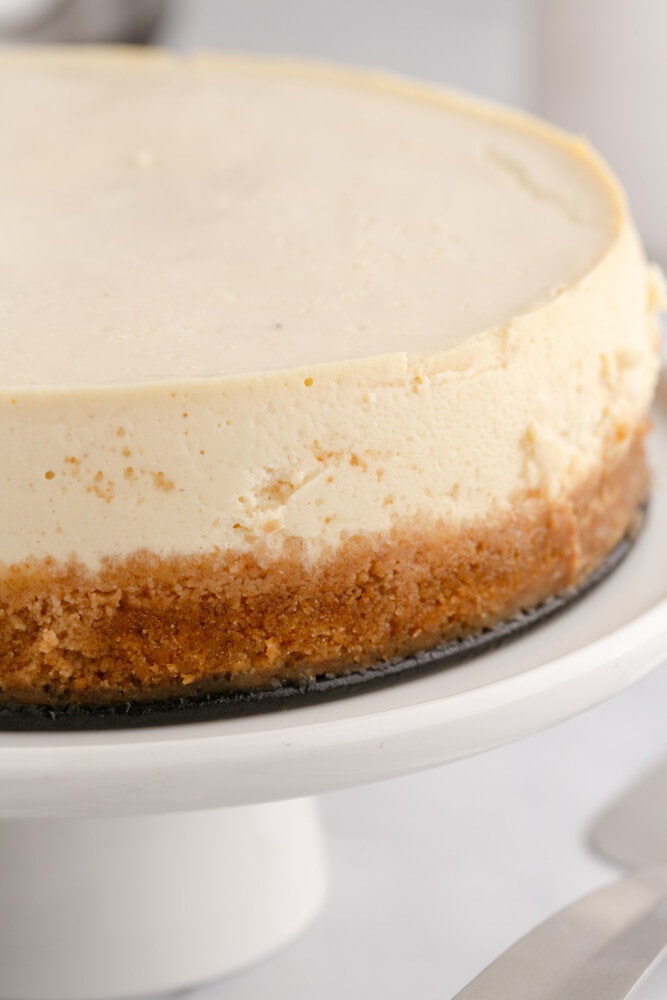
The perfect amount of crunch from the crust balances the creaminess of the filling, making this classic cheesecake one of the best you’ve ever had!


Once you have assembled the ingredients use the following method
Make the Crust. First, spray your springform pan with nonstick cooking spray. Mix your graham cracker crumbs, melted butter, and brown sugar in a mixing bowl until the crackers are covered with butter and damp. Then, transfer the graham cracker mixture to the springform pan. Spread it evenly across the bottom of the pan, and pack it down using the bottom of a measuring cup or glass. Place the cheesecake crust into the freezer for 25-minutes.
Make the Filling. While the crust is freezing, beat together your softened cream cheese and sugar with a hand mixer on medium speed. Add the heavy cream, vanilla extract, eggs, and cornstarch. Then, beat the filling until smooth.
Prep and Assemble. Pull the springform pan out of the freezer. Create a tin foil lid making sure it is loose at the top while tight along the sides. Set the lid to the side. Pour the cheesecake filling into the springform pan on top of the graham cracker crust, leaving ¼ inch at the top. Place the tin foil lid on top of the springform pan.
Pressure Cook the Cheesecake. Add 1 ½ cups of water to the inner pot. Then, place the springform pan on your trivet and place it into the inner pot. Secure the Instant Pot lid, put the pressure release valve into the sealing position, hit manual or pressure cook, and set the time for 40-minutes. When the Instant Pot beeps, allow the pressure to release naturally for 25-minutes. Remove the cheesecake from the Instant Pot, remove the lid, and allow it to cool on a cooling rack for an hour. Save the tin foil lid for later. After the cheesecake has cooled at room temperature, scrape around the edges with a sharp knife. Put the tin foil lid back on the springform pan and place the cheesecake in the refrigerator for at least 6 hours. Top with cherry pie filling, slice, and enjoy!
Tips and Tricks to Perfect Instant Pot Cheesecake:
Break up the graham crackers. Full graham cracker pieces can be pulsed in a food processor until they are crumbs or you can place them in a ziploc bag and gently smash them with a meat tenderizer.
Make sure the cheesecake filling is fully mixed. If you need to scrape down the sides to ensure everything is well combined.
Leave room in the springform pan. Ensure the cheesecake filling mixture leaves about ¼ inch at the top.
Let cool completely. Cheesecake is best if it’s allowed to cool in the refrigerator overnight. Be sure to leave it in the fridge for at least 6-8 hours.
FAQs
Since you are using an Instant Pot, you won’t have to worry about the temperature it’s being cooked at. However, if your Instant Pot has a high and low pressure cook setting, you will want to make sure that you are using the high pressure cook setting not the low.
Making cheesecake in general is a pretty lengthy process. However, using your Instant Pot means the cheesecake is prepped and fully cooked in just 75-minutes. In addition to that time, you will need to add 6-8 hours of cooling time. So, this recipe can take up to 8-9 hours altogether.
When the cheesecake is done, the center may look a little jiggly, but it will change as it cools. A slight jiggle in the center means it’s done. You can also check it with a thermometer. The cheesecake should have an internal temperature of 140-150?. If the cheesecake is not done, you can put it back in the Instant Pot for 10 minutes with another 10-minute natural release before opening the lid.
Cheesecake is moody and doesn’t take well to sudden changes in temperature. But, if you must speed up the process, wrap the springform pan with a cool towel. This will help regulate the temperature while it’s in the refrigerator and help the cheesecake cool in less time.
You will have to store any leftover cheesecake in your refrigerator. Simply cover it with tin foil or place it in an airtight container. You can keep it in the refrigerator for up to 5-days.
Absolutely! You would fully cook the cheesecake in your Instant Pot, first. Then, you will flash freeze it by placing it on a plate and putting it in the freezer for about an hour. Once it’s frozen, wrap the cheesecake tightly in plastic wrap and place it back in the freezer. It will be good for up to a month.
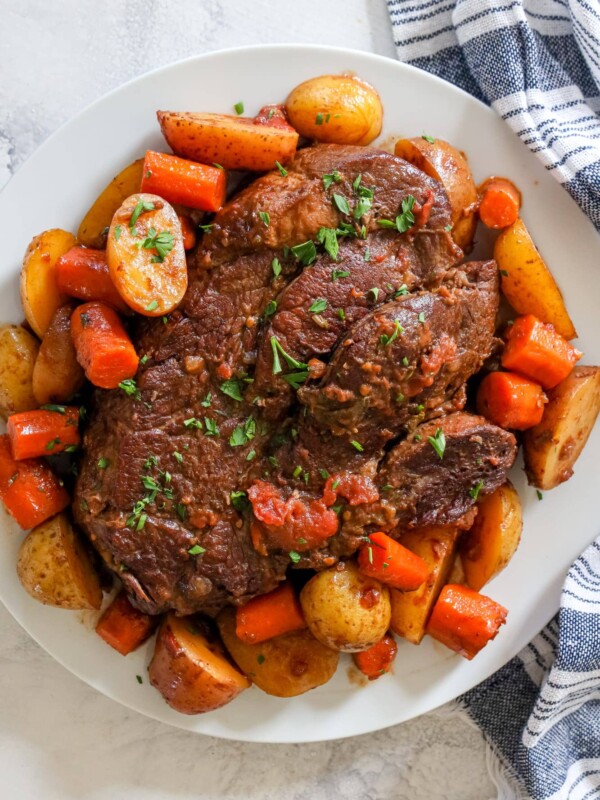
More Dessert Recipes You’ll Love
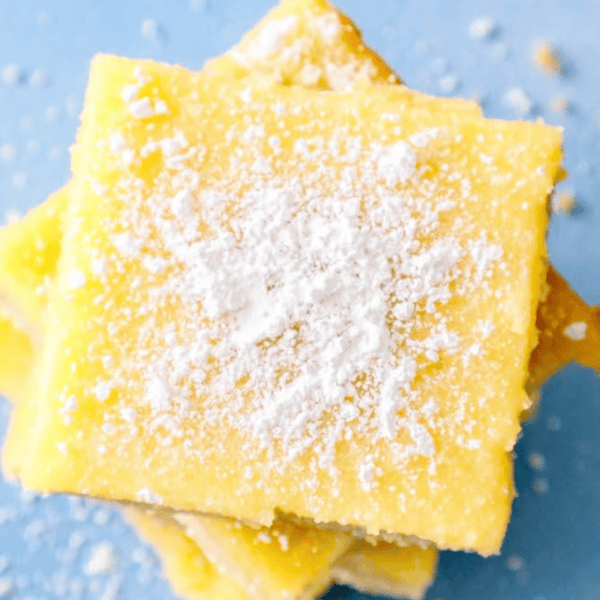
I love cheesecake! It’s so creamy and delicious and one of my favorite desserts. If you love cheesecake as much as I do, my Easy Peppermint Cheesecake Bars, Cherry Danish Cheesecake Bars, or my Instant Pot Pumpkin Oreo Cheesecake.


For more delicious desserts, click here.
If you love this easy recipe please click the stars below to give it a five star rating and leave a comment! Please also help me share on Instagram, Facebook, and Pinterest!
Share on Facebook
SharePin this now to find it later
Pin ItFollow on Instagram
Only have 30 minutes to get dinner on the table? Sign up for my 30 minute dinner plans direct to your inbox!
Find and shop my favorite products in my Amazon storefront here!
Instant Pot Cherry Cheesecake

Equipment
Ingredients
Crust
- 1 ½ cups graham cracker crumbs
- ¼ cup unsalted butter
- 2 tablespoons light brown sugar, packed
Filling
- 14 ounces cream cheese, room temperature
- ½ cup granulated sugar
- 2 large eggs, room temperature
- ½ cup heavy cream, room temperature
- 1 tablespoon vanilla extract
- 1 tablespoon cornstarch
For Serving
- 21 oz can Cherry Pie Filling
For Instant Pot
- 1 ½ cups of water
Instructions
- Grease a non-stick spray coat a 7×3 springform pan.
- Add graham cracker crumbs, melted unsalted butter, brown sugar, and mix until it all coated with butter and damp. (Full graham cracker pieces can be pulsed in a food processor until they are crumbs)
- Pour the mixture into the springform pan and start to smooth out your crust. Start by spreading it somewhat evenly across the bottom, and then using a measuring cup or glass with a flat bottom to pack it down and more evenly.
- Place the springform pan in the freezer for 25 minutes.
- While your crust is freezing, on medium beat together your softened cream cheese and sugar.
- Add the remaining ingredients and beat until smooth. You need to scrape down the sides to ensure everything is well combined.
- Remove the springform pan from the freezer and pre-fit a “lid” with tinfoil. Create it so it is loose at the top in case the cheesecake rises to touch it (it will settle back down), but tight along the sides. Set this aside.
- Pour the batter into the springform pan ensuring your mixture leaves about ¼ inch at the top, and then place your tin foil “lid” on top.
- Add 1 ½ cups of water to the Instant Pot, the trivet, and your springform pan (gently) and secure the lid with the value closed.
- In manual mode set your timer to 40 minutes; on high if you have the option and press start. When the machine is done allow the pressure to release naturally for 25 minutes before opening the lid and removing your cheesecake.
- Place the cheesecake on a cooling rack and remove the tin foil (save for later) for about an hour then scrape around the edges with a sharp knife. (The center may look a little jiggly, but it will change as it cools. If it does not, you can put it back in the Instant Pot for 10 minutes with another 10-minute natural release before opening the lid).
- Put the tin foil back on and move the cheesecake to the fridge and allow it to set overnight or at least 6-8 hours before removing it from the springform pan.
- Serve as is or with cherry pie filling on top.
Video
Nutrition
Nutrition information is automatically calculated, so should only be used as an approximation.


Hi, a relatively contradicting recipe since most countries use pressure cookers that are functioned on a hob, so is this a recipe for an air fryer and not a pressure cooker?
Hi Annah, this recipe is developed for the electric all-in-one pressure cooker and air fryer models that are new, like Instant Pot and Ninja Foodies, that are self contained on the countertop and would definitely melt or start an electrical fire on the hob. However, the times at pressure are the same, though the process will admittedly be quite different. Unfortunately as the stovetop ones have sort of fallen out of favor with a lot of Americans I’ve been favoring the electric kind in my recipes just for marketing’s sake – but if its something you’re aching to make I could look into some conversions for you. Feel free to pop me an email at hello @ sweetcsdesigns.com