Chalkboard Background- And How to Make a Realistic Chalk Print!
May 14, 2015, Updated Apr 17, 2024
This post contains affiliate links. Please read our disclosure policy.
I’ve had so many new followers lately, I wanted to share one of my favorite posts here. A few years ago, the chalkboard trend started appearing- and it hasn’t slowed down. Everywhere I look, I see adorable on-trend chalk prints, DIY’s and fun creative ideas with chalk. It’s one of the hottest craft and home decor trends around, and it’s showing no signs of slowing down!
That’s why I am so excited to share this chalk background download (at the bottom of the post), and share how to make the most realistic chalk print using photoshop! This is such an easy task- and will help you master some basic photoshop functions that you can use in other prints. It’s an awesome tutorial!

It’s no secret that chalkboard anything is totally in style right now.
For this tutorial, you’ll need Photoshop or Photoshop Elements and some basic photoshop knowledge. Be sure to check out the downloadables I am including at the bottom of the post for both my chalkboard background and the texture overlay I am using.
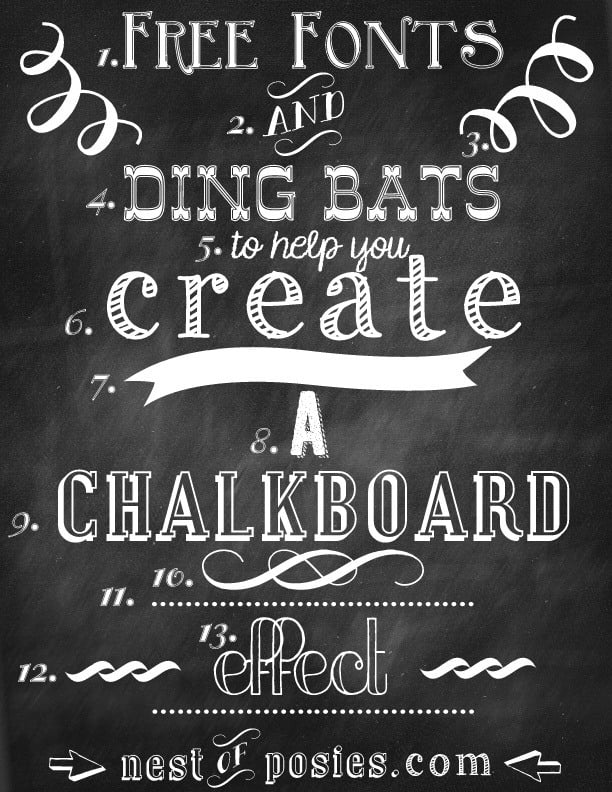
If you don’t have Photoshop, don’t worry. You can still get an awesome chalk look! Head on over to my girl Kellie from Nest of Posies fabulous blog for an awesome tutorial and some wonderful font choices!
First off, open up a chalkboard background (or set a size image you’d like to make and place the chalkboard image as the background).
Next, pick a font (styles with a chalk look are easier, but any style font can be used with this method) and type out your text.
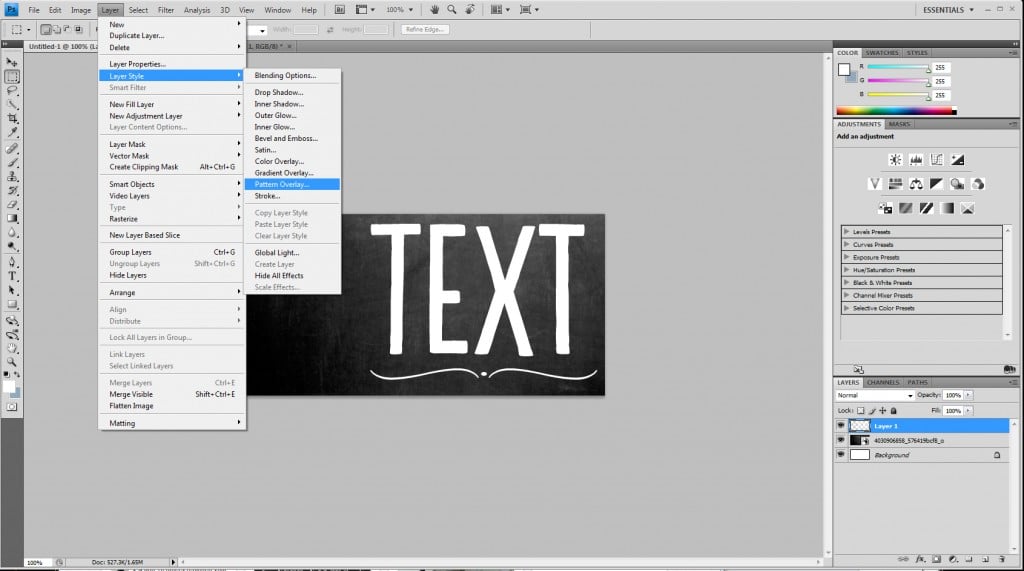
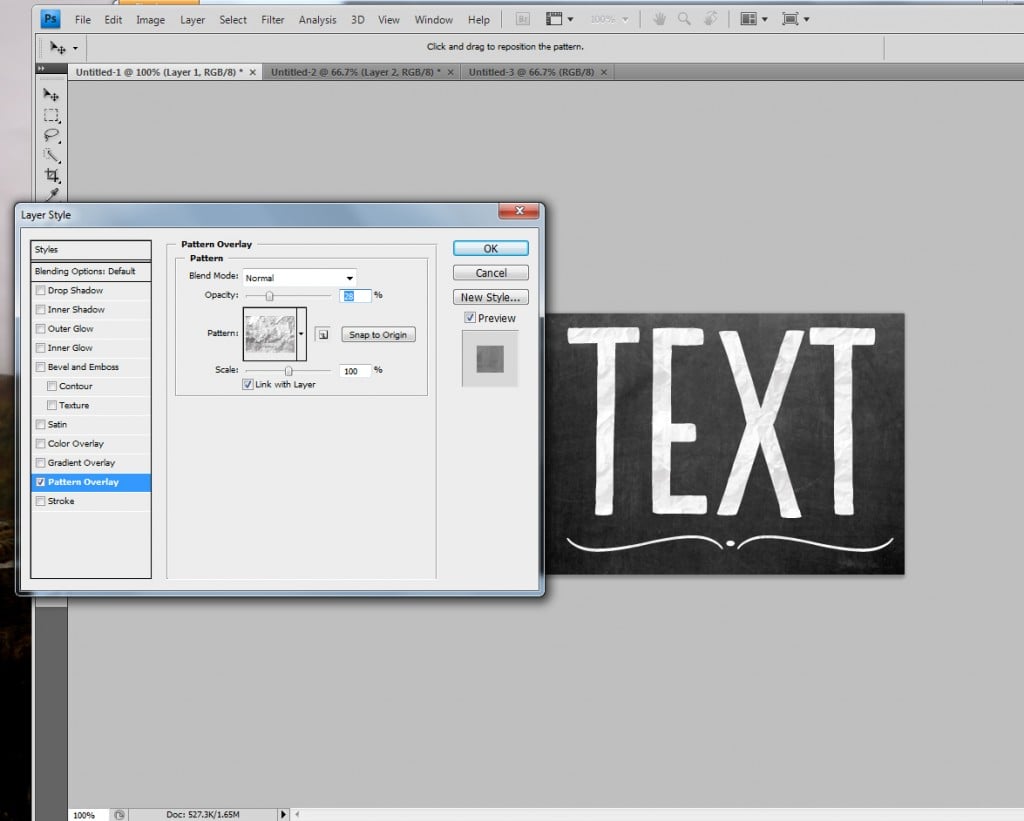
Next, you’ll add a textured overlay to your text. To do this, click “layer”, then “layer style” and “pattern overlay”.
Choose the crumpled paper (download below), or a parchment styled look. Set the opacity to something very light- it will depend on your font, but you’ll generally want something that you can just see a little- under 30 usually does it.
Now we’re going to add a little noise to make the text look a little grainy. You’ll need to rasterize your layer (right click on it and chose “rasterize”- you will not be able to change the text anymore after this), and then click “Filter”, “Noise” and “add noise.
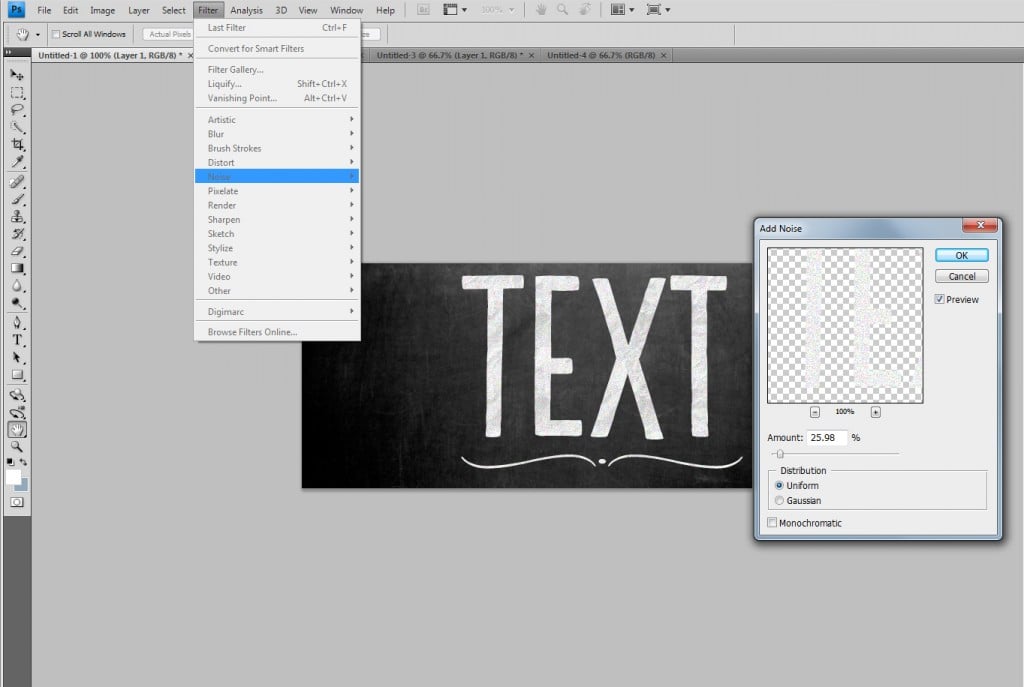
Again, this will depend on your individual font, but generally an amount under 30 will look best. I chose uniform distribution and did not choose monochromatic noise- but you can play around with all of the choices to see what you like best and what works the best for your font choices.
We’re now going to add a little more texture to the font to make it look more like individual brush (or chalk) strokes.
Pick an eraser brush that looks like dots, or even an eraser. You can download the one I am using here.
Set the eraser opacity to under 30% (yep- again- it’s a trend here), and swipe through your text in different places. Keep swiping until you get a texture you like. I will usually use the eraser more in some areas and less in others just so it looks hand done and not uniform.
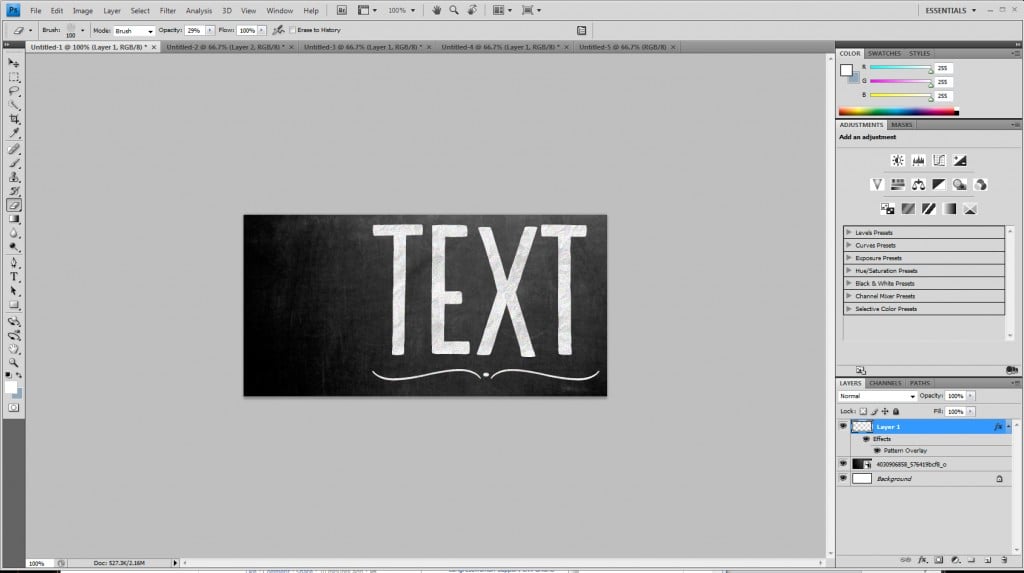
Starting to like the way this looks? We’re almost there!
To finish it all up, I like to add some swipes to the background (like an eraser went over it) and even more texture on the font.
To do this, I set the paintbrush to white (or your chalk color), keep the spackled dots brush, and set the opacity to under 30%.
Swipe around the background, over letters- anywhere you want a little more texture. Reduce and increase the opacity and the brush size as you go for even more of a hand-done feel.
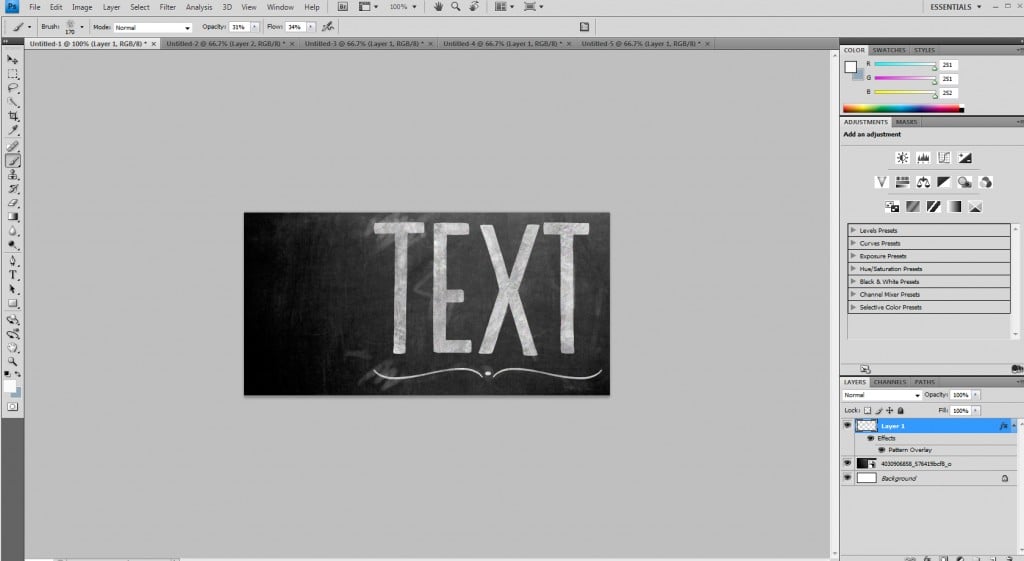
Now, the white swashes below are a little dramatic, but it is a good example of how you can use different brushes to add different looks to your “chalkboard”.
What would you want to make a chalkboard image of?
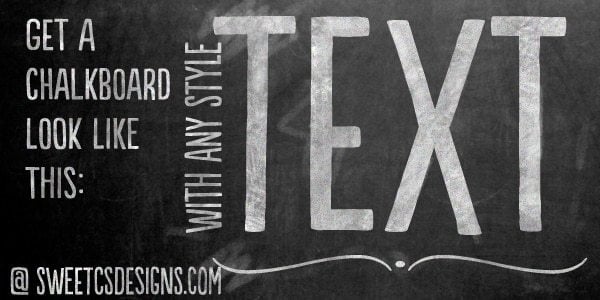
Choose the crumpled paper (download below), or a parchment styled look. Set You can download the chalkboard background here: [paiddownloads id=”10″]
And here is the texture overlay I am using. To set it as a pattern, open the file in photoshop and then click “Edit”, “Set as Pattern”. You’ll then see it in your dropdown pattern menu!
CS5 users– try these other file extensions if the above doesn’t work– [paiddownloads id=”20″] or [paiddownloads id=”21″].
If you loved making chalk text, don’t miss my tutorial on making glitter text in Photoshop, here!
You can also learn how I use photoshop to make printables here!
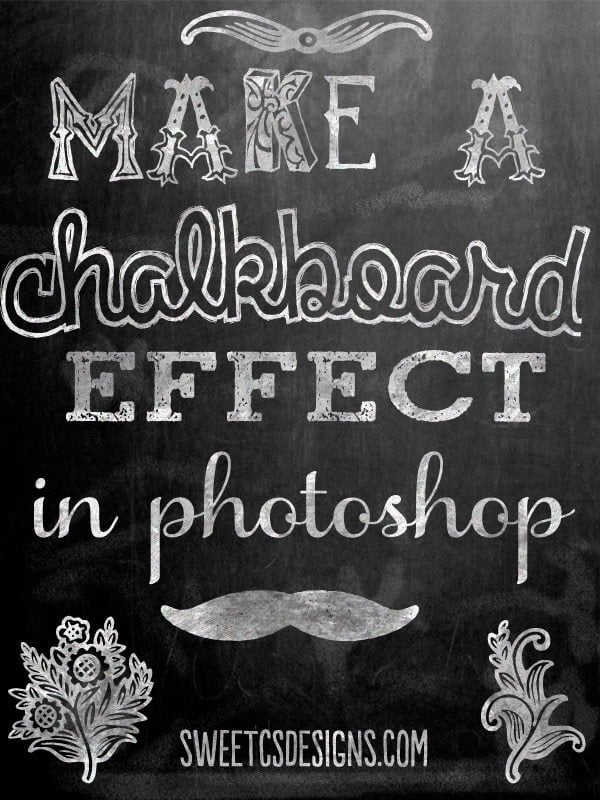




Thanks for sharing at #SmallVictoriesSundayLinkup 5/24/15 – I’ve been trying to learn Photoshop. This will give me a little kick in the pants to try something new.
I love these backgrounds! Thanks for the useful tutorial.
Great tutorial! Thank you so much for sharing at Thursday Favorite Things Blog Hop!
Courtney – I love chalkboard signs and was so glad to find this post. Check out my Tuesday Treasures from the Thursday Favorite Things Blog where you are featured.