This post contains affiliate links. Please read our disclosure policy.
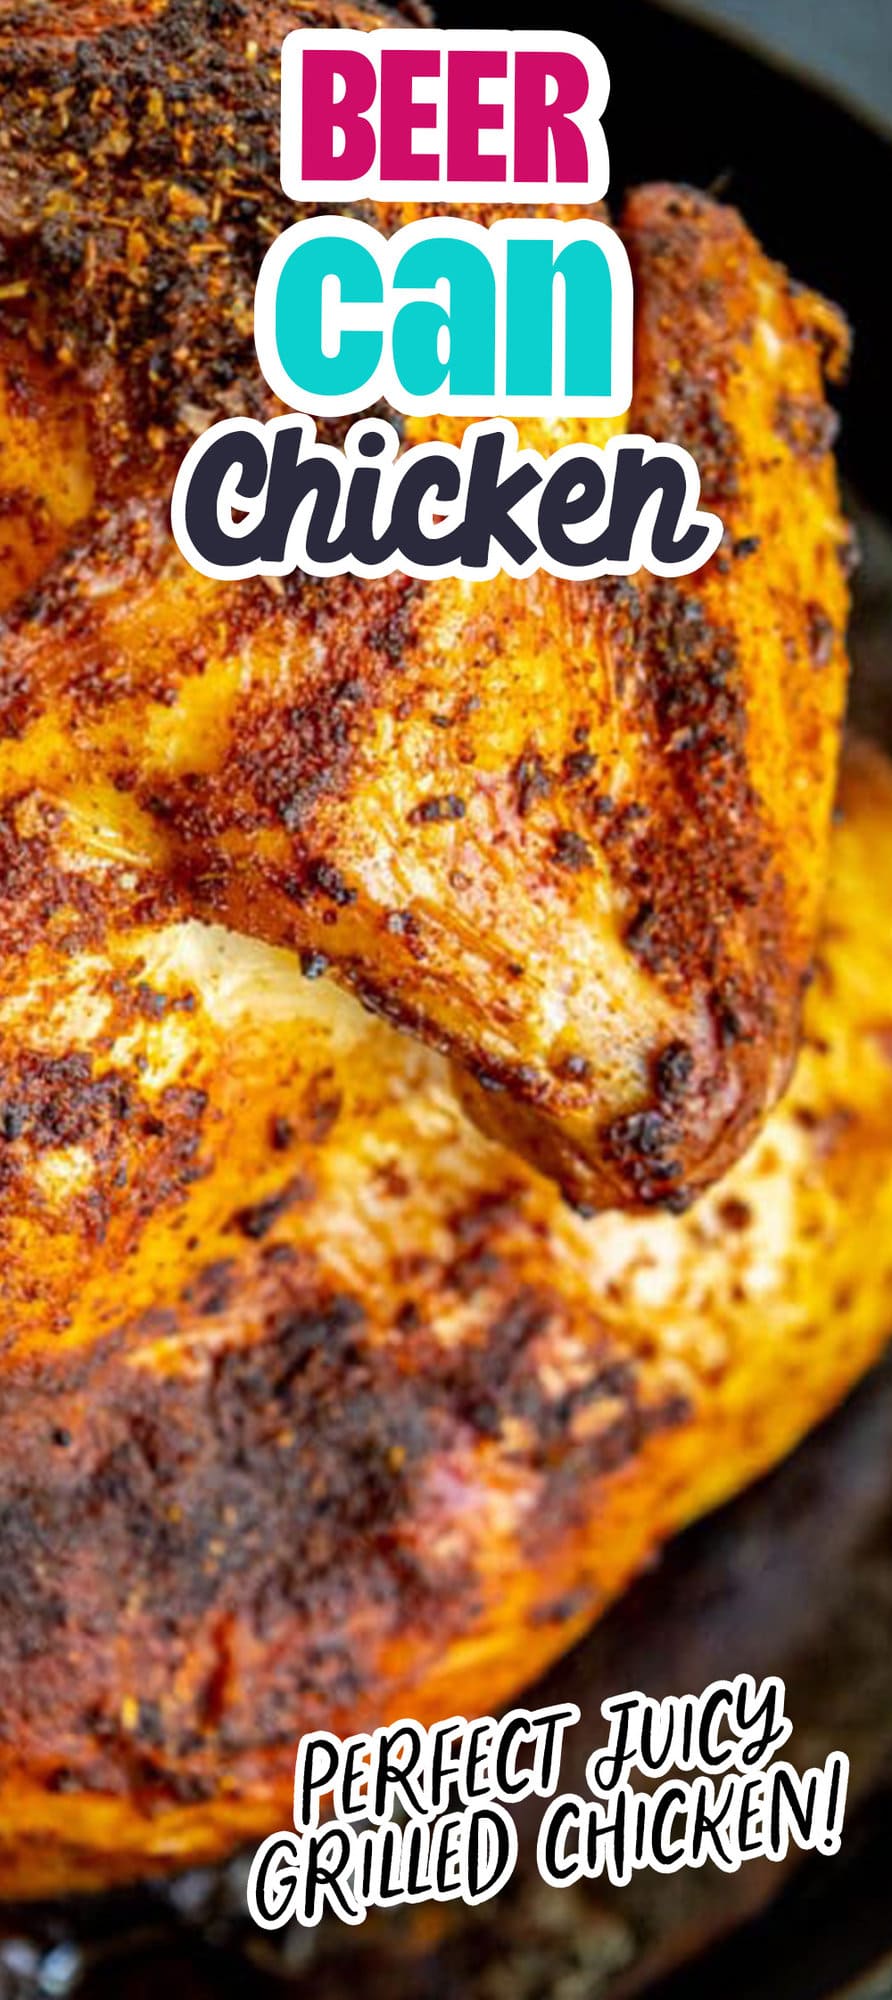
There is nothing better at a summer cookout than hot, juicy chicken off the grill – it is one of the first things I always grab for at BBQs – and my husband’s tried-and-true Beer Can Chicken recipe is one of my all-time favorites. It brings the most out of this world flavor – and is so simple, anyone can make perfect Beer Can Chicken even if it’s the first time.


Don’t want all the extras in a recipe post? We provide a skip to recipe button in the top left corner, as well as a clickable table of contents, just below, to help make this page easier to navigate.
At Sweet C’s, I add lots of tips in all of my recipes – because I am a home cook without any formal training, and I find I am more confident making dishes when I understand why it works, and what each ingredient means to the flavor of a recipe. My goal is for even the most beginner home cook to feel empowered in the kitchen.
Table of contents
How to Make Beer Can Chicken
You can use a beer can insert, or place your chicken on a sturdy, grill-safe pan (like cast iron) – this recipe is adaptable and can be made with or without specialty equipment.
Beer Can Chicken Ingredients
To make this recipe, you’ll need:
- One whole chicken – Naturally, this recipe calls for a whole chicken. For 3-4 people a young fryer should be sufficient meat, for a slightly larger crowd you might consider a whole roaster chicken. ‘Young fryers’ are 2 ½ – 4 ½ pounds and roughly 7 weeks old, while ‘whole roasters’ weighs 5lbs or more and are 8-12 weeks old. I used a young fryer for this recipe.
- Beer – I used a classic American lager for this recipe, but really any beer you like could render interesting flavors. The pairing of your beer flavor profile and seasoning is an important part of getting this recipe right, so be careful of using bold beer flavors AND bold seasonings.
- Chicken rub – Traditional chicken flavors like thyme, sage, savory, garlic powder, salt, and pepper are a great combination for this easy beer can of chicken. You can also try a host of delicious pre-made chicken rubs. For this cook, I used Dizzy Pig’s Peruvian-ish seasoning. It’s all-natural, gluten and MSG-free, and contains no tree nuts or sesame seeds. (It’s available here).
- Salt and Pepper – Salt and pepper are indispensable seasonings for any savory meal. Even if your chicken rub has some salt in it, it’s very hard to oversalt a whole chicken.
- Lemon – I like to include some aromatics in my beer can. For this recipe, I use a couple of slices of lemon.


Beer Can Chicken Method
Once you’ve gathered your ingredients, we will use the following process:

Prepare Chicken
Remove your chicken from the packaging, rinse with cold water, and pat dry with a paper towel. Check the body cavity for a package with the giblets or the neck. Discard these parts, unless you’re planning to make chicken stock.

Prep Beer Can
Open your can of beer and pour ¼ to ½ of the can into a cup. Using a sharp knife, kitchen shears, or a can cutter, carefully cut open the top of your can. Once the top has been cut open, I put 2-3 slices of lemon and a couple of cloves of garlic in the can, and a dash or two of your chicken rub.

Position Chicken
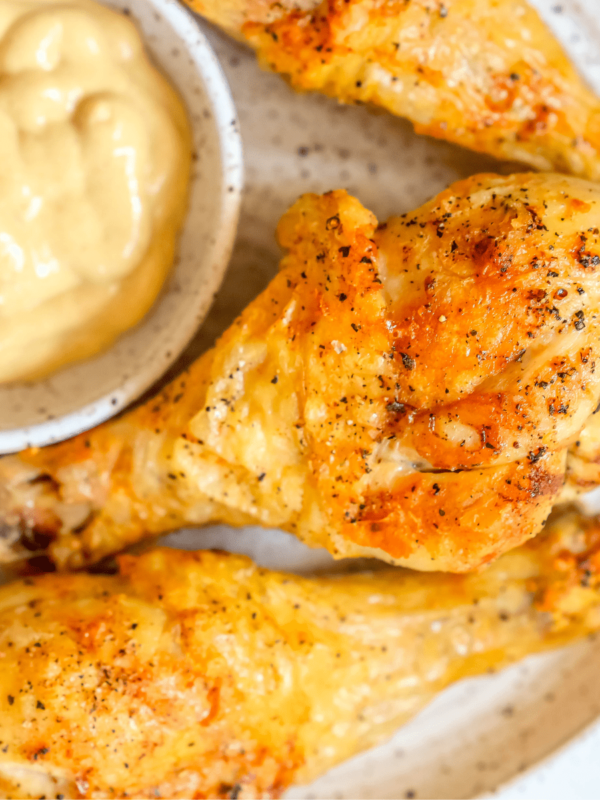
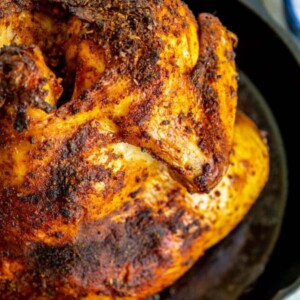
Place the opened can of beer in the middle of the cast iron skillet, then gently place the chicken over the can in the large cavity opening. The bird should sit upright over the can. Once the chicken is in place, spray with cooking oil, and then season the chicken with your rub of choice.

Cook Chicken
I cooked my chicken on our Kamado-style grill, heated to 400o F, with a few chunks of oak added to the charcoal for some smoke flavor to the chicken. Approximately every 20-30 minutes, I spritzed the chicken with a mixture of the leftover beer with some water added to thin it out. The chicken is done when it reaches an internal temperature of 165o F.

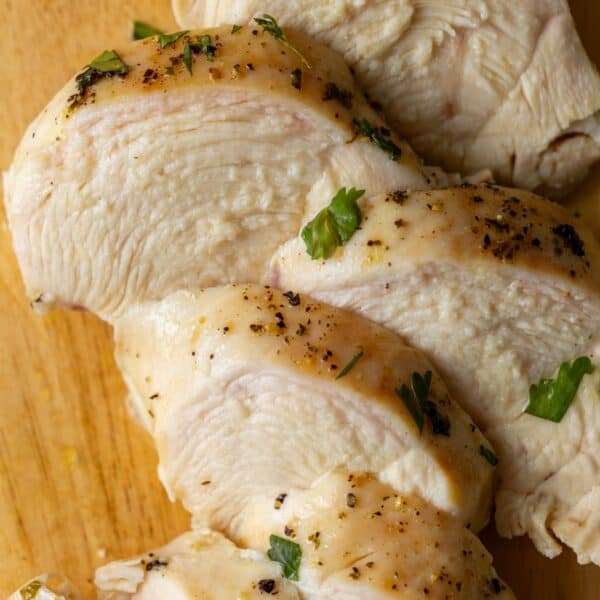
Rest Chicken
Allow your chicken to rest for 15-20 minutes to keep the meat moist. Remove from the cast iron skillet after the rest, and carve your chicken into individual cuts. Enjoy hot, or cold at a picnic or backyard BBQ.
Tips and Tricks to Perfect Beer Can Chicken & FAQs
Any beer will do. Don’t have classic American lager? Pilsner, IPA, and wheat beers are classic choices for this application. Regular 12oz beers or “tallboy” 16oz cans can be used. Fruity beers and sours also bring great flavors to beer can chickens. You can even use darker, sweeter beers like Dunkel or porter for a more malty, dark winter flavor. Besure to use a sweeter rub that will pair better with the darker, maltier beers.
No special equipment is needed. While it is easier to keep the chicken upright with the beer can in the cavity with special equipment like a beer can chicken holder, you don’t really need one. I like to use a #6 or #8 cast iron pan, because they’re generally small enough to hold the chicken upright and are safe to use on a gas or charcoal grill or smoker.
FAQs:
Yes. As the beer boils and creates steam inside the bird the alcohol disipates into the air. USDA food saftey experts report that it is safe to cook the chicken with an aluminum can.
Classic soda flavor profiles like lemon-line (Sprite, 7up) and darker flavors like Dr. Pepper work as a substitute. Use a spicy and sweet rub with the Dr. Pepper, and a more traditional lemon-sage-garlic rub with lemon-lime soda.
Beer can chicken cooked with traditional beer is not gluten free, as many mass produced lagers contain gluten. You can use gluten-free beer to make this recipe gluten-free.
Leftovers can be stored in an airtight container in the refrigerator for up to four days.
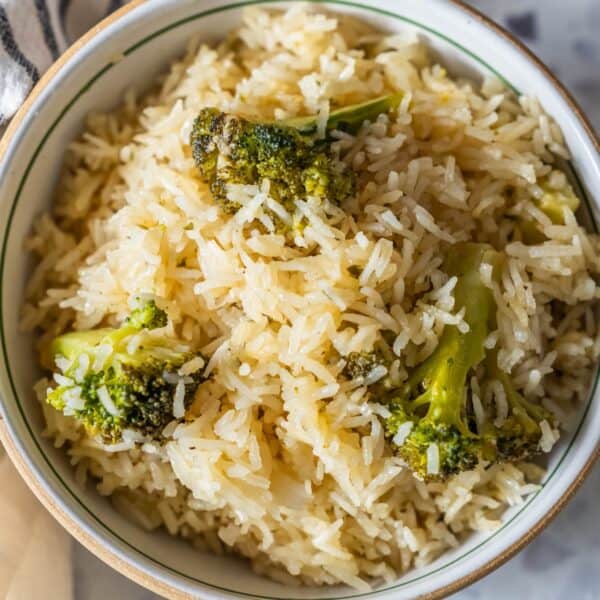
What to serve with Easy Beer Can Chicken
Beer can chicken tastes great with traditional chicken dinner sides. Coleslaw is a delicious, fresh side.
In the summer I also like to serve it along side pasta salad or potato salad.
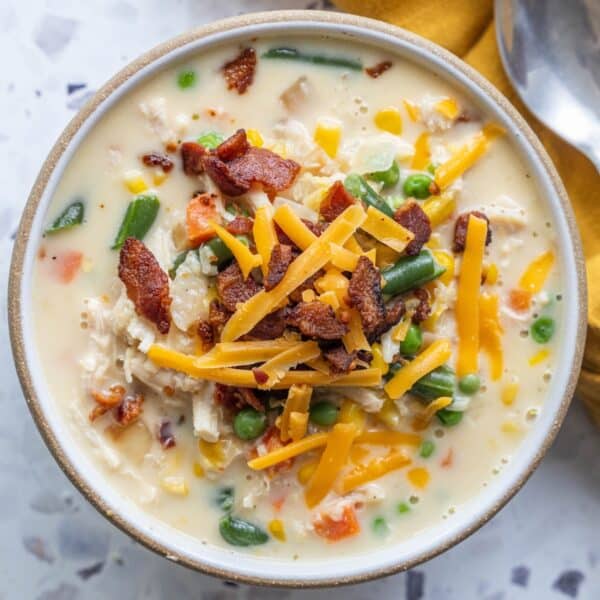
In cooler weather, I like to pair easy beer can chicken with crispy roasted potatoes, garlic butter potatoes or cheesy ranch potato casserole.
See more of our favorite easy side dishes below:

If you love this easy recipe please click the stars below to give it a five star rating and leave a comment! Please also help me share on Instagram, Facebook, and Pinterest!
Share on Facebook
SharePin this now to find it later
Pin ItFollow on Instagram
Only have 30 minutes to get dinner on the table? Sign up for my 30 minute dinner plans direct to your inbox!
Find and shop my favorite products in my Amazon storefront here!
Beer Can Chicken
Equipment
Ingredients
- One whole roaster chicken
- 1 can beer
- 2 tablespoons chicken rub
- Salt and Pepper, to taste
- 1 lemon, for armoa
Instructions
- Remove your chicken from the packaging and pat dry with a paper towel. Check the body cavity for a package with the giblets or the neck. Discard these parts, unless you’re planning to make chicken stock.
- Open your can of beer and pour ¼ to ½ of the can into a cup.
- Using a sharp knife, kitchen shears, or a can cutter, carefully cut open the top of your can. Once the top has been cut open, I put 2-3 slices of lemon and a couple of cloves of garlic in the can, and a dash or two of your chicken rub.
- There are beer-can chicken holders available, but for this cook I didn’t use any special equipment, just using an 8” cast iron skillet.
- Place the opened can of beer in the middle of the cast iron skillet, then gently place the chicken over the can in the large cavity opening. The bird should sit upright over the can.
- Once the chicken is in place, spray with cooking oil, and then season the chicken with your rub of choice.
- I cooked my chicken on our Kamado-style grill, heated to 400o F, with a few chunks of oak added to the charcoal for some smoke flavor to the chicken.
- Approximately every 20-30 minutes, spritz the chicken with a mixture of the leftover beer with some water added to thin it out.
- The chicken is done when it reaches an internal temperature of 165o F.
- Allow your chicken to rest for 15-20 minutes to keep the meat moist.
- Remove from the cast iron skillet after the rest, and carve your chicken into individual cuts.
- Enjoy hot, or cold at a picnic or backyard BBQ!
Nutrition
Nutrition information is automatically calculated, so should only be used as an approximation.