This post contains affiliate links. Please read our disclosure policy.
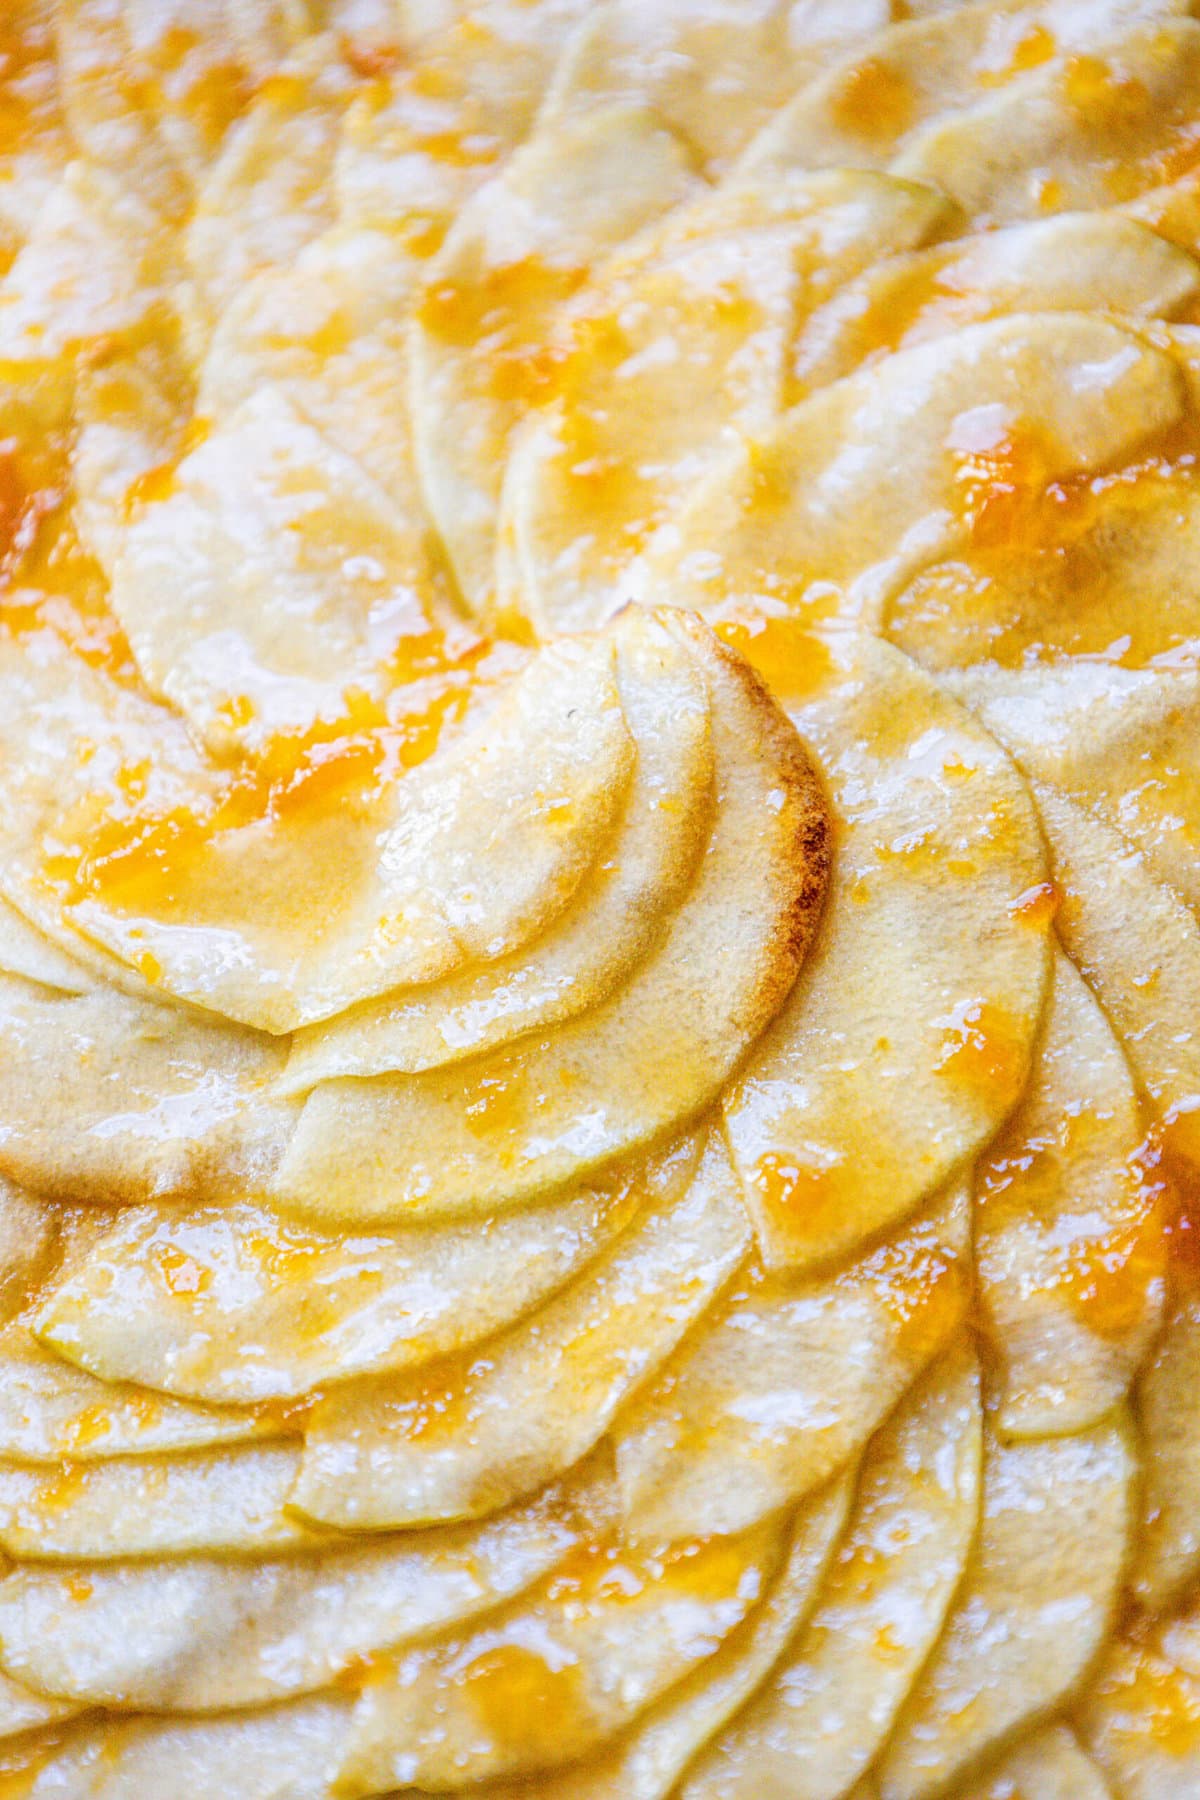
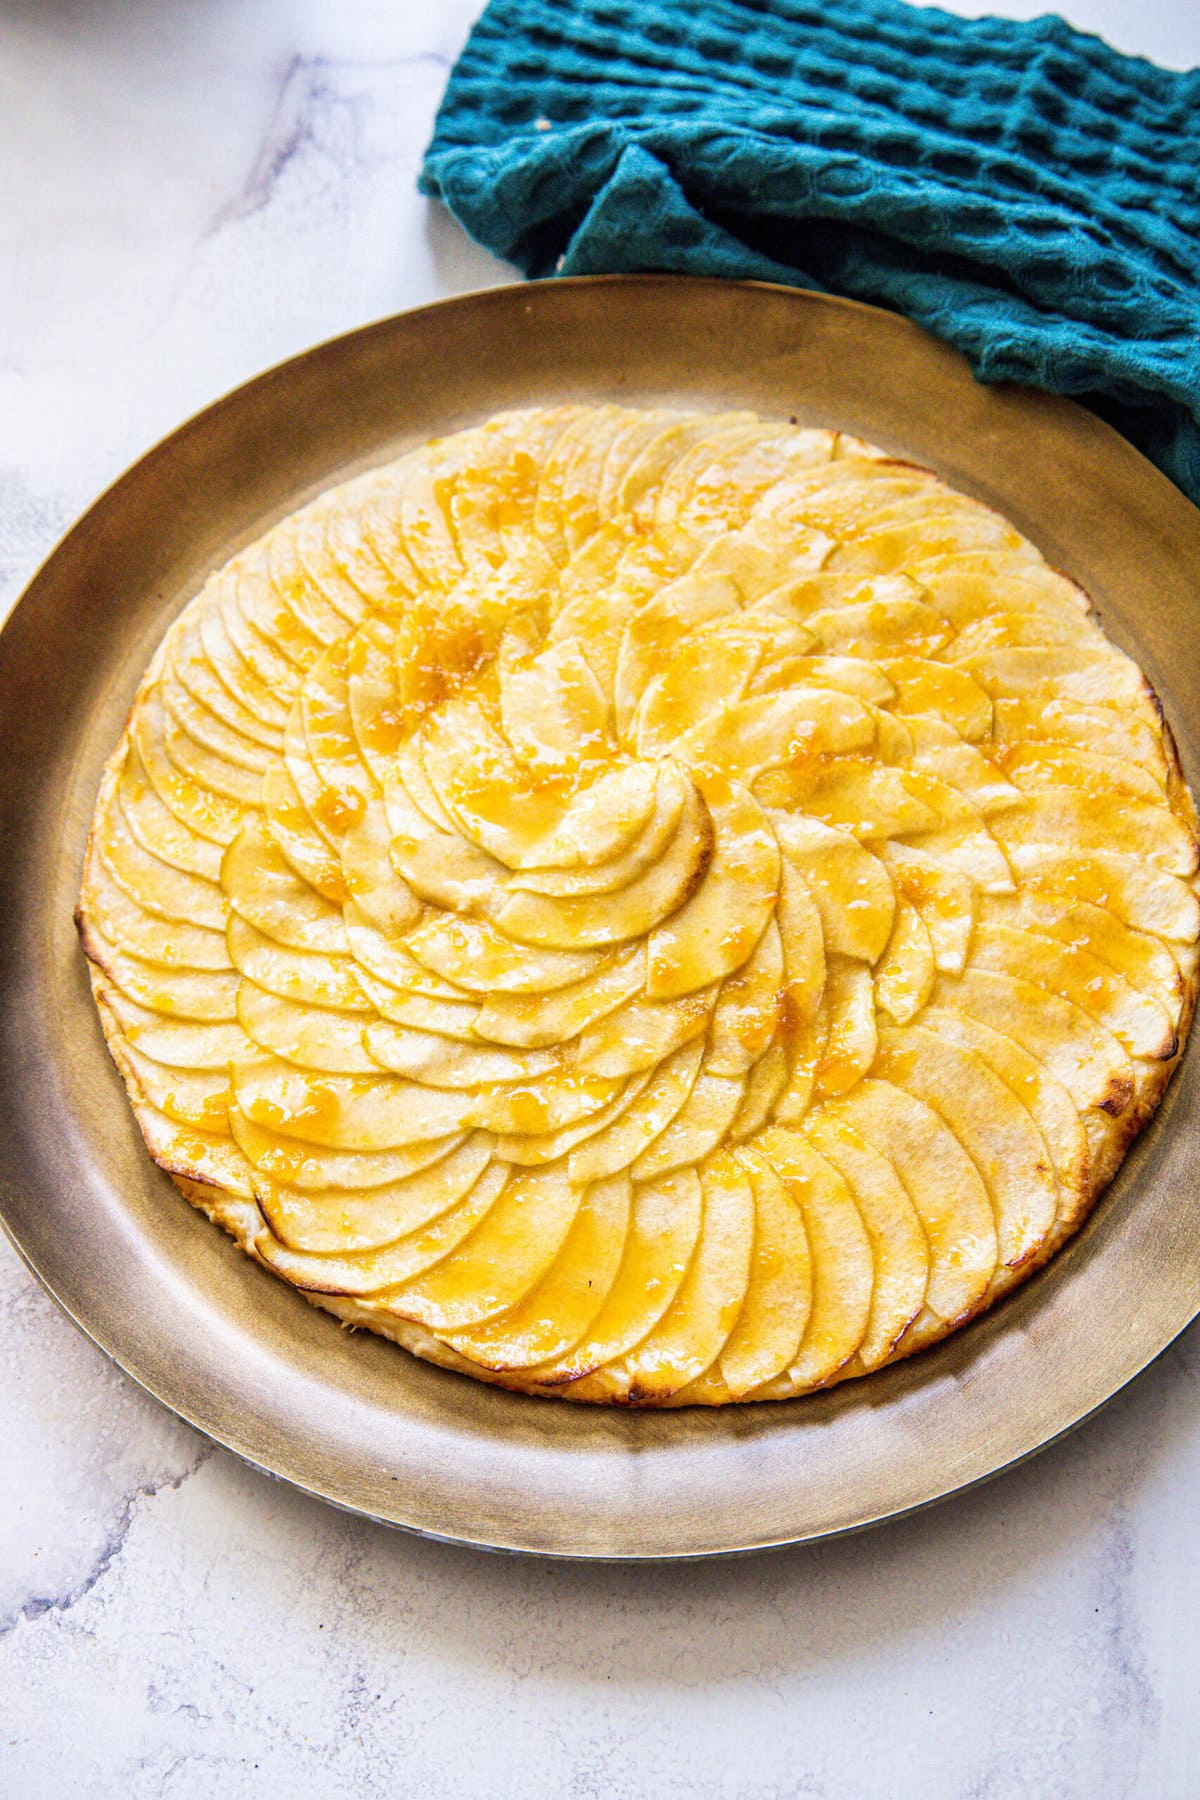
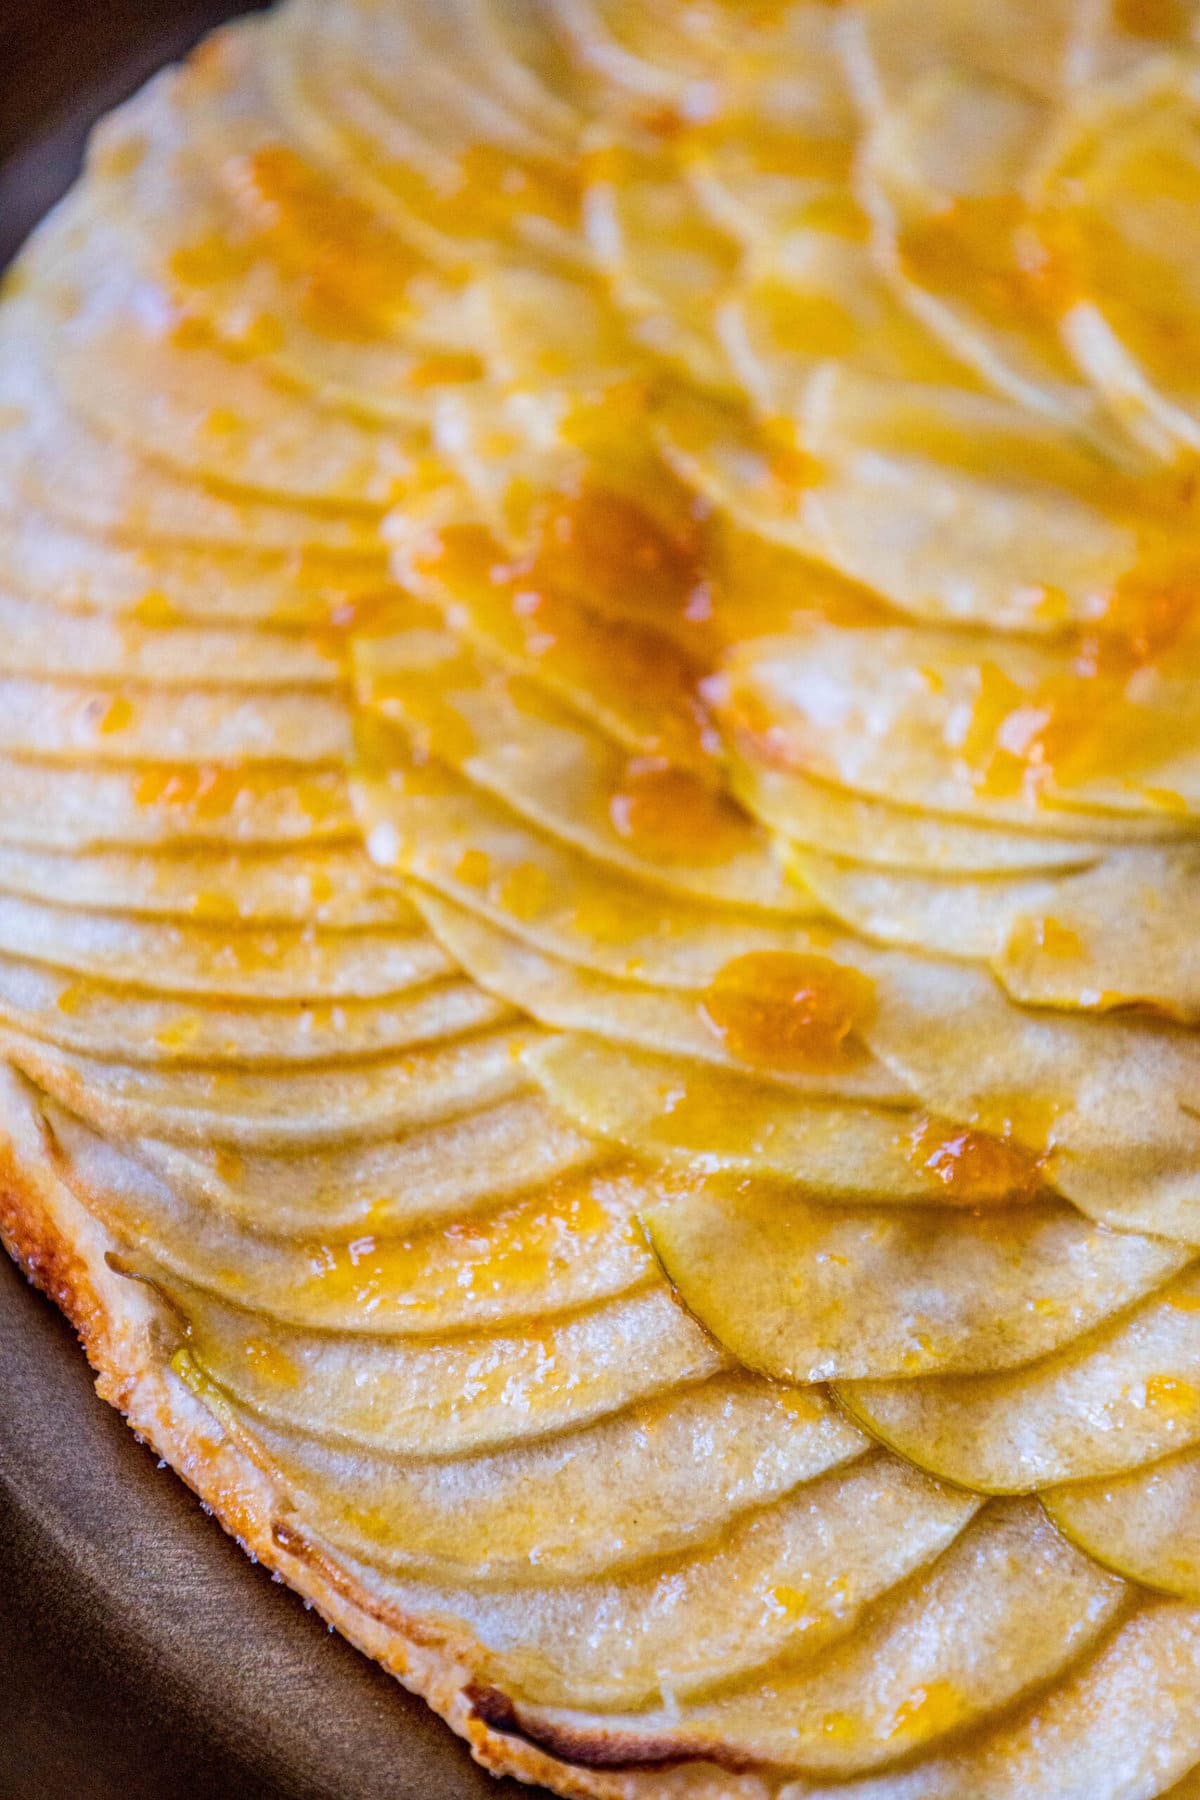
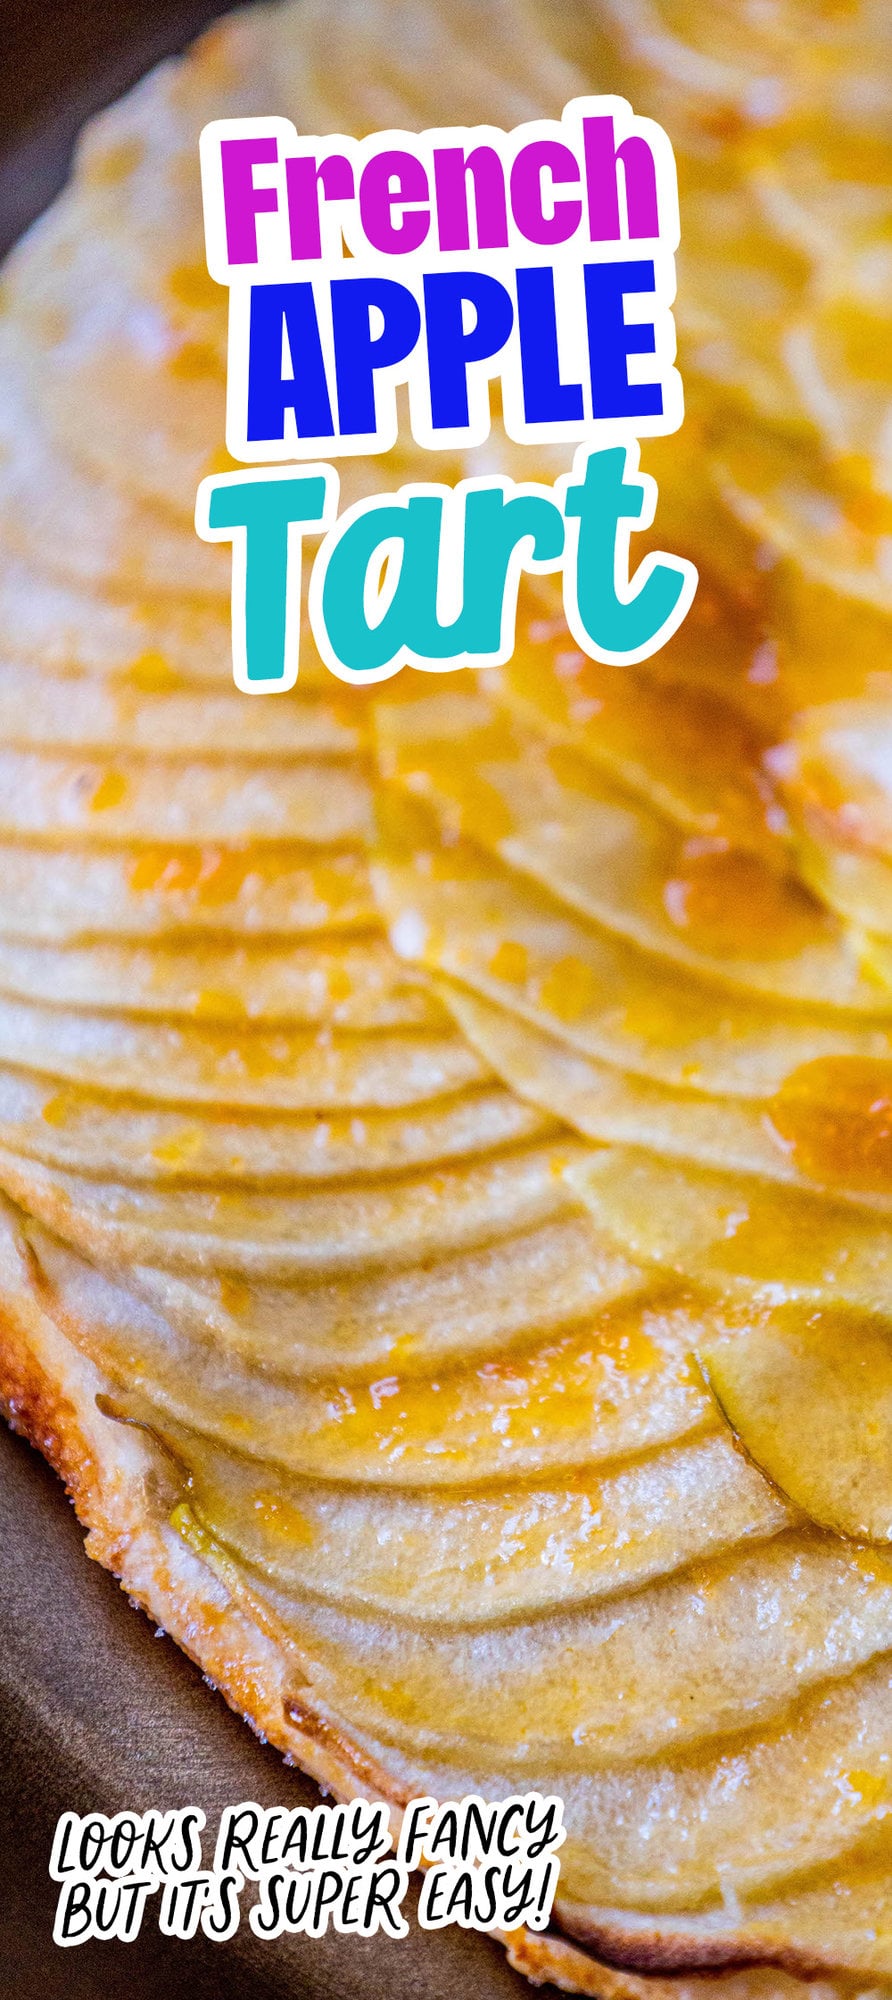
French Apple Tarts, or Tarte Tatin, is even easier to make that American apple pie, and just might be more delicious.
Don’t want all the extras in a recipe post? We provide a skip to recipe button in the top left corner, as well as a clickable table of contents, just below, to help make this page easier to navigate.
At Sweet C’s, I add lots of tips in all of my recipes – because I am a home cook without any formal training, and I find I am more confident making dishes when I understand why it works, and what each ingredient means to the flavor of a recipe. My goal is for even the most beginner home cook to feel empowered in the kitchen.
Easy Tarte Tatin
Baking delicious French pastry doesn’t have to be difficult or daunting. This recipe is so easy and so delicious, your family will think you went to pastry school!
This classic recipe is the French home cooks version of the fancier Tarte fine aux Pommes that is typically purchased from a patissiere. This is the recipe that French Grandmothers make at home for their families.
It’s really easy to make, and is a great addition to your favorite family meal, pot luck dinner, or brunch.
How to Make Easy French Apple Tarts
To make this recipe, you’ll need:
- Puff Pastry – Puff pastry is a laminated dough that is made from folding butter into flour, rolled thin, folded over, and re-rolled. This process creates an incredibly delicious and flaky pastry crust. I used pre-made sheets, but if you’re adventurous try making it yourself.
- Honey Crisp Apples – I used Honey Crisp Apples because they have a wonderful, tart apple flavor, and the flesh doesn’t become mushy like Red Delicious or Macintosh Apples. You could also use Gala or Pink Lady apples if you can’t find Honey Crisp.
- Butter – Butter makes every pastry taste richer. If you use salted butter, be sure to taste careful before you add the sea salt, to make sure you don’t over-salt the caramel.
- Sugar – The sugar creates a caramel sauce in this recipe which the tart apples add tartness too. I used regular granulated sugar.
- Water – you need a few tablespoons of water in the caramel to help the sugar and butter come together.
- Lemon Juice – Lemon juice adds fresh acidity to the caramel and is also useful for keeping the apples from browning due to oxidation when you cut them.
- Sea Salt – Salt is a great ingredient for many sweet dishes because it enhances and amplifies the natural sweetness. Of course, I used french sea salt, better known as fleur de sel for this recipe.


Once you’ve gathered your ingredients, we will use the following method:
- Prepare your pastry. On a floured surface roll out a sheet of puff pastry to a square that will cover the top of the pan you’re cooking the apples in. Place the pan face down on the pastry and use it as a form to cut out a pastry circle “lid.” Dock the pastry with a fork to prevent it from bubbling up when it cooks. Refrigerate until the apples are cooked.
- Prepare the apple filling. Peel, core, and quarter your apples. Sprinkle with lemon juice to prevent oxidation while you cut them. In an oven-safe pan or cast iron skillet, melt your sugar with the water, salt, and butter to create a caramel sauce. As the caramel bubbles and begins to darken, add your apple quarters and stir to coat all sides of the apples with the sauce. Cook for 10-15 minutes on medium-high heat until the apples are slightly soft and the caramel begins to brown. When the apples and caramel are ready, place your circle of pasty on top of the apples and use a fork to gently tuck the edges of the pastry down around the sides of the pan.
- Bake, flip, and enjoy. Bake in a 400oF oven for 45-50 minutes, until the puff pastry is golden brown. Remove from the oven and allow to cool for 10 minutes. After ten minutes, the pan should still be warm. Place a plate that is larger than the diameter of the pan you cooked the tart in, upside down over the pan. Quickly and decisively flip the pan and plate over so the tart is now on the plate. Allow the tart to cool for an additional 30-40 minutes before serving.
Tips and Tricks to Perfect French Apple Tarts
This French Apple Tart is very easy to make, but here are a few tips to make it even better.
Don’t rush the caramel. Browning the caramel and the apples before baking can take longer than you think, so don’t sweat it. Let it cook, and turn the apples regularly in the sauce to ensure they are fully coated and cooked evenly.
Don’t let the pan cool too long before you flip the tart out. If the caramel cools too long before you flip it, it will become hard and stick to the pan. If this happens to you, don’t worry! Put the pan back in the warm oven for 10-15 minutes to soften the caramel. Then flip the tart out onto a plate.
FAQs
If you can’t find honey crisp apples, you can use Pink Lady, Gala, or Fuji apples.
You can keep this tart in your fridge for up to four days after cooking in an airtight container.
What to serve with Easy French Apple Tarts
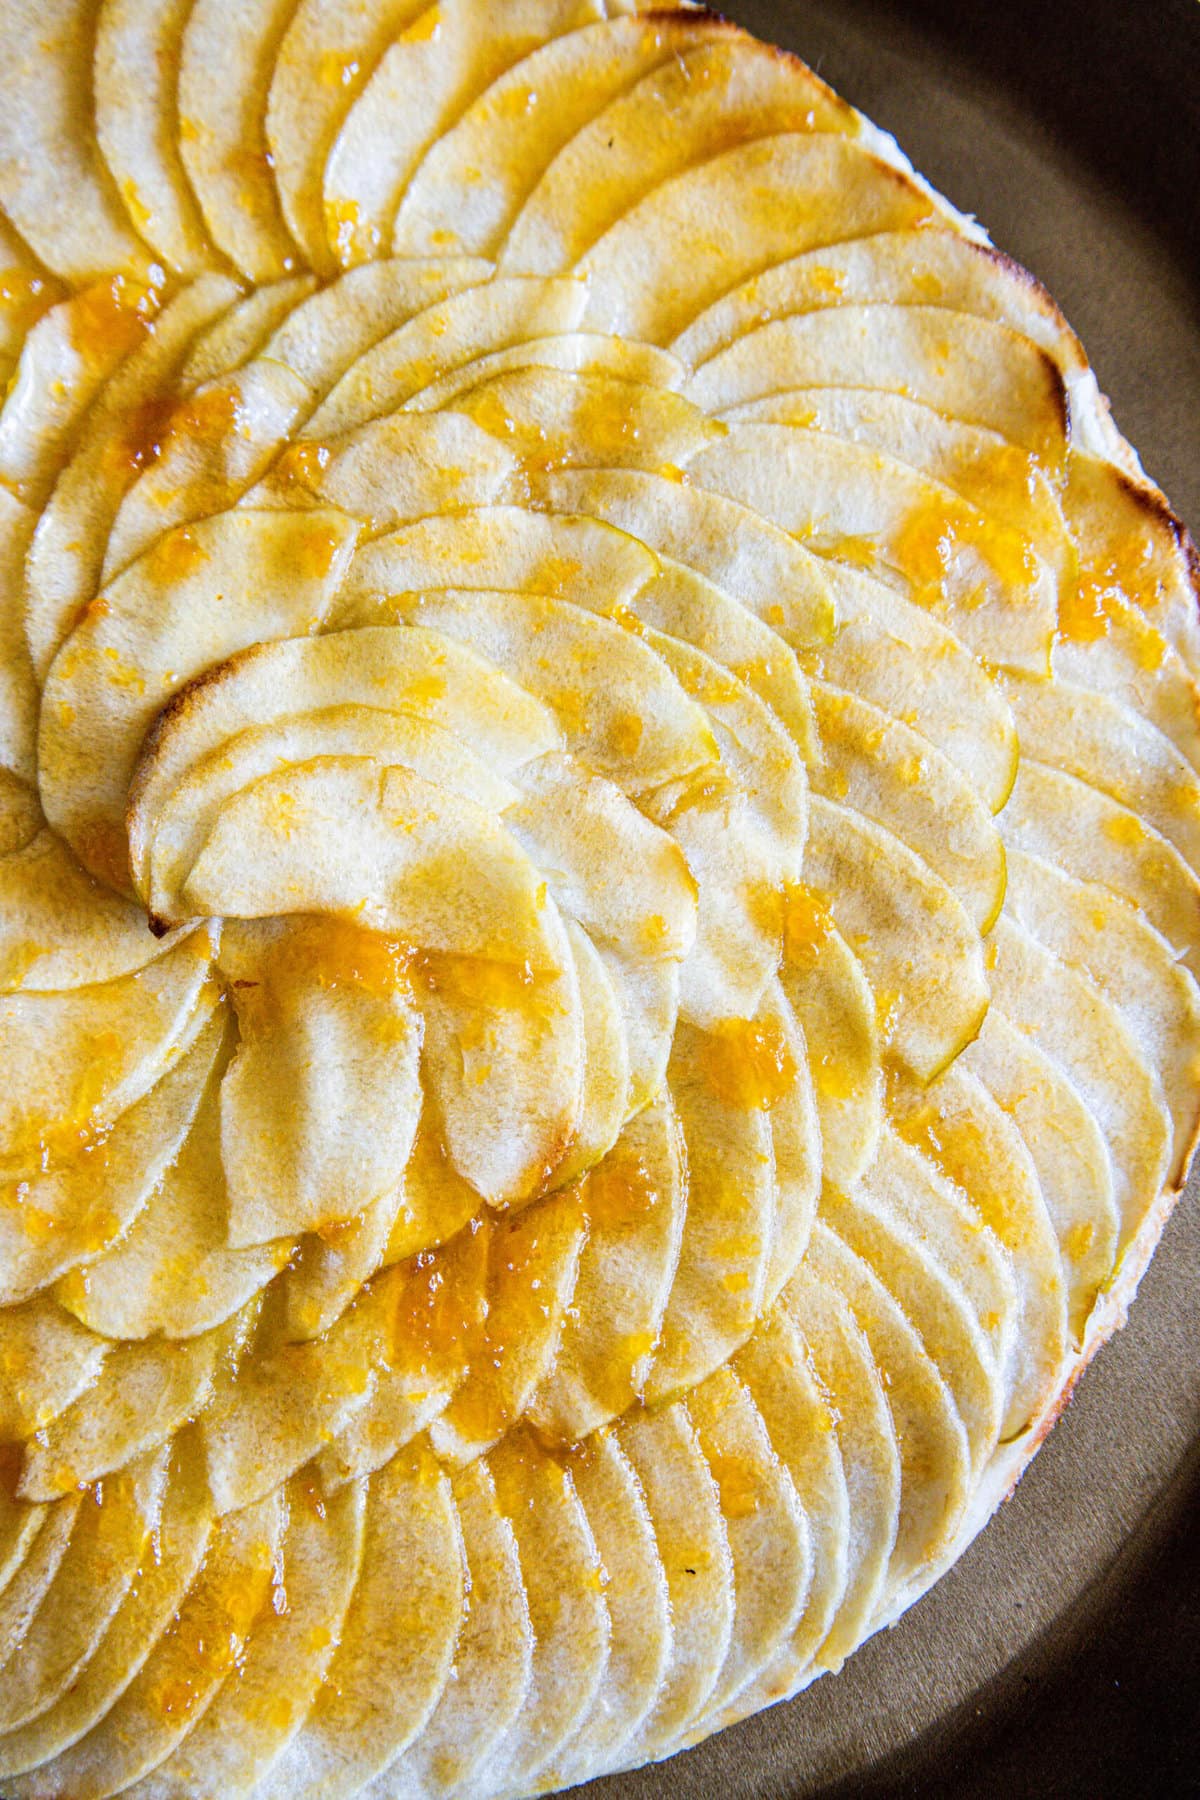
These French Apple Tarts are a delicious dessert to serve with Israeli Cardamom Coffee, Earl Grey Affogatos, or vanilla ice cream.
We love to serve this tart as a dessert after delicious main dishes like Broiled Lobster Tails, Ribeye Roast, or Baked Pork Tenderloin – it is also delicious at brunch with Easy Sangria Mimosas!
For more of our recent main dishes, find our favorites below:
Easy French Apple Tart
If you love this easy recipe please click the stars below to give it a five star rating and leave a comment! Pease also help me share on Instagram, Facebook, and Pinterest!
Share on Facebook
SharePin this now to find it later
Pin ItFollow on Instagram
Only have 30 minutes to get dinner on the table? Sign up for my 30 minute dinner plans direct to your inbox!
Find and shop my favorite products in my Amazon storefront here!
Easy French Apple Tarts
Equipment
Ingredients
- 1 sheet of Puff Pastry
- 6 medium Honeycrisp or Gala apples
- 2 tbsp lemon juice
- ⅓ cup of butter
- 1 cup sugar
- 2 tbsp water
- 1 tsp fleur de sel, or sea salt flakes
Instructions
- Pre-heat the oven to 400ºF.
- Roll out your pastry in to a square slightly larger than the pan you will cook it in. Use the pan to cut out a circle of pastry that will cover the apples in your pan.
- Dock the pastry circle with a fork and place in your refrigerator.
- Peel, core, and quarter your apples into a large bowl. Cover with the lemon juice to prevent browning of the apples.
- In a cast iron skillet, or oven same saute pan, melt the butter, sugar, and water. Cook for 5-6 minutes until the syrup begins to thicken.
- Add the apples and a pinch of salt to the pan. Turn the apples frequently in the pan to ensure they cook evenly and are completely coated in caramel sauce.
- Cook for 12-15 minutes until the apples begin to get tender and the caramel starts to brown.
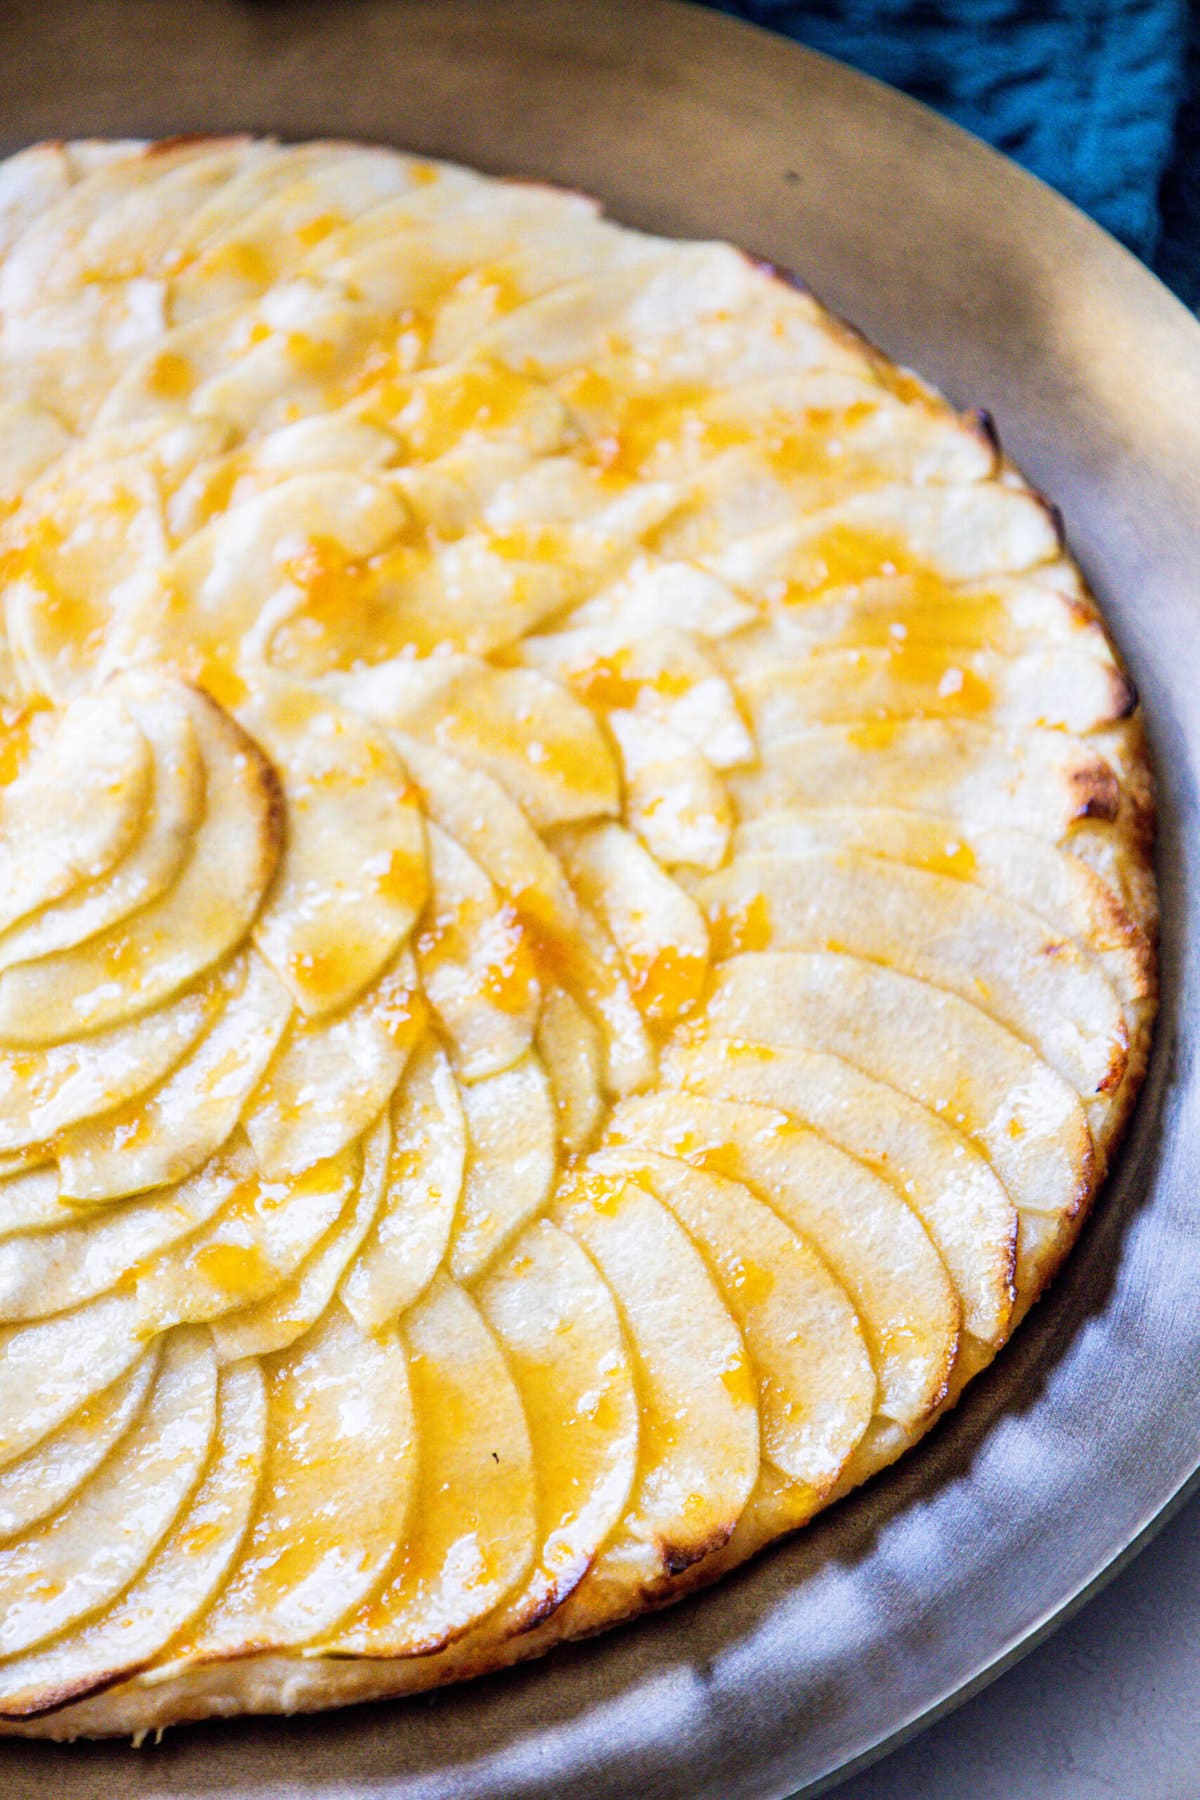
- (Optional) Arrange your apples in a concentric circle overlapping slightly.
- Place your pastry circle on top of the apples and use a fork to gently press the edges down the side of the pan around the edge.
- Bake in the preheated oven for 45-55 minutes until the pastry is golden brown.
- Remove from the oven and and let the pan cool for 5-10 minutes.
- Place a serving plate over pan and flip the tart out on to the plate.
- Allow the caramel to cool and setup for another 30-45 minutes before serving.
Nutrition
Nutrition information is automatically calculated, so should only be used as an approximation.




How much water do I mix with sugar? No measurement listed
I add just 2 tbsp of water, thank you for letting me know that the amount was missing, I updated the recipe.
I want to make this tart, but after cooking the apples in the caramel sauce you r next step in the instructions is to cover the quartered apples with the puff pastry. There is no mention of placing the apple slices into a concentric pattern which makes this tart professional looking. Did I miss something?
Enjoy your recipes.
Hi Helen, there is no mention of placing the apple slices in a concentric pattern, but you are welcome to do that! I did that for the pattern, and I will mention it in the text, thanks for pointing that out.