This post contains affiliate links. Please read our disclosure policy.
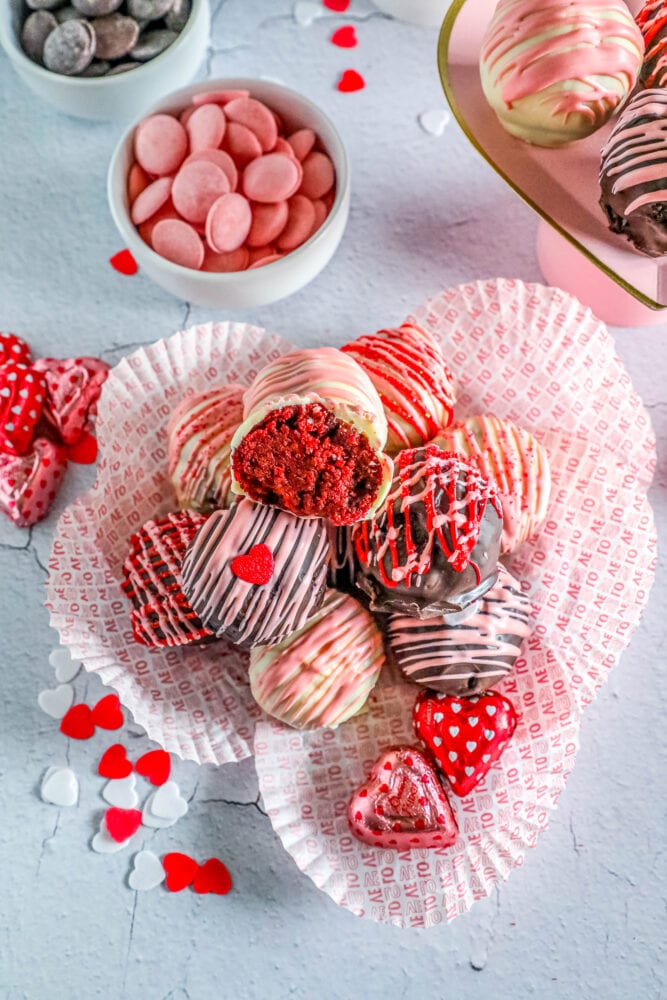
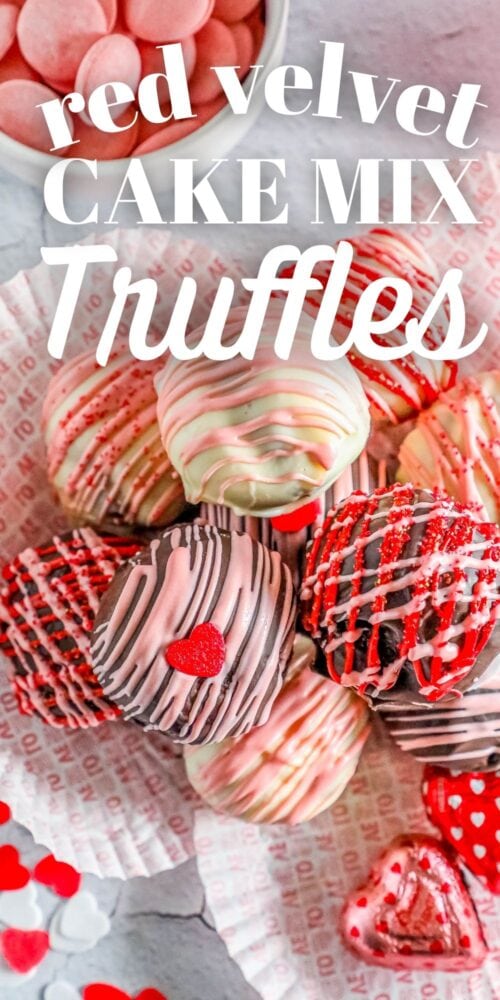
Easy delicious red velvet cake mix truffles that are perfect to decorate for Valentines Day, Baby Showers, Wedding Showers, and more! Loaded with cocoa flavor thats lightly tart, this red velvet dessert is a party favorite.
Don’t want all the extras in a recipe post? We provide a skip to recipe button in the top left corner, as well as a clickable table of contents, just below, to help make this page easier to navigate.
At Sweet C’s, I add lots of tips in all of my recipes – because I am a home cook without any formal training, and I find I am more confident making dishes when I understand why it works, and what each ingredient means to the flavor of a recipe. My goal is for even the most beginner home cook to feel empowered in the kitchen.
Table of contents
Easy Red Velvet Cake Truffles
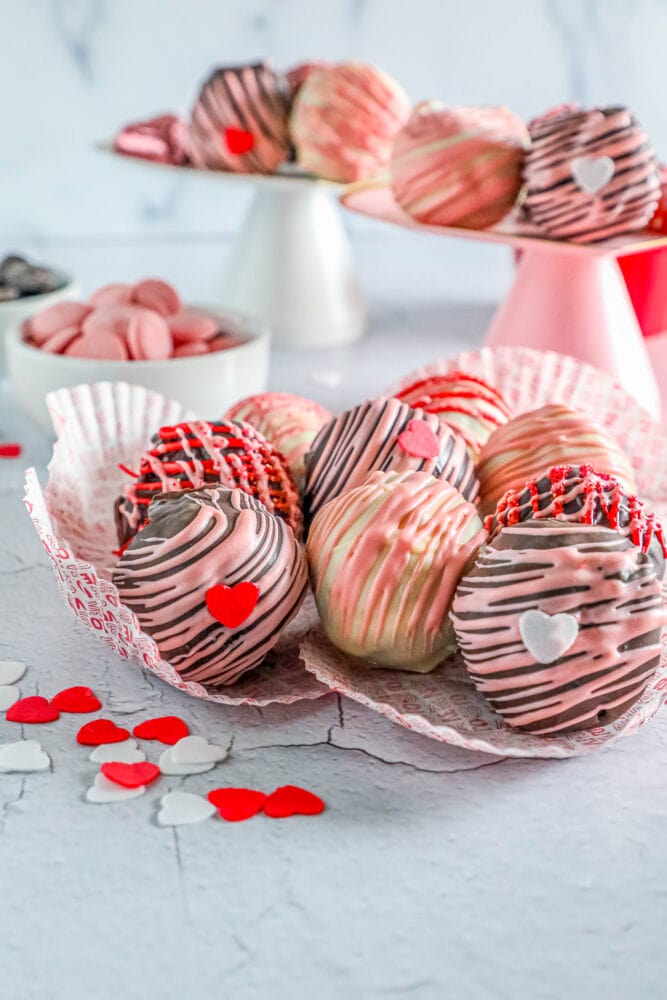
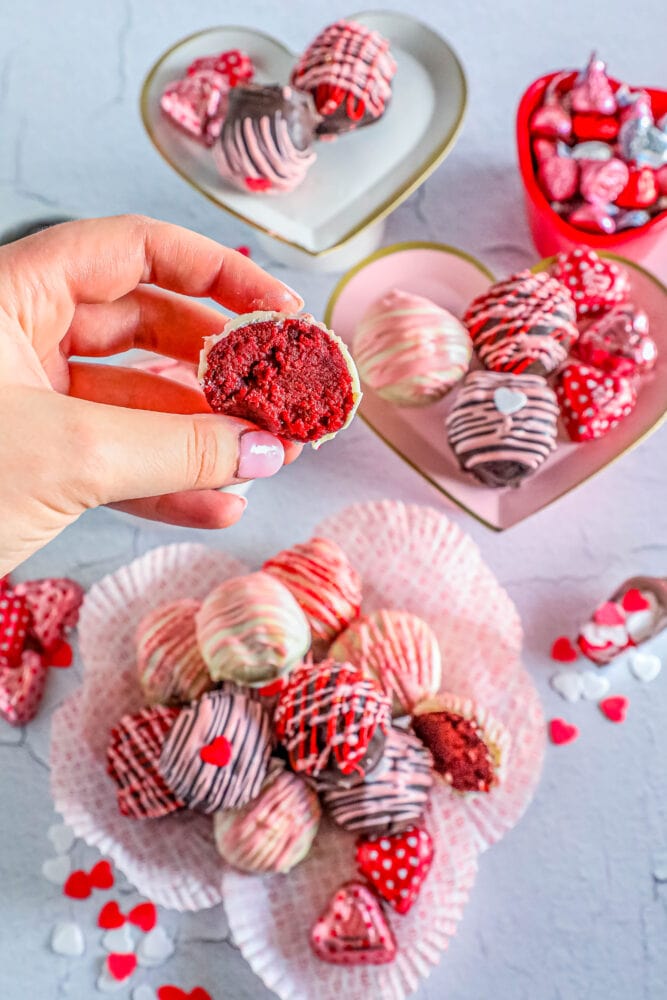
Red velvet cake mix truffles are a delightful and easy-to-make dessert that combines the rich flavor of red velvet cake with the decadence of chocolate truffles. To make these truffles, you start by preparing a red velvet cake mix according to the package instructions. Once the cake is baked and cooled, it is crumbled into fine pieces, which forms the base of the truffle. These crumbs are then mixed with a binding ingredient, usually cream cheese, to create a moist and flavorful mixture. The cream cheese not only adds a tangy contrast to the sweet cake but also helps in binding the mixture together, making it easy to roll into small balls.
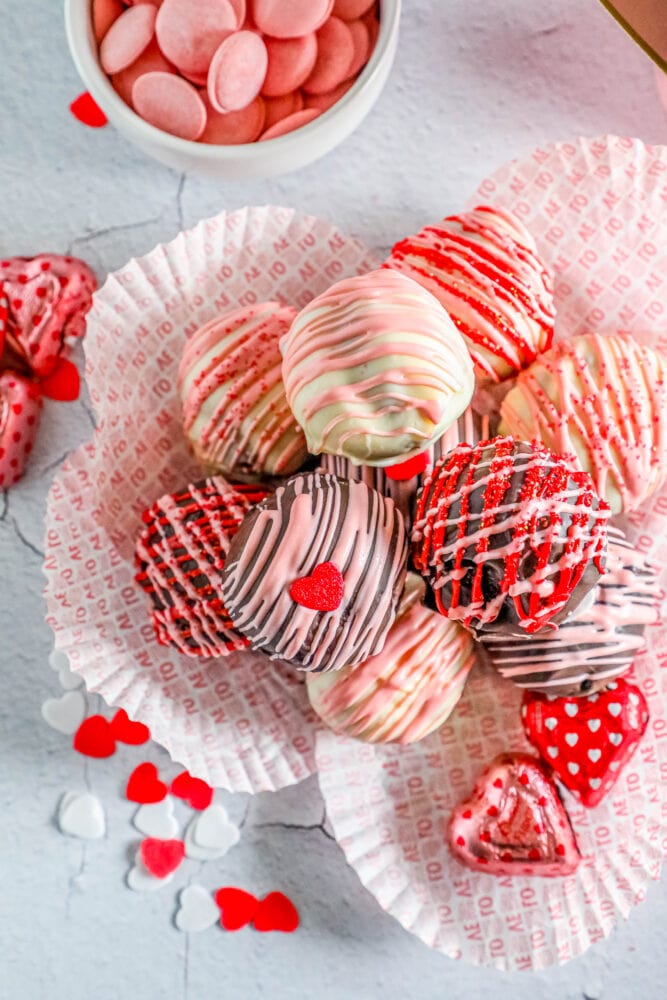
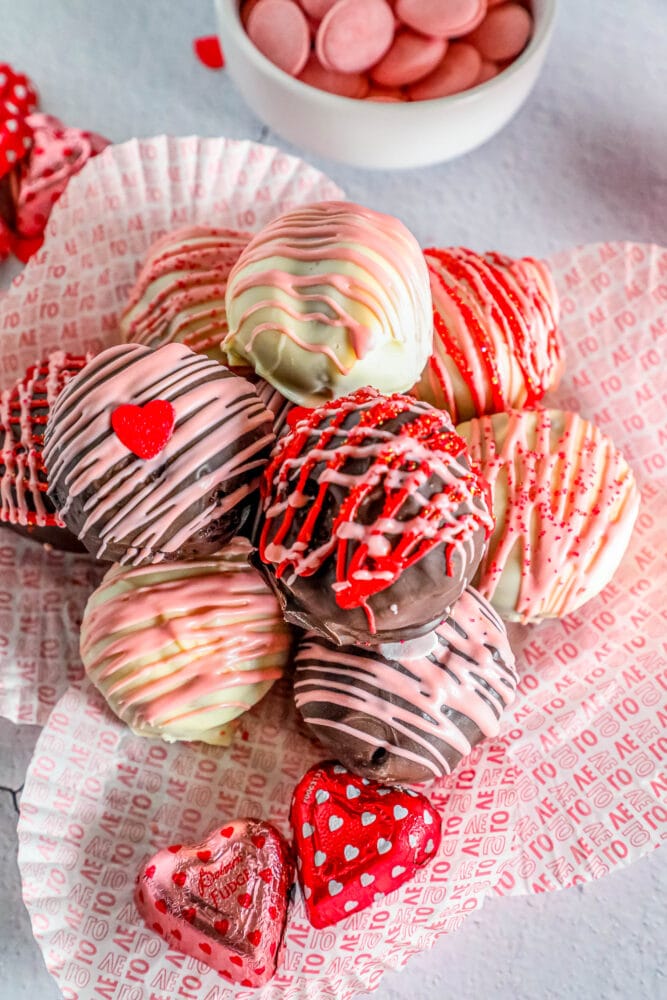
These cake balls are then dipped in melted chocolate, which adds an extra layer of flavor and a delightful crunch. The type of chocolate used can vary according to personal preference, with options ranging from dark, milk, to white chocolate. Each truffle is often garnished with a variety of toppings such as sprinkles, nuts, or a drizzle of contrasting chocolate to enhance their appearance and texture. The result is a batch of eye-catching, bite-sized treats that are perfect for any occasion, be it a festive celebration or a casual gathering. Not only are red velvet cake mix truffles delicious, but their vibrant red color, paired with the smooth chocolate coating, makes them an aesthetically pleasing addition to any dessert table.
How To Make Red Velvet Cake Mix Truffles
To make these truffles, you’ll need:
- 1 red velvet cake mix box, plus ingredients listed on box
- 1 8oz package of cream cheese, softened
- Two packages of melting chocolate
- Optional toppings:
- Sprinkles
- Red and pink melting chocolate


Use this Method:
- Using a 9×13 pan, bake the cake according to the instructions on the box. Let cool completely before continuing to the next step.
- Using a fork, break the cake into a crumb-like consistency. Once the cake is fully broken, grab the softened cream cheese and starting mixing it into the cake with your hands until fully incorporated.
- Roll into golf ball sized balls and place on a lined baking sheet. This should make about 30-35 truffles. Place in the fridge to chill while preparing the chocolate.
- Using a heatproof bowl, prepare the melting chocolate by placing it in the microwave for 30-second increments, mixing in between. Once the chocolate is ready grab your truffles and evenly coat with the chocolate, I found that using a spoon was the easiest. Once they are all coated place back in the fridge for the chocolate to harden.
- Place the leftover melting chocolate in a ziploc bag, then cut a tiny piece off the corner, this will be your piping bag. Once the truffles coated in chocolate are hard take them out and pipe the truffles using the chocolate in the ziploc bag.
- Once they are designed to your liking put them back in the fridge until the chocolate is hardened again.
- Enjoy!!
Tips To Perfect Red Velvet Cake Mix Truffles
Properly Prepare the Cake: Follow the red velvet cake mix instructions carefully. Ensuring the cake is baked well is key. Let it cool completely before crumbling it; warm cake can lead to a gooey mixture that’s hard to shape.
Crumble Finely: When crumbling the cake, aim for a fine, even texture. Larger chunks can make the truffles harder to form and can affect the final texture.
Balanced Mixture: The ratio of cake crumbs to cream cheese is crucial. Too much cream cheese can make the truffles too moist and difficult to handle, while too little can result in crumbly truffles. Start with a smaller amount of cream cheese and gradually add more until the mixture is moist enough to hold together.
Chill the Mixture: Before rolling the mixture into balls, chill it in the refrigerator for at least an hour. This step makes the mixture firmer and easier to work with.
Uniform Size: Use a cookie scoop or a spoon to ensure that each truffle is uniformly sized. This not only makes your truffles more visually appealing but also ensures they chill and set evenly.
Melt Chocolate Properly: Melt your chocolate in a double boiler or microwave it in short bursts, stirring frequently to avoid burning. If the chocolate is too thick, you can thin it with a bit of coconut oil or shortening.
Dipping Technique: Use a fork or a special dipping tool to dip each truffle into the melted chocolate. Tap off the excess chocolate gently before placing the truffle on parchment paper to set.
Decorate Quickly: If you’re adding sprinkles, nuts, or a drizzle of different chocolate, do it immediately after dipping each truffle, before the chocolate shell hardens.
Setting the Truffles: Allow the truffles to set completely by chilling them in the refrigerator. This will help the chocolate coating to harden and hold its shape.
Storage: Store the truffles in an airtight container in the refrigerator. They can also be frozen for longer storage, but ensure they are well-wrapped to prevent freezer burn.
Experiment with Flavors and Toppings: Don’t hesitate to experiment with different types of chocolate coatings and various toppings like crushed nuts, coconut flakes, or colorful sprinkles to add an extra layer of flavor and texture.
FAQs
Truffles can be stored in an airtight container in the refrigerator for up to five days. We recommend storing in the refrigerator.
Absolutely! Use whatever you like to coat truffles or cake pops with.
While this recipe is very similar to a cake pop, it is denser and will slide down a cake pop stick that does not have a supportive base.
Other Easy Candies You’ll Love
If you love these truffles, be sure to check out our Easy Gingerbread Truffles Recipe, Easy Cookie Butter Truffles Recipe, and our Easy Buttercreams Candy Recipe!
Try these dessert recipes next:

For the rest of our easy candy and dessert recipes, click here.
Red Velvet Cake Mix Truffles
If you love this easy recipe please click the stars below to give it a five star rating and leave a comment! Please also help me share on Instagram, Facebook, and Pinterest!
Share on Facebook
SharePin this now to find it later
Pin ItFollow on Instagram
Only have 30 minutes to get dinner on the table? Sign up for my 30 minute dinner plans direct to your inbox!
Find and shop my favorite products in my Amazon storefront here!
Red Velvet Cake Mix Truffles

Equipment
Ingredients
- 1 red velvet cake mix box, plus ingredients listed on box
- 1 8 oz package of cream cheese, softened
- Two packages of melting chocolate
- Optional toppings:
- Sprinkles
- Red and pink melting chocolate
Instructions
- Using a 9×13 pan, bake the cake according to the instructions on the box. Let cool completely before continuing to the next step.
- Using a fork, break the cake into a crumb-like consistency. Once the cake is fully broken, grab the softened cream cheese and starting mixing it into the cake with your hands until fully incorporated.
- Roll into golf ball sized balls and place on a lined baking sheet. This should make about 30-35 truffles. Place in the fridge to chill while preparing the chocolate.
- Using a heatproof bowl, prepare the melting chocolate by placing it in the microwave for 30-second increments, mixing in between. Once the chocolate is ready grab your truffles and evenly coat with the chocolate, I found that using a spoon was the easiest. Once they are all coated place back in the fridge for the chocolate to harden.
- Place the leftover melting chocolate in a ziploc bag, then cut a tiny piece off the corner, this will be your piping bag. Once the truffles coated in chocolate are hard take them out and pipe the truffles using the chocolate in the ziploc bag.
- Once they are designed to your liking put them back in the fridge until the chocolate is hardened again.
- Enjoy!!
Nutrition
Nutrition information is automatically calculated, so should only be used as an approximation.