This post contains affiliate links. Please read our disclosure policy.
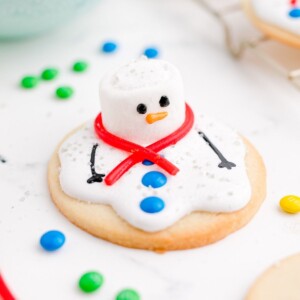
Melted Snowman Cookies Recipe – delicious, adorable snowman cookies with candy scarf and buttons that look like they are “melting” on a cookie! Snowman cookies are so adorable – they make perfect party favors all winter long, are great for Christmas cookie exchanges, great to decorate together, and are super fun to customize!
Melted snowman cookies look fussy and complicated – but they are actually really easy to make, and so delicious! These cookies are one of our favorite treats with homemade hot cocoa, they are sweet but not too sugary (despite the marshmallow!), and so adorable.


Don’t want all the extras in a recipe post? We provide a skip to recipe button in the top left corner, as well as a clickable table of contents, just below, to help make this page easier to navigate.
At Sweet C’s, I add lots of tips in all of my recipes – because I am a home cook without any formal training, and I find I am more confident making dishes when I understand why it works, and what each ingredient means to the flavor of a recipe. My goal is for even the most beginner home cook to feel empowered in the kitchen.
Table of contents
Easy Snowman Cookies
Making these delicious easy cookies from scratch couldn’t be easier – first, we’re going to make a delicious, easy sugar cookie base for our cookies, then a melted snowman icing base to top with a marshmallow and some fun candy decorations! You can set up a big table to make these cookies for a party, and let guests make their own cookies – we like to make themes and have fun white elephant style prizes for different cookies. My daughter calls them Olaf cookies!
How To Make Snowman Cookies
For the Royal Icing:
- Meringue powder (6 tbsp) – Meringue powder helps the royal icing whip up fluffy, dry smoothly, and harden perfectly for decorating snowman details.
- Powdered sugar (8 cups) – Powdered sugar creates a smooth, sweet base that gives royal icing its classic structure and bright white color.
- Warmed water (10 tbsp) – Warmed water activates the meringue powder and helps achieve the ideal piping and flooding consistency.
For the Sugar Cookies:
- Unsalted butter (1 ½ cups) – Unsalted butter adds rich flavor and creates a tender, buttery sugar cookie base.
- Granulated sugar (1 ½ cups + more for rolling) – Granulated sugar sweetens the dough while extra sugar adds a subtle crunch when rolling the cookies.
- Large eggs (2) – Eggs bind the dough together and give the cookies structure and softness.
- Vanilla extract (1 tablespoon) – Vanilla extract enhances the cookie’s flavor with warm, classic sweetness.
- All purpose flour (3 cups) – All-purpose flour provides the foundation and structure needed for sturdy yet soft cookies.
- Baking powder (1 ½ tsp) – Baking powder helps the cookies rise slightly, keeping them thick and tender.
- Sea salt (1 tsp) – Sea salt balances the sweetness and enhances all the flavors in the dough.
Decorations:
- Marshmallows (24) – Marshmallows melt slightly in the oven to create the signature “melted snowman” look.
- Food Coloring Gels – Black, Orange – Gel food coloring is used to tint royal icing for snowman eyes, mouths, and carrot noses.
- Strawberry Licorice Laces (24) – Strawberry licorice laces make fun, flexible scarves for decorating each snowman.
- Sugar Crystals (¼ cup) – Sugar crystals add sparkle and a festive crunch for finishing touches, if desired.
Steps to Make Melted Snowman Cookies

Make Cookies Dough
In a medium bowl, beat together the butter, sugar, egg, milk and vanilla. Then add the flour (start with 2 cups), baking powder, and salt. Beat this until well blended. If the dough is still really sticky you may mix in another ¼ to ½ cup of flour.
Chill
Divide the cookie dough into 2 equal size disks. Wrap these and place them in the fridge for 1 hour (or until firm).
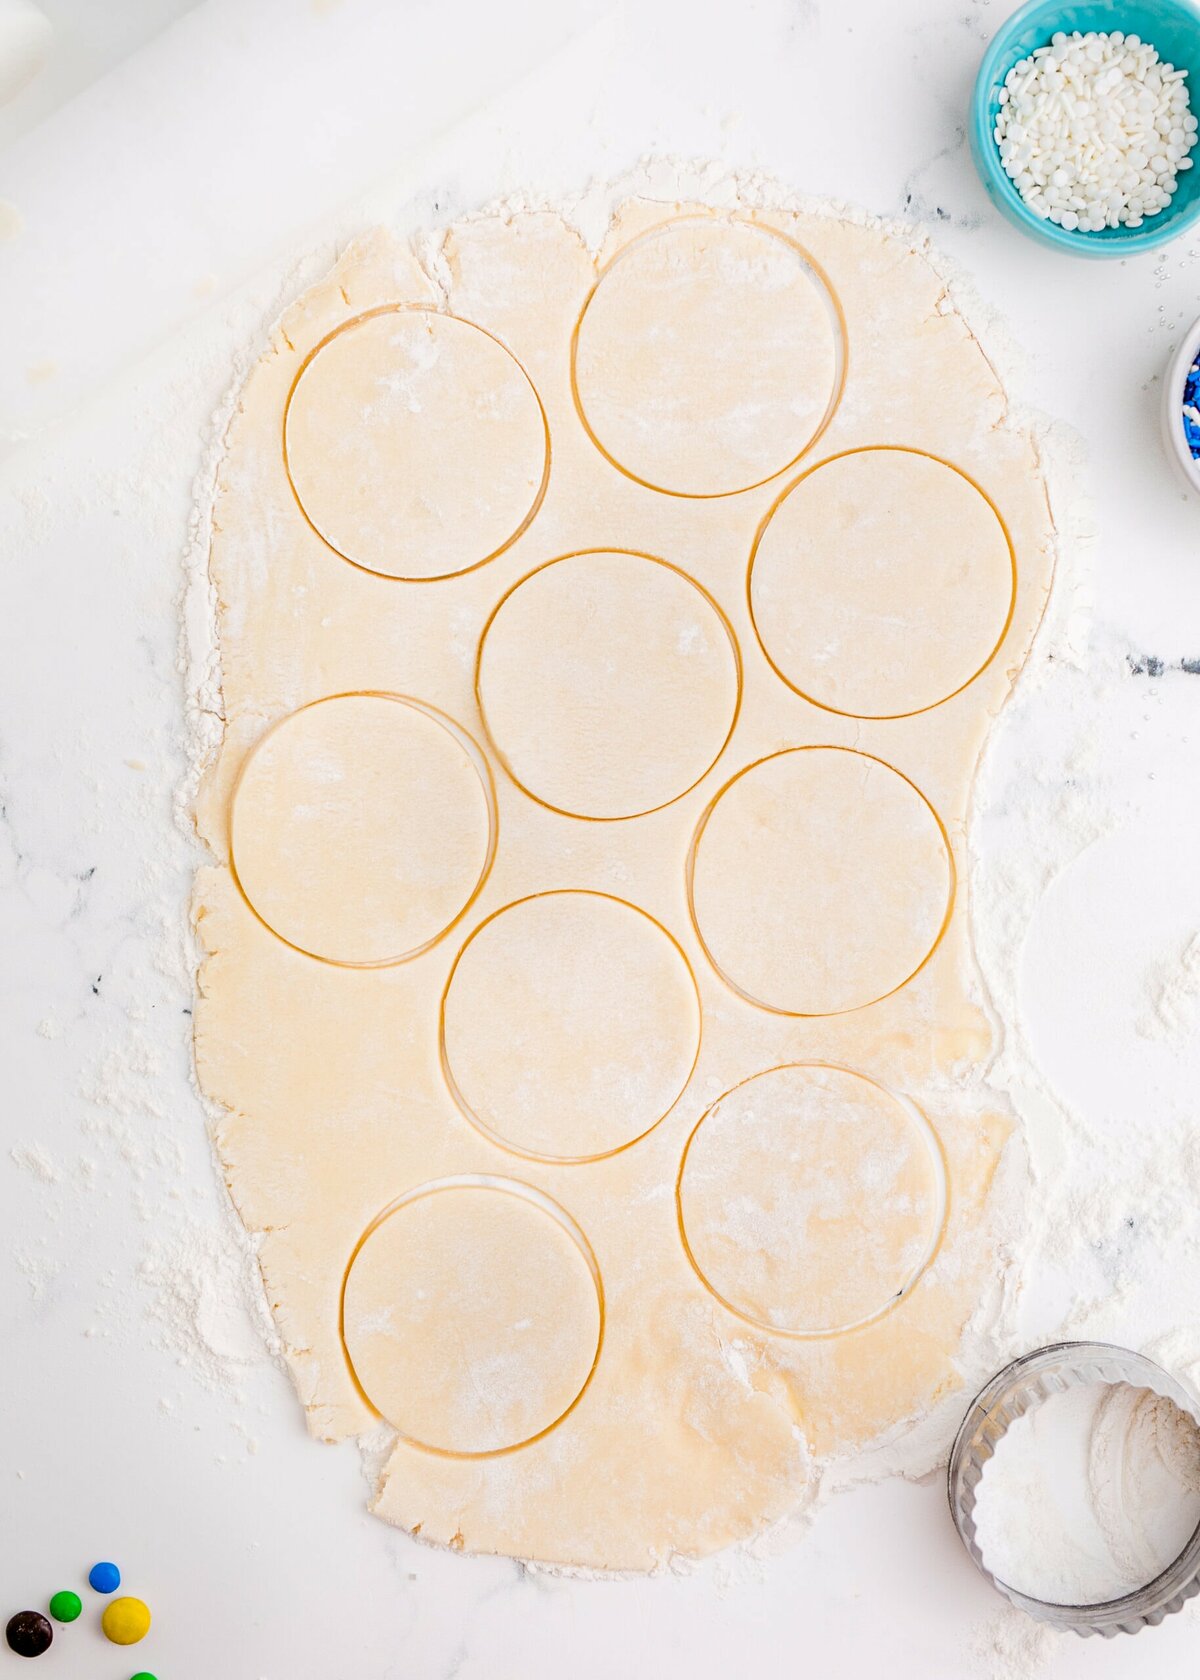
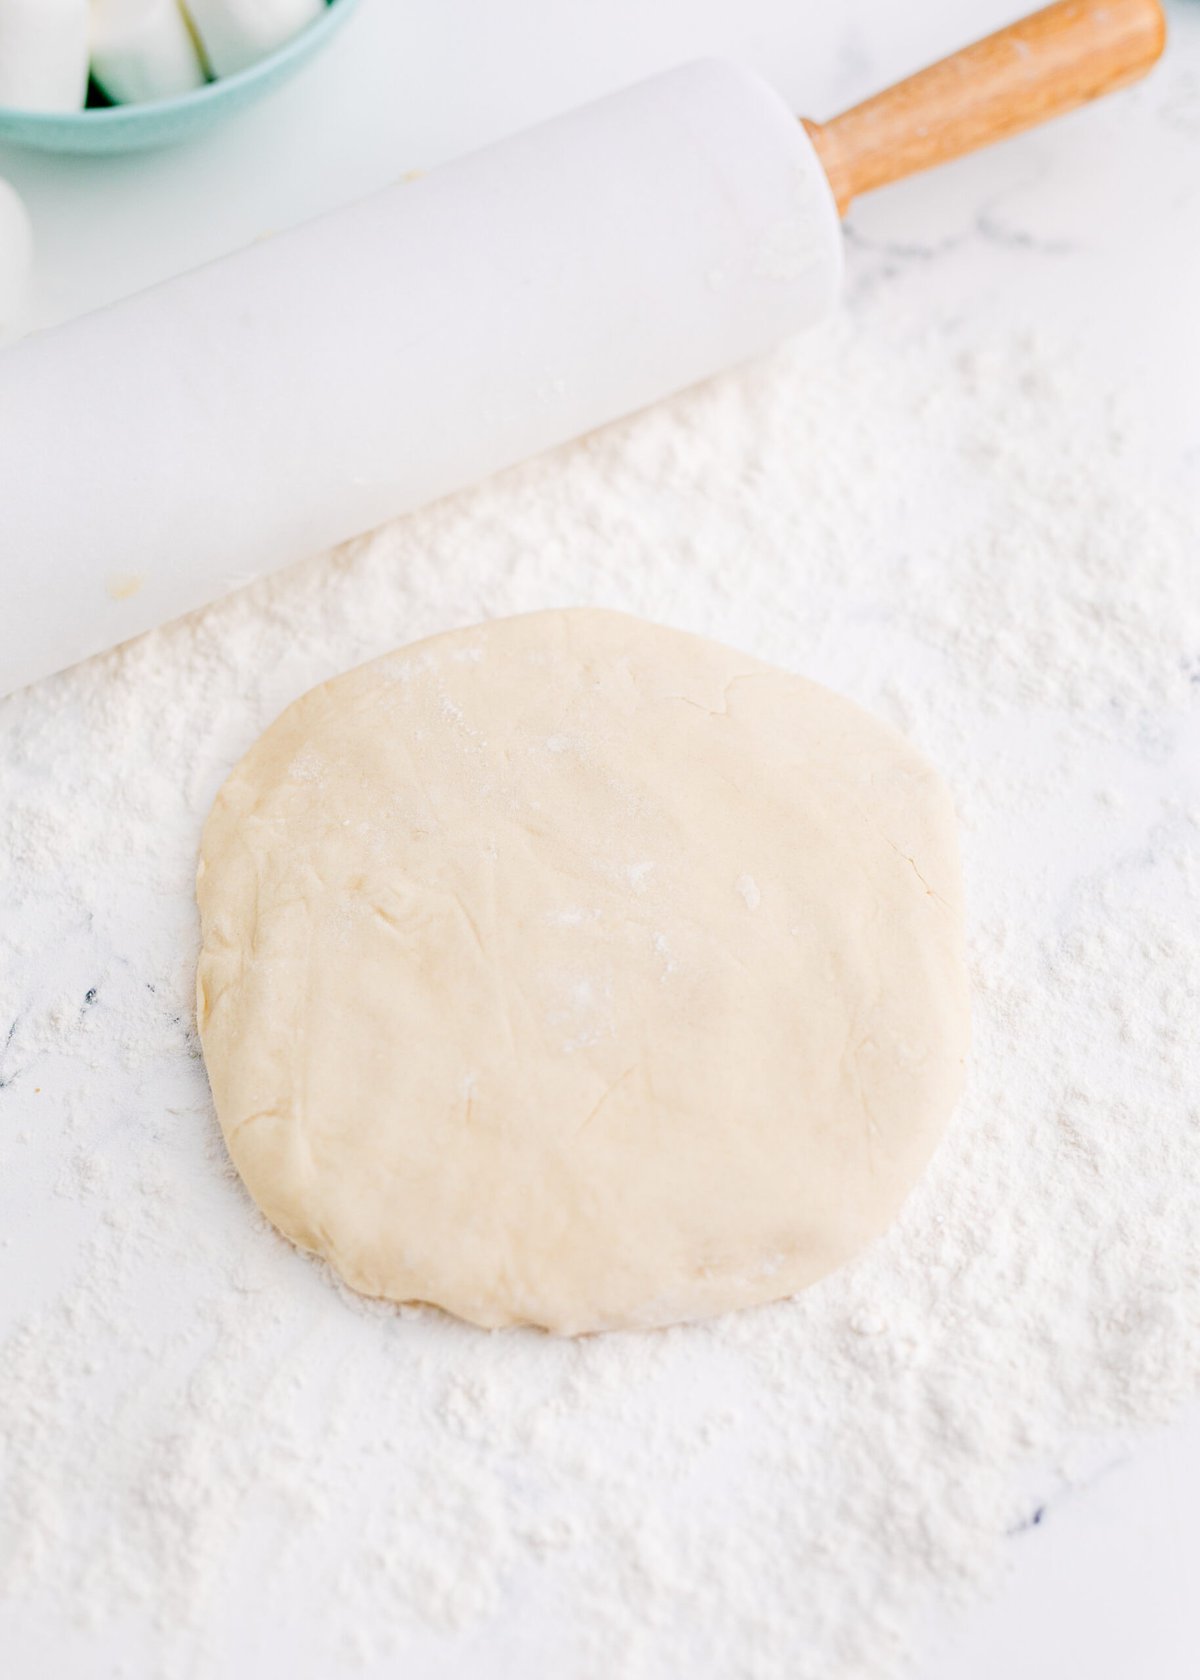
Roll and Cut
On a lightly floured surface, roll out the dough to ¼ inch thick. Use a 2 ½ inch, lightly floured cookie cutter to cut out as many cookies as you are able to. Place the cookies 1 inch apart on ungreased baking sheets.
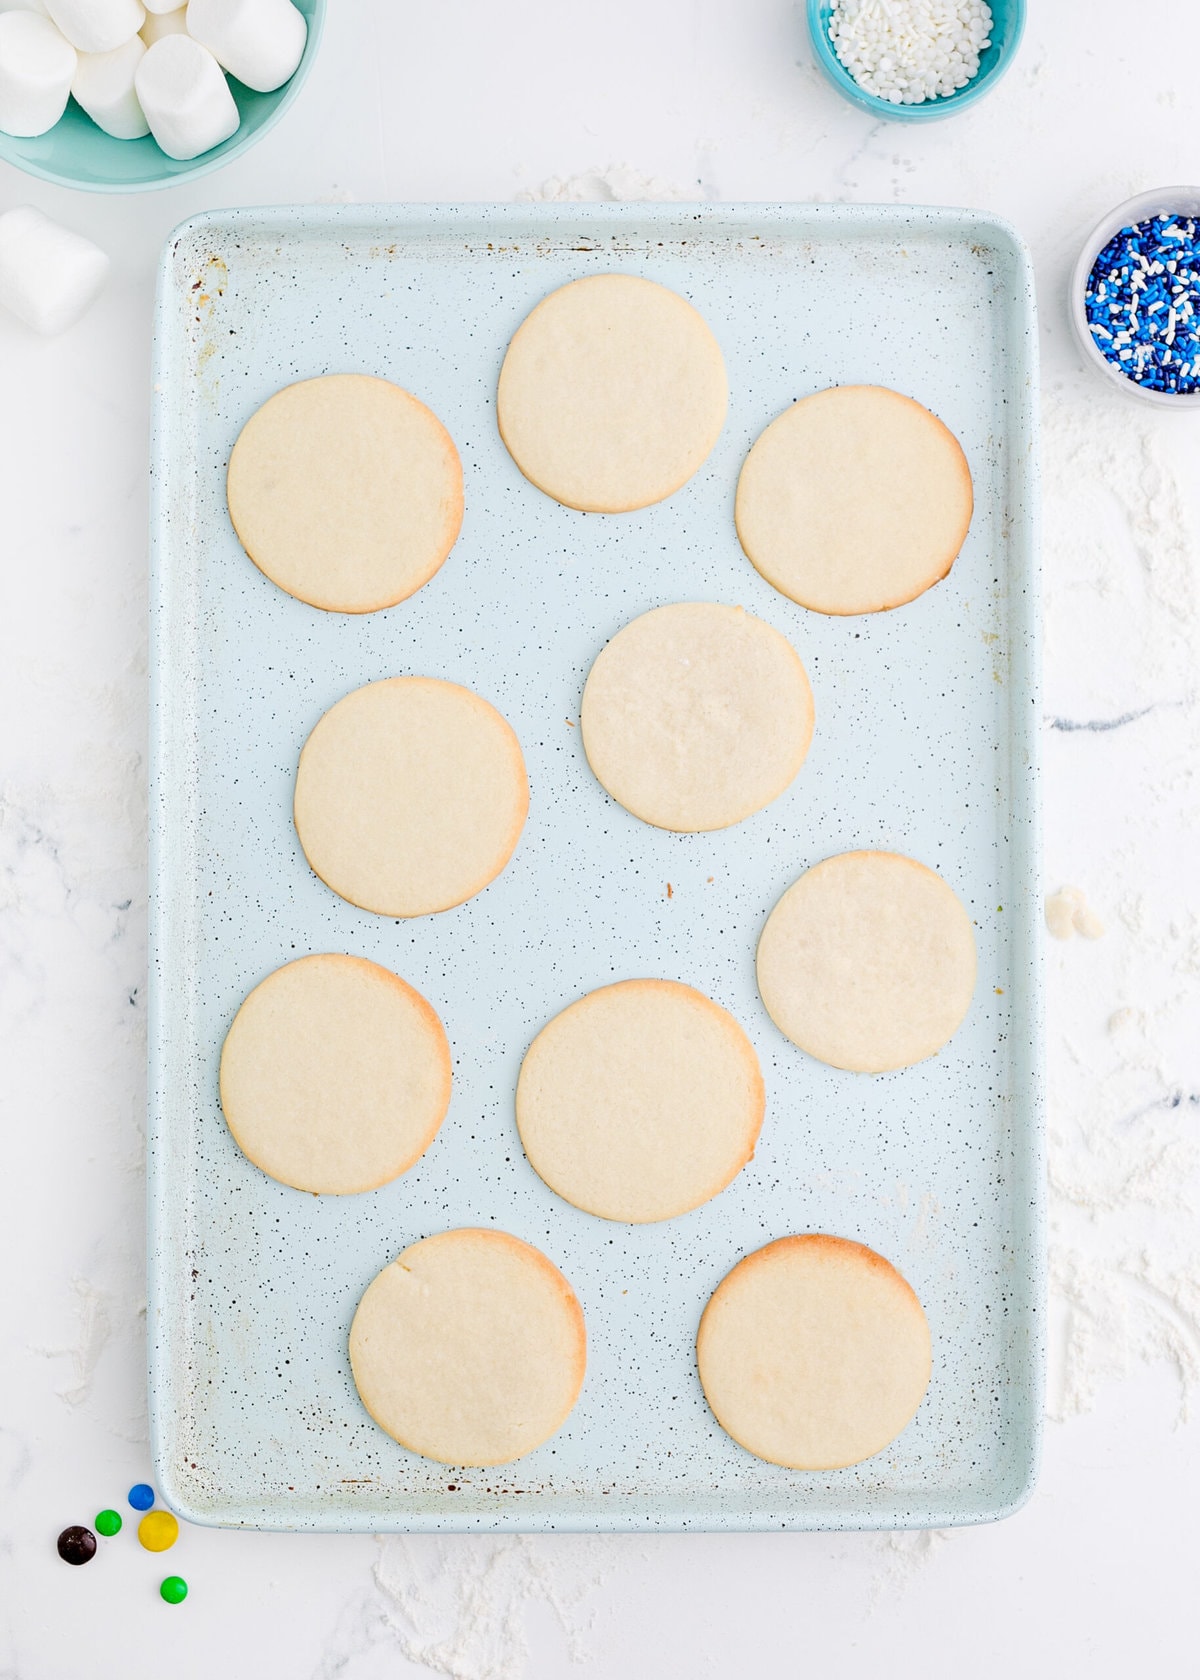
Bake and Cool Completely
Bake at 375 degrees for 7-10 minutes or until the edges are just golden. (They can cook quickly so watch carefully after the 5 minute mark.) When the cookies are removed from the oven, move them to cooling racks to cool completely before frosting them.
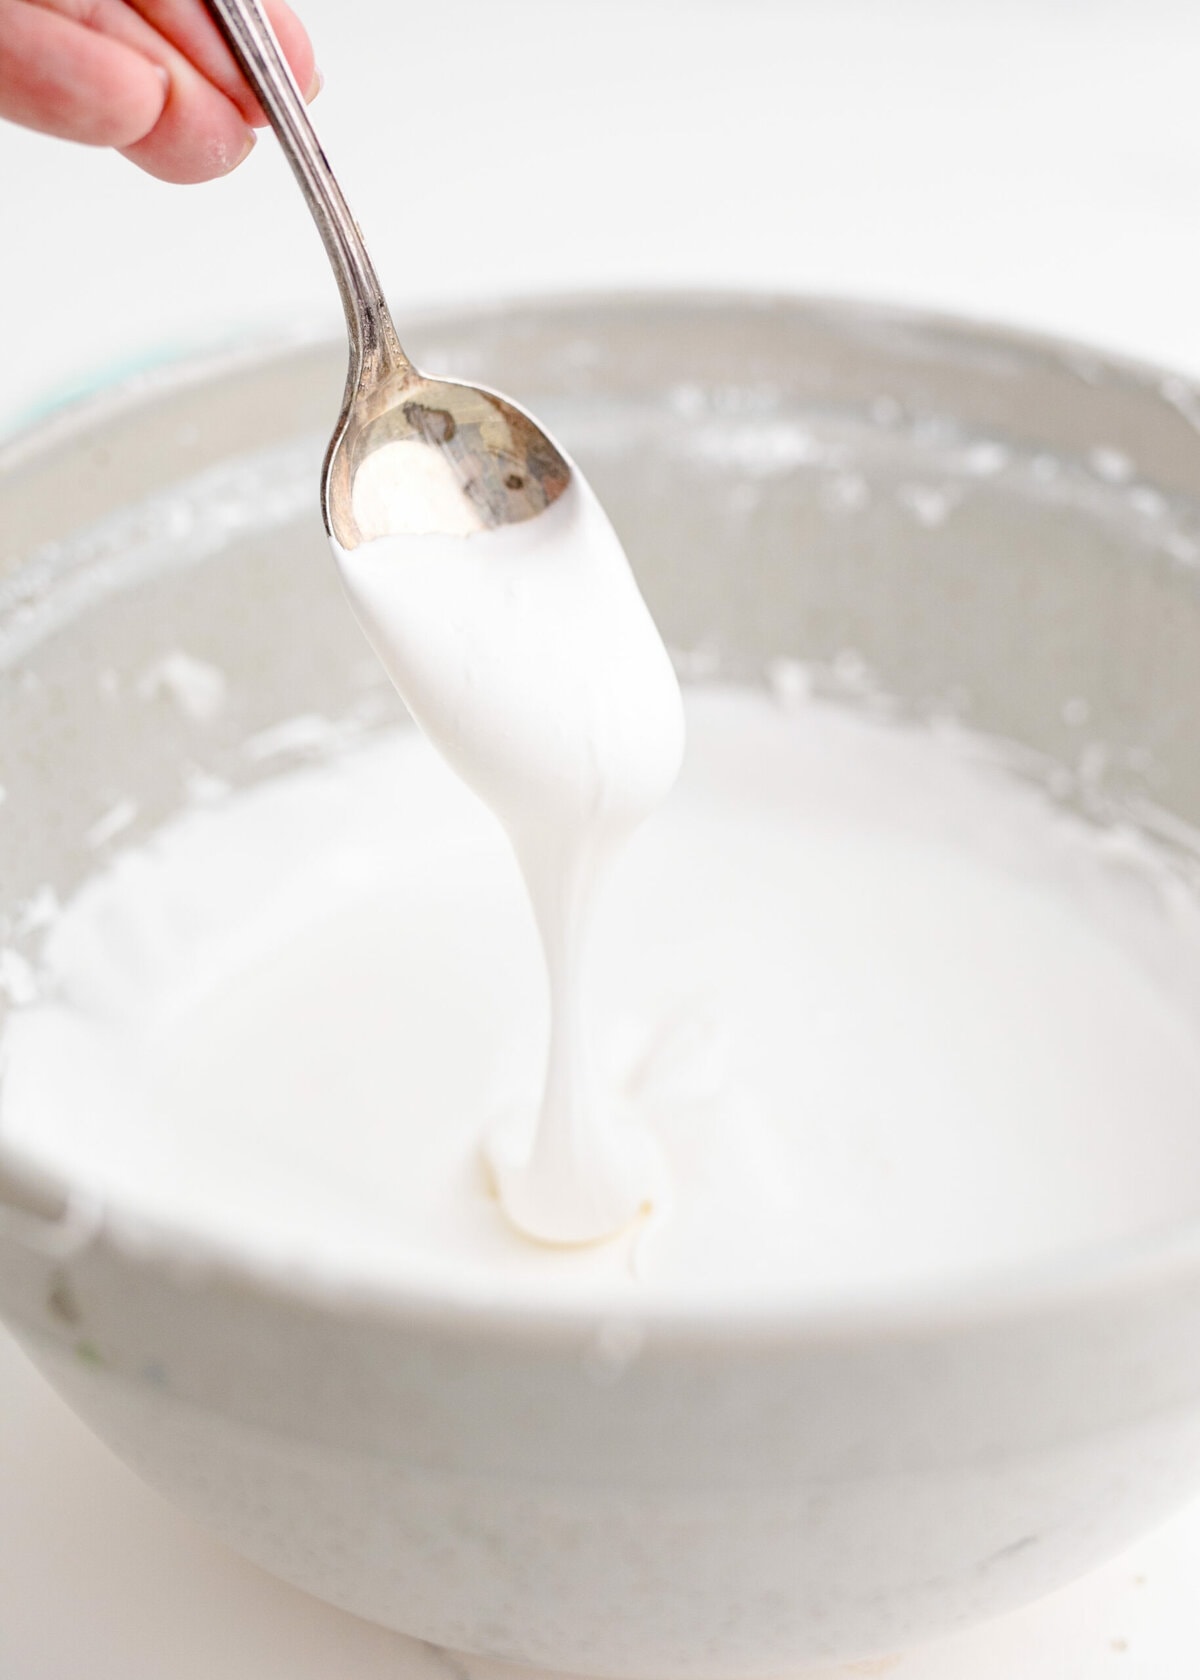
Make Icing
Sift together the powdered sugar and meringue powder. Add 5 tablespoons of the warm water. Use a stand mixer with a whisk attachment to beat at high power for 10 minutes. Check the consistency. Add more water if the icing is too thick and is so still that it will barely move. If it is too thin, beat longer, it thickens the longer you beat it.
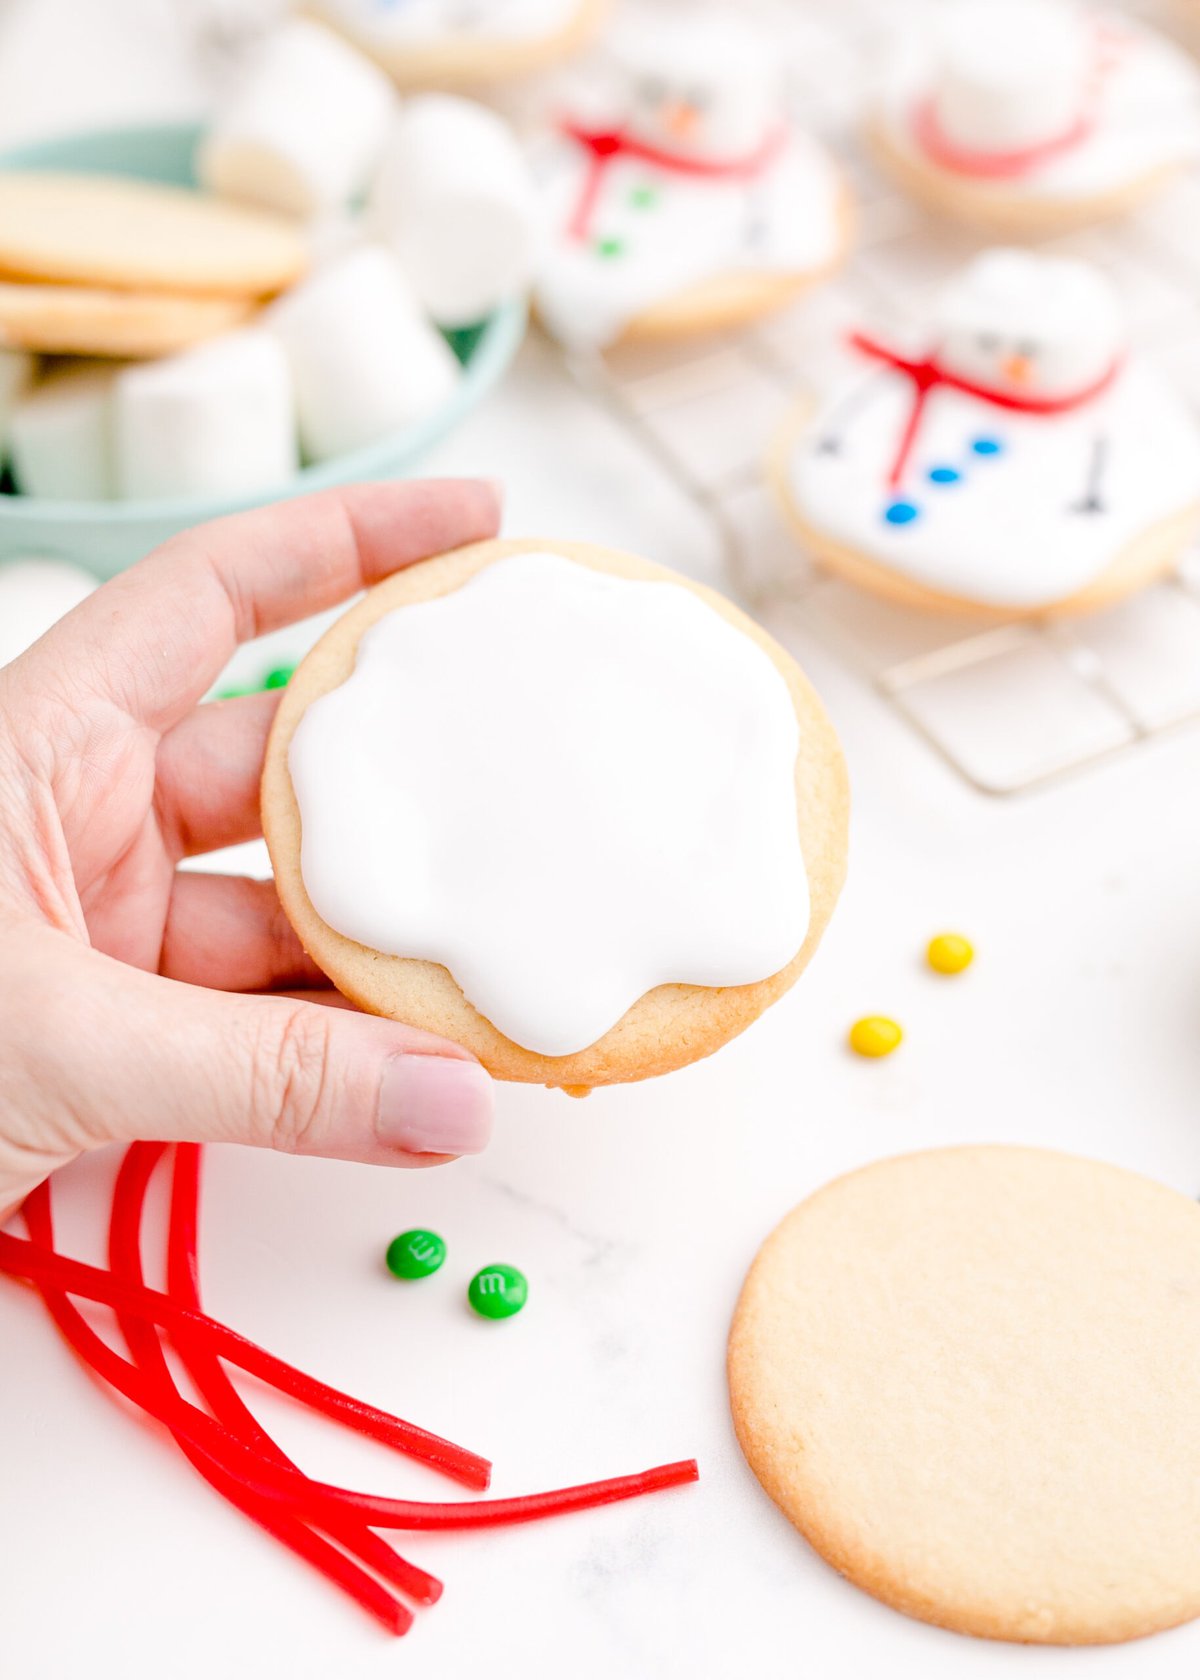
Ice Cookie
Drop a dollop of icing onto the middle of the cookie and carefully spread out towards the edges. You can make this as perfect or messy as you’d like – after all – it’s a MELTED snowman cookie.
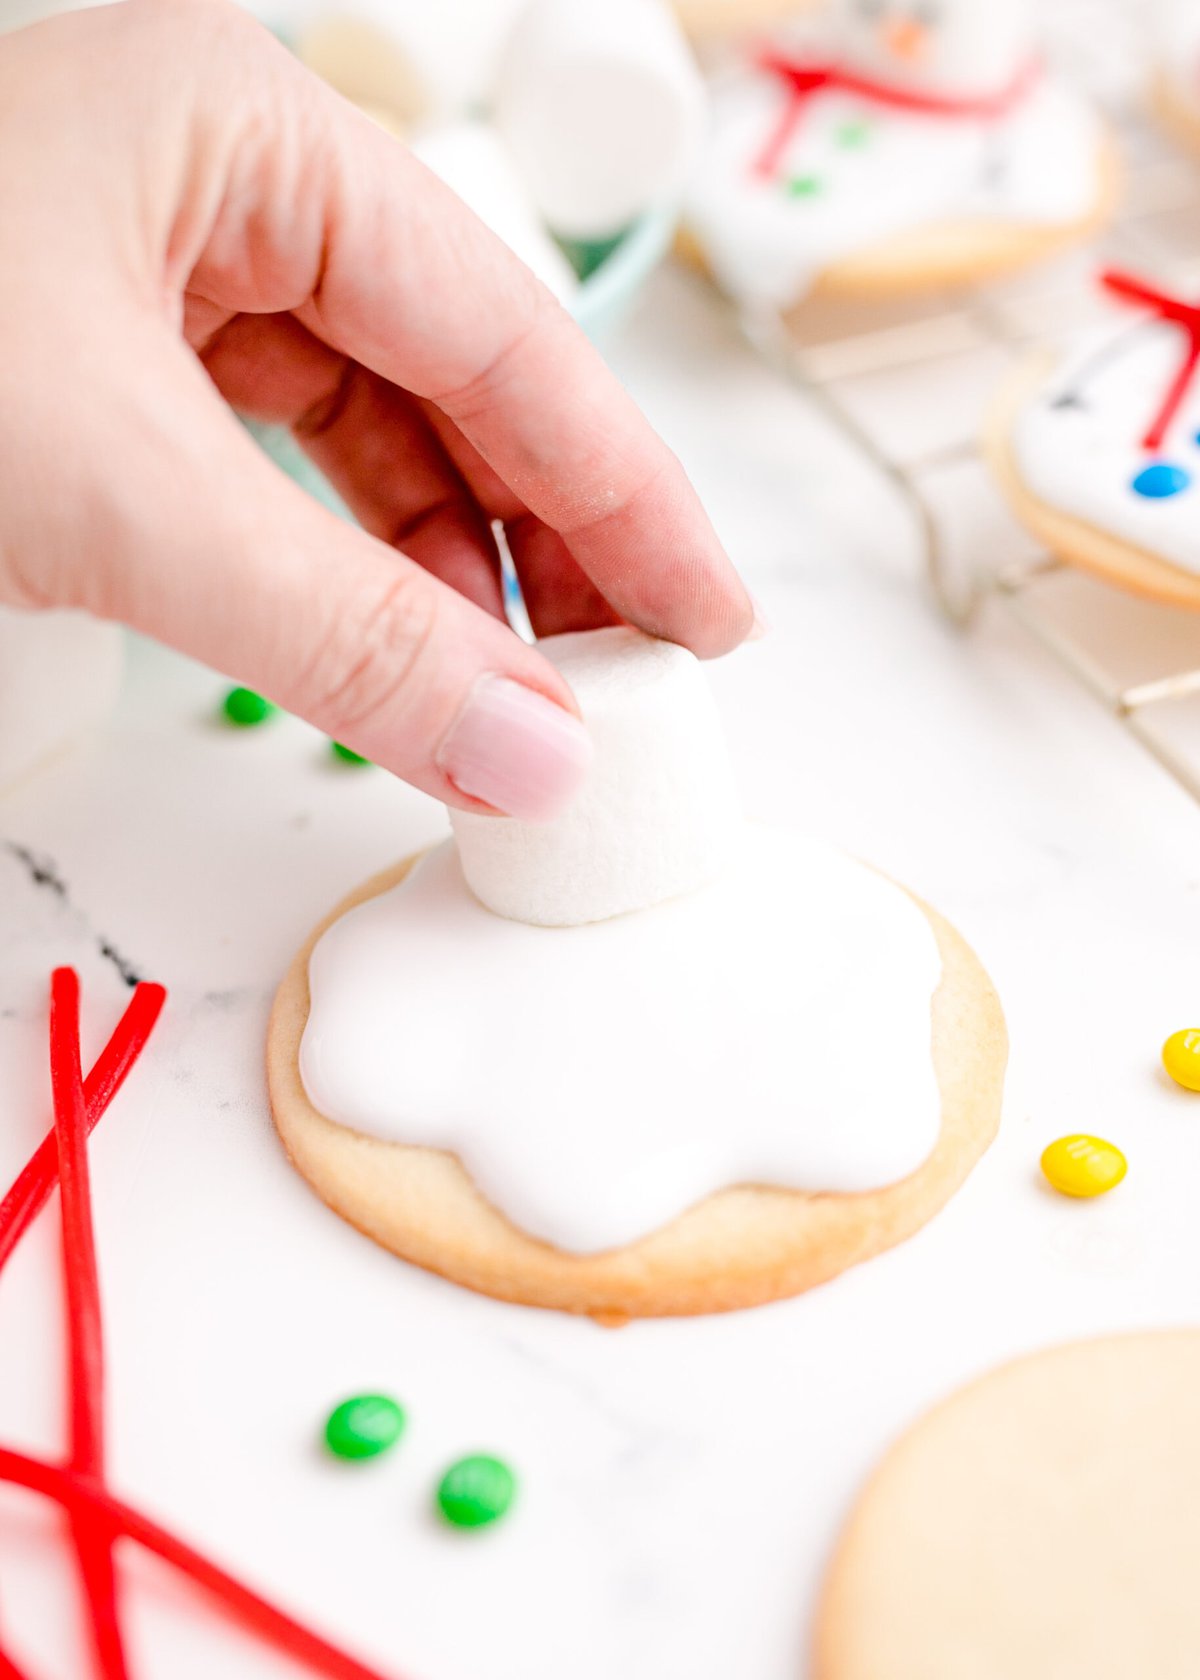
Add Snowman Head
Place one marshmallow on each cookie to represent the head of the snowman.
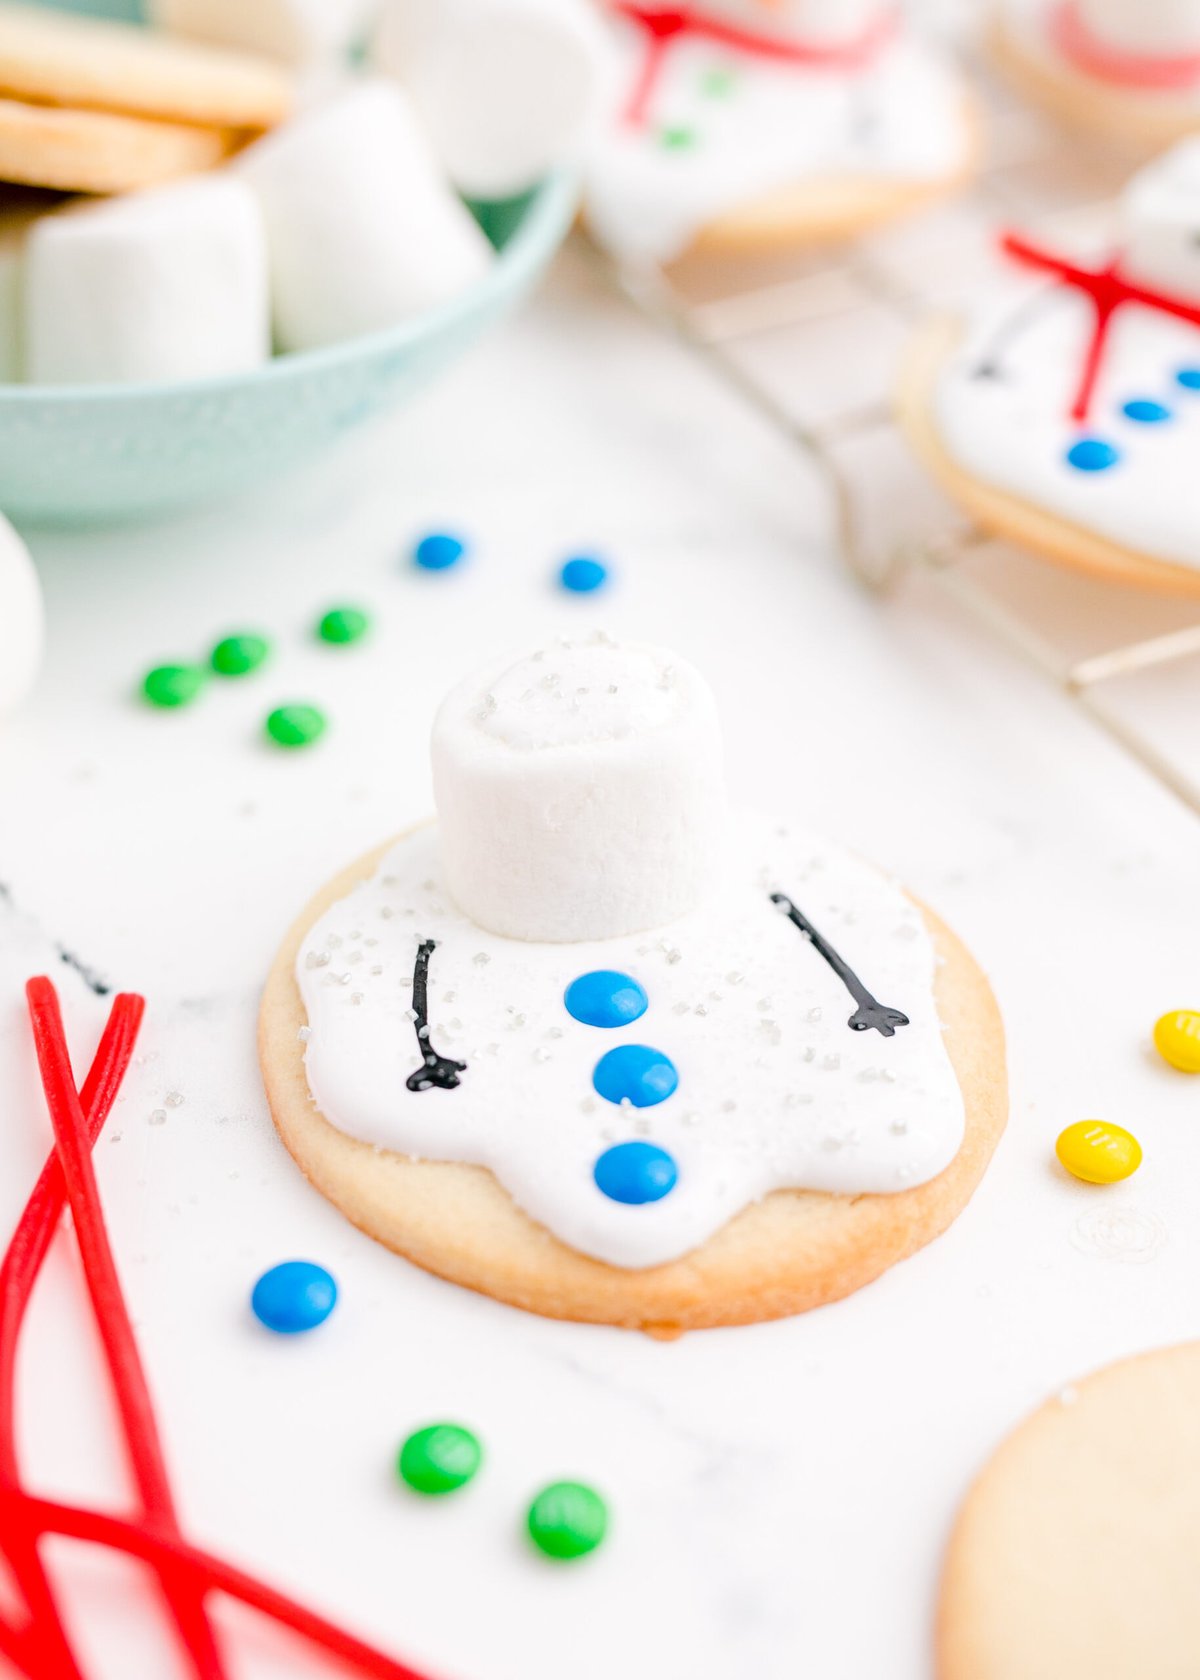
Add Buttons and Arms
When you are ready to add the eyes and buttons, add some black gel coloring to some of the icing and pipe on arms and eyes. Do the same with orange food coloring to make icing for the carrot nose. Then drop pn some mini m&ms for buttons, a licorice for the scarf and some sprinkles for fun!
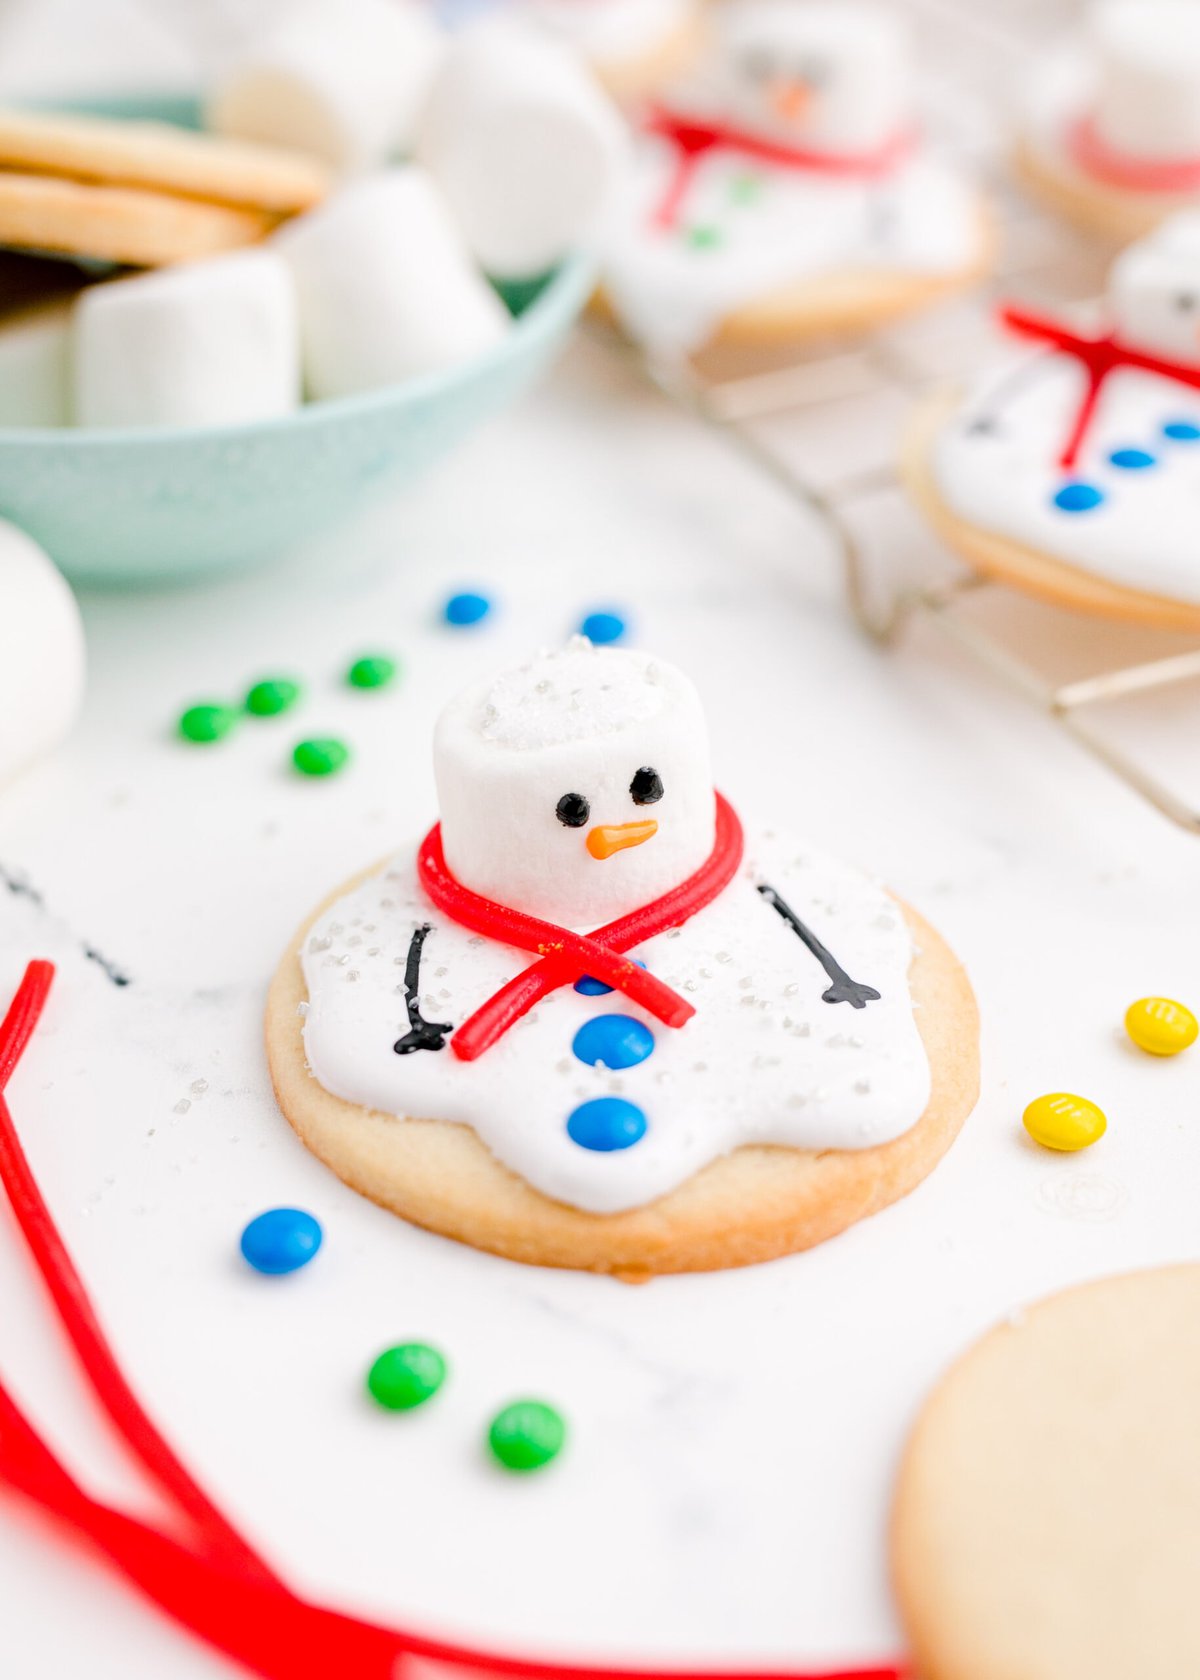
Finish and Enjoy
The royal icing will take about 2 hours to dry. If you need the icing to firm up more quickly, you can refrigerate them.
Tips To Perfect Melted Snowman Cookies
Add flavor. Want to kick these cookies up a notch? You can add flavored extracts to the royal icing, and even the cookies, to add more flavor. You could add almond extract or peppermint extract, or even lemon, raspberry, or vanilla extract. You will want to start with 1 teaspoon.
Add color. If you’d like to add color to your icing for some bright and colorful snowmen, go for it! You could use food coloring, but I prefer to use gel color instead because you get a more intense color and don’t need to use as much.
Cut marshmallows in half if needed so they melt evenly and don’t completely slide off the cookie.
Use toothpicks or piping tips for precise eyes, mouths, and scarf details.
Use gel icing or melted chocolate for faces and details since they set quickly and hold their shape.
Melted Snowman Cookie FAQs
Yes, it may be stored in an airtight container in the fridge for up to 2 weeks. Once you’ve brought it to room temperature you may need to whisk it smooth again
It is very important to use grease-free bowls and utensils when you are working with meringue. I would start over, using a glass bowl if possible, that is very clean, and for better chances, you could chill the bowl and attachments as well.
You could substitute pasteurized egg whites. You will substitute pasteurized egg whites (or 6 Tablespoons of pasteurized egg whites from a carton). Whisk the egg whites until foamy, then beat in the powdered sugar at medium speed for 5 minutes. Adjust the water as needed.
Large marshmallows are best for the classic melted look, but mini marshmallows can be used if stacked together.
Gel icing, melted chocolate, or edible food markers work best for clean, detailed faces.
Store in a single layer in an airtight container at room temperature to prevent smudging.
I don’t recommend freezing, as marshmallows can become sticky and lose their shape when thawed.
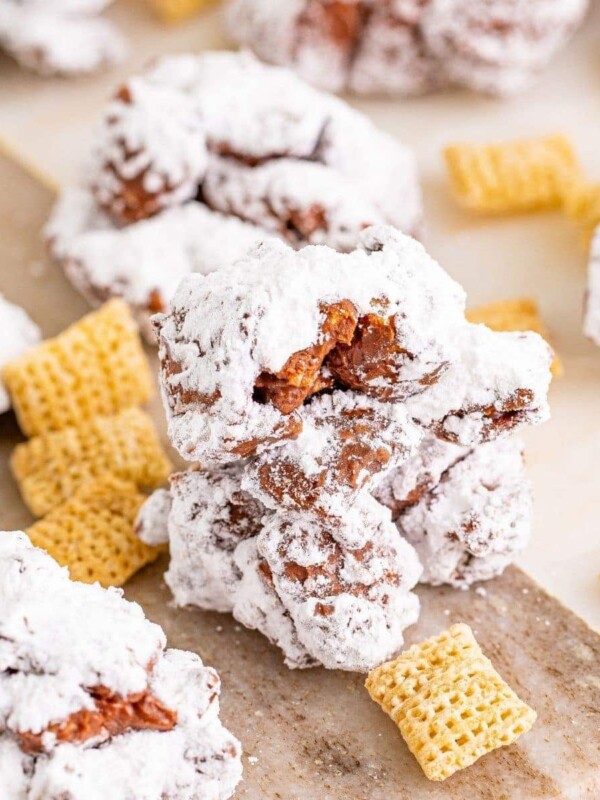
Other Christmas Cookies You’ll Love
If you love these melted snowman cookies and want to see more of our easy cookie recipes, please check out some of our recent favorites below:
Try these other cookie recipes:

You can find the rest of our Christmas cookie recipe archives here.
If you love this easy recipe please click the stars below to give it a five star rating and leave a comment! Please also help me share on Instagram, Facebook, and Pinterest!
Share on Facebook
SharePin this now to find it later
Pin ItFollow on Instagram
Only have 30 minutes to get dinner on the table? Sign up for my 30 minute dinner plans direct to your inbox!
Find and shop my favorite products in my Amazon storefront here!
Melted Snowman Cookies Recipe
Equipment
Ingredients
For the Royal Icing
- 6 tbsp Meringue powder
- 8 cups powdered sugar
- 10 tbsp warmed water
For the Sugar Cookies
- 1 ½ cups unsalted butter
- 1 ½ cups granulated sugar, + more for rolling
- 2 large eggs
- 1 tablespoon vanilla extract
- 3 cups all purpose flour
- 1 ½ tsp baking powder
- 1 tsp sea salt
Decorations
- 24 Marshmallows
- Food Coloring Gels – Black, Orange
- 24 Strawberry Licorice Laces
- ¼ cup Sugar Crystals, optional
Instructions
- To make the cookies, preheat oven to 375 degrees.
- Mix all the dry ingredients in a medium bowl and set aside.
- In a large bowl cream the butter, sugar, vanilla extract, and eggs. Cream 3-5 minutes till light and fluffy. Add the flour mixture and beat till just combined. Chill for at least an hour in the refrigerator.
- Sprinkle sugar on the counter and roll the dough till about the thickness of a half dollar coin. Use a round cutter to cut out the cookies. Place the cookies on a parchment lined baking tray.
- Bake for 9-11 minutes or until the edges were slightly brown and center is barely set. Cool completely before icing.
- Beat all the royal icing ingredients until icing forms peaks (7-10 minutes). Let it sit for 15 – 30 minutes to let air bubbles rise naturally or gently stir the top to release air before dying.
- Arrange cookies just apart on parchment paper. Spread icing on each cookie allowing the icing to drip over edge to look like melting snow. Split the remaining icing into two piping bags, dye one orange and one black, set aside.
- Add a marshmallow on each cookie while icing is still wet.
- Decorate the cookies with the black royal icing for eyes and arms, orange royal icing for carrots noses, M&M's for buttons, and licorice for a scarf.
- Sprinkle the cookies with sugar crystals for a snowy effect. Wait about 2 hours for the frosting to set and enjoy!
Nutrition
Nutrition information is automatically calculated, so should only be used as an approximation.