Eat Drink Travel – we want to see and taste it all!
Recent Posts
See what easy recipes and other awesome ideas we’re cooking up!

Find the best recipes
Searching for something specific? Enter keywords to find the perfect recipe!
Popular recipes
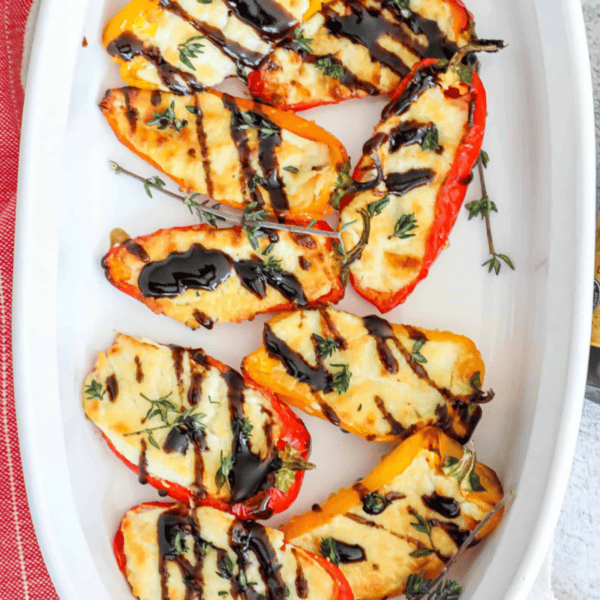
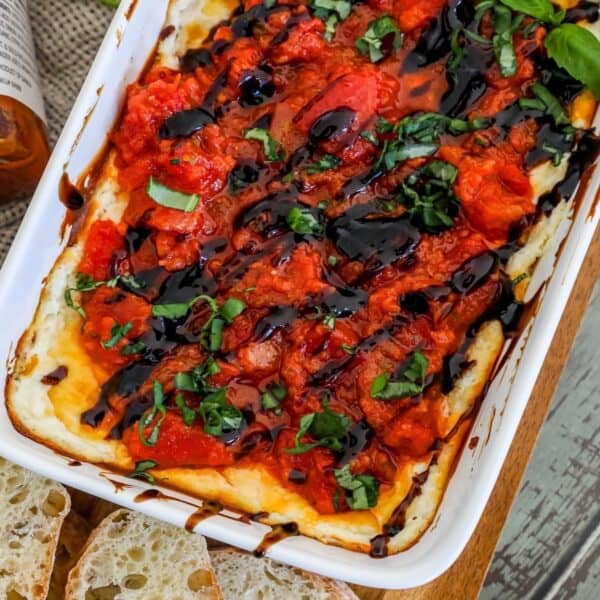
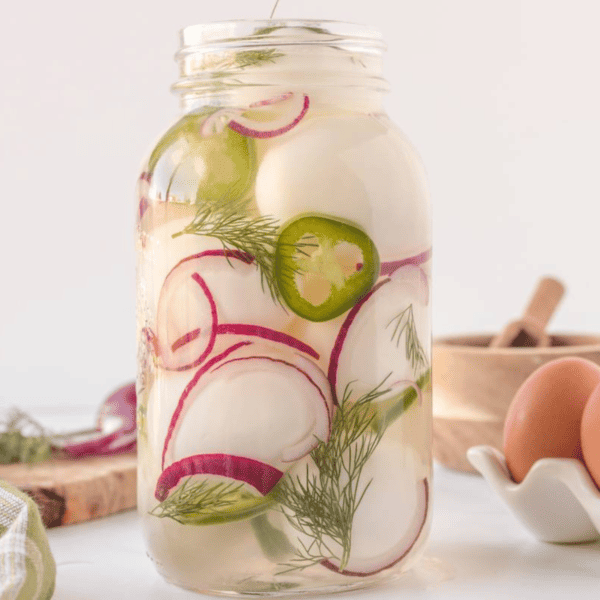
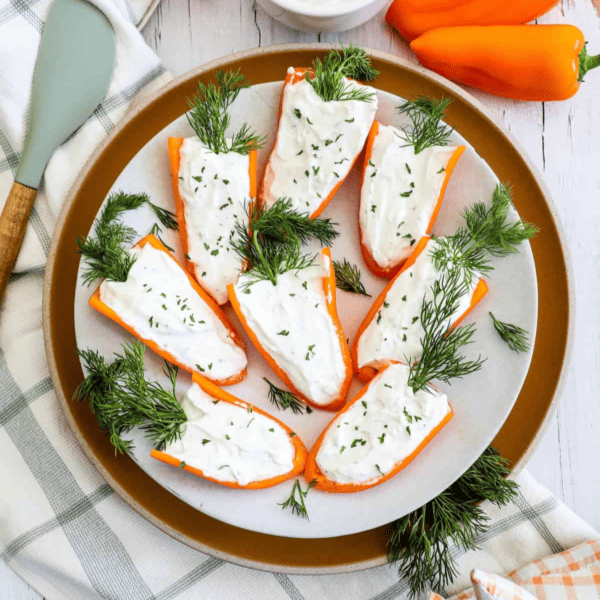
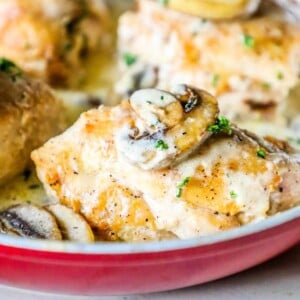
Simple, quick, and delicious – these crowd-pleasing hits are our readers current favorites!

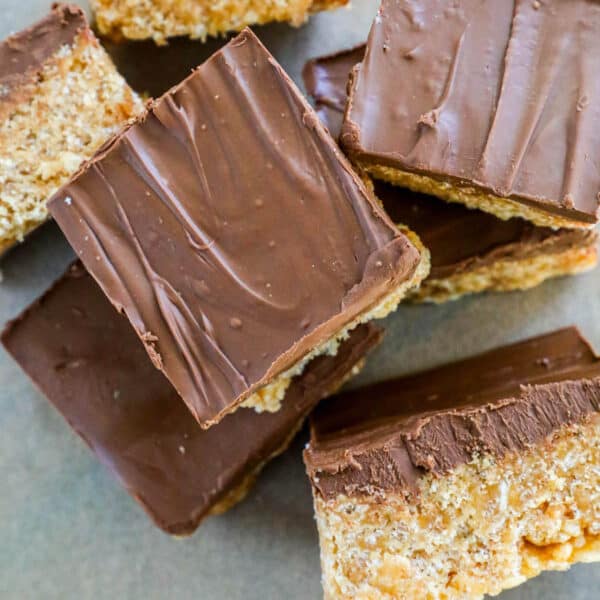
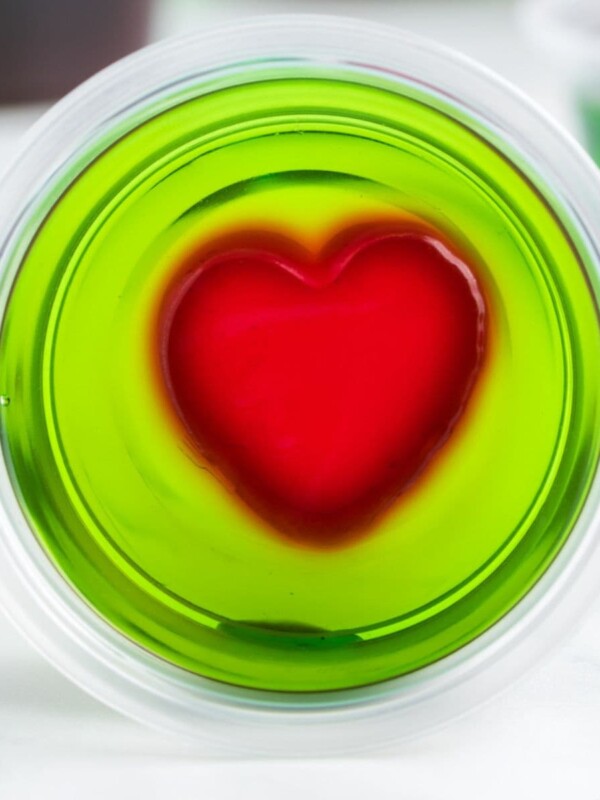
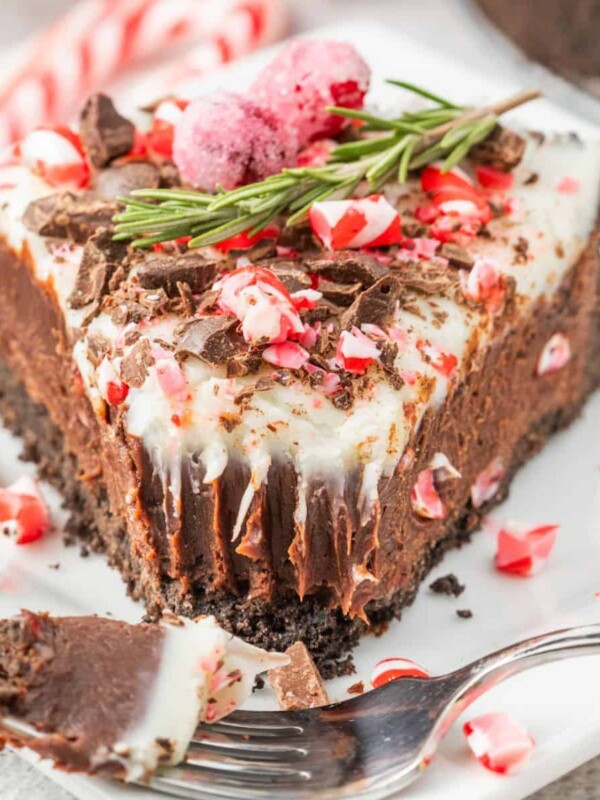
Easy Dessert Recipes


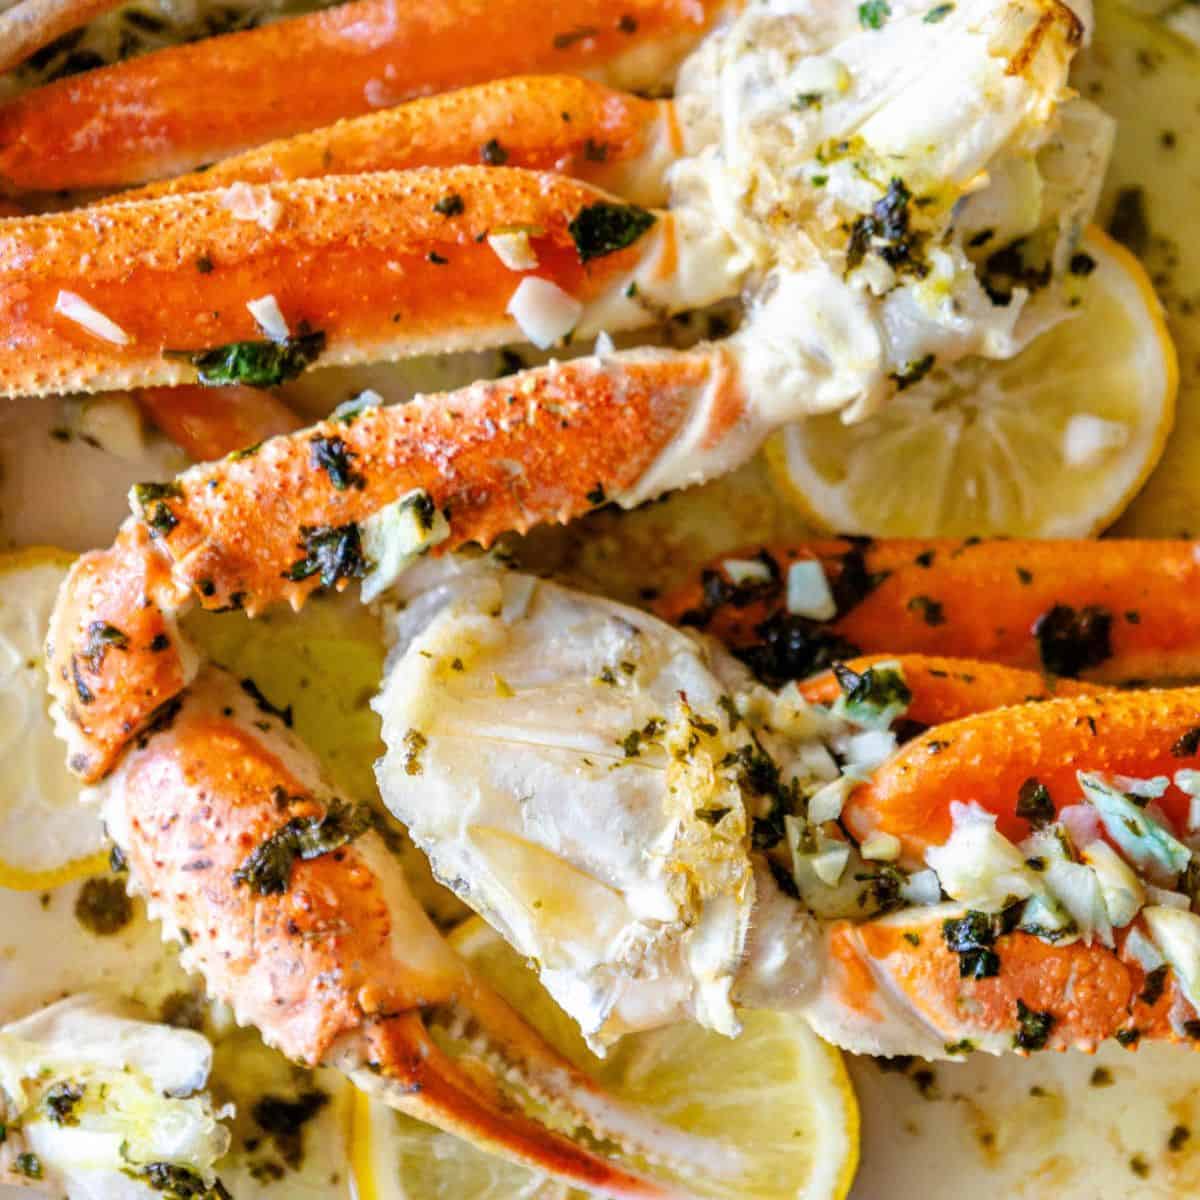
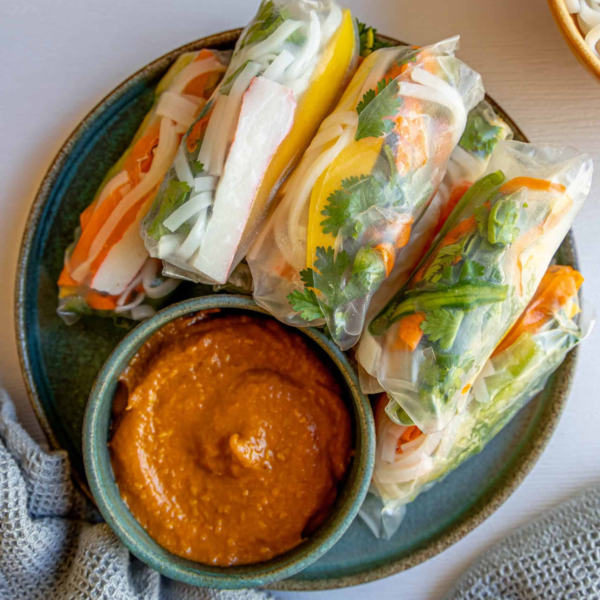
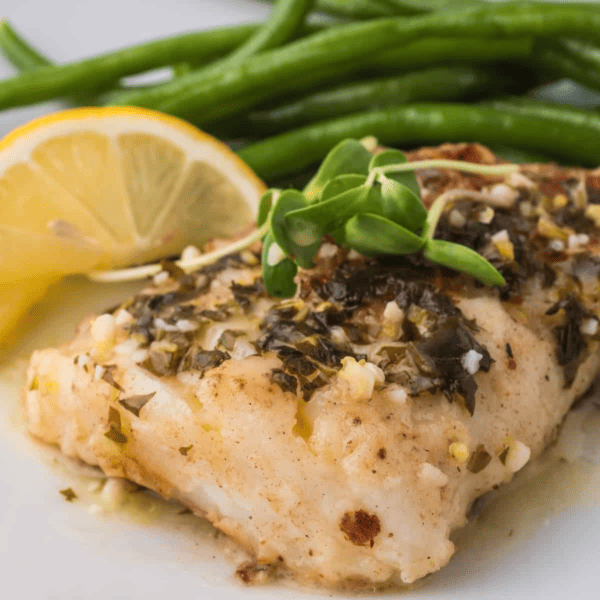
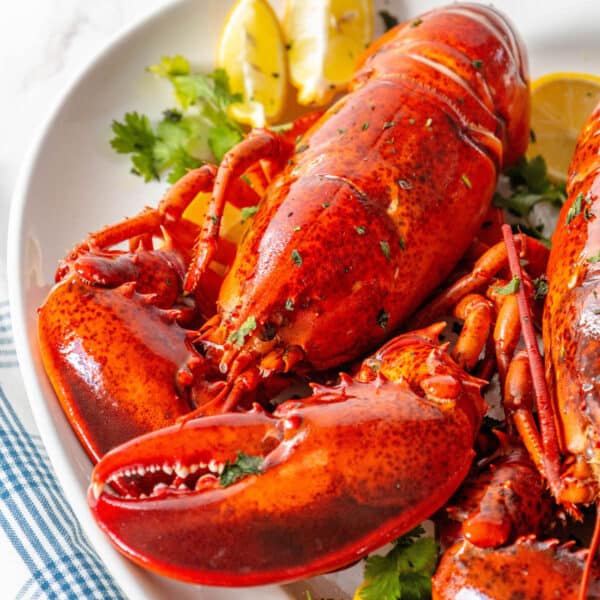
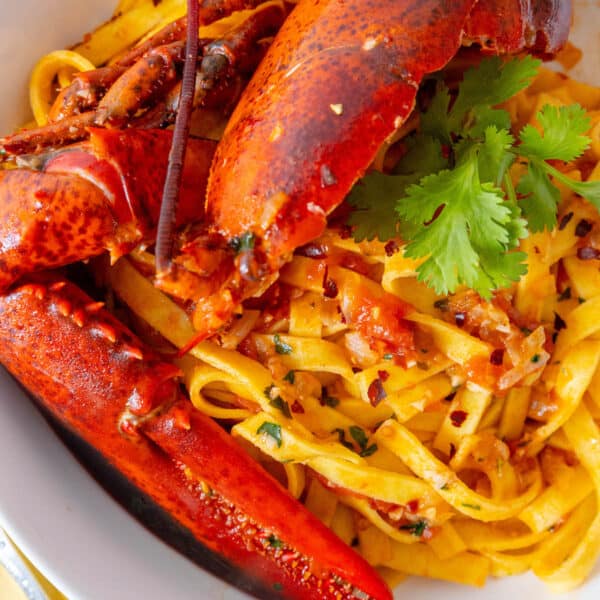
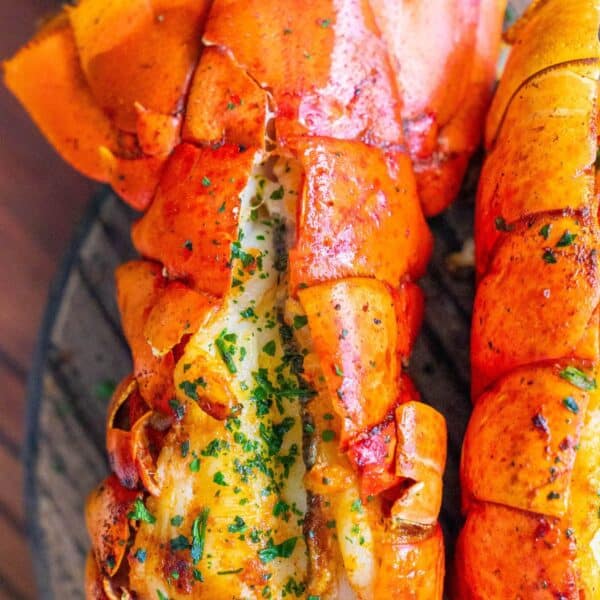
Seafood Dinners
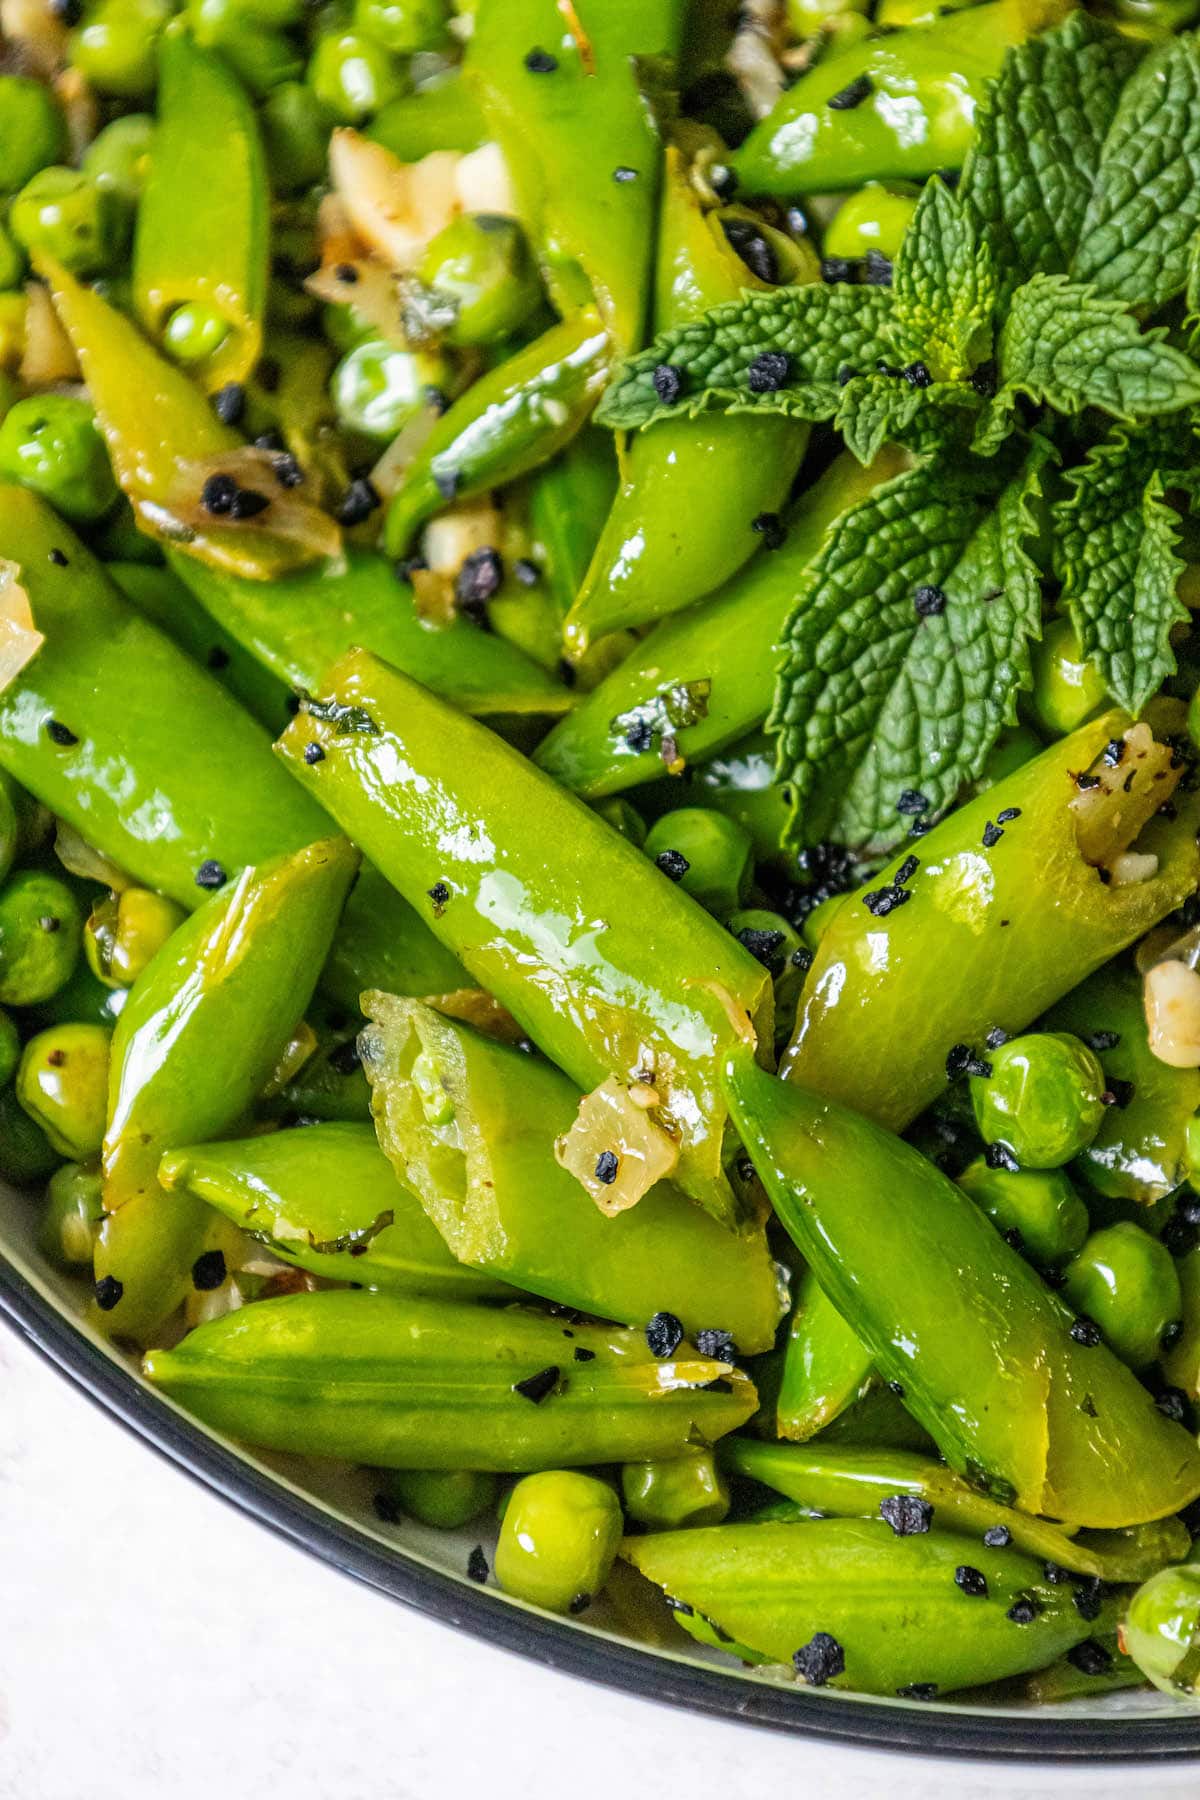
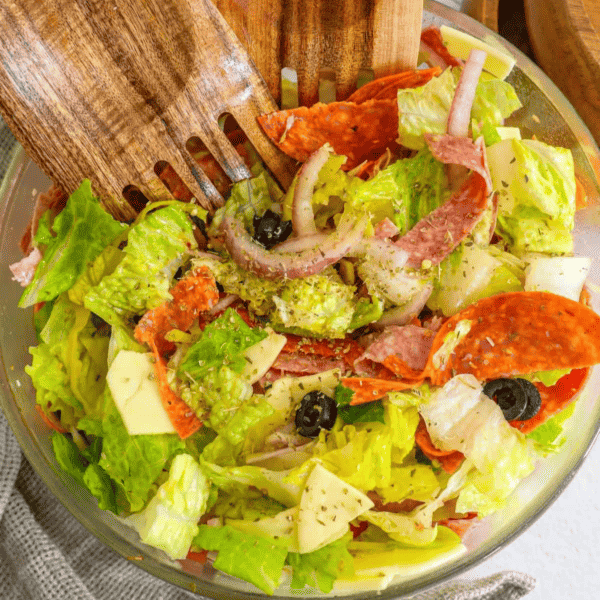
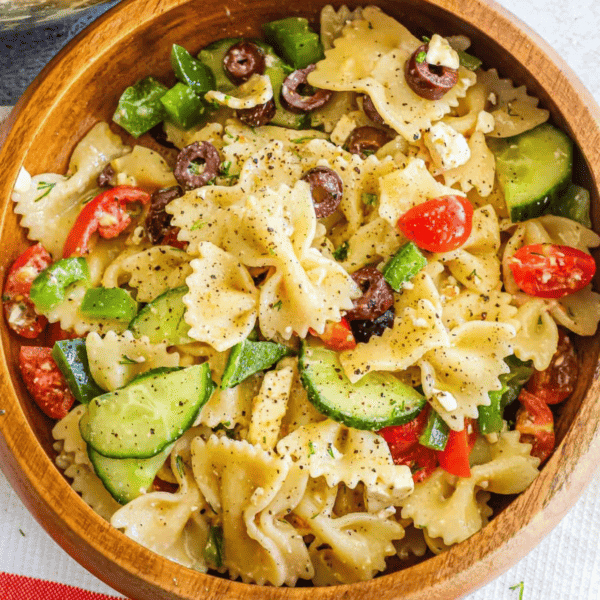
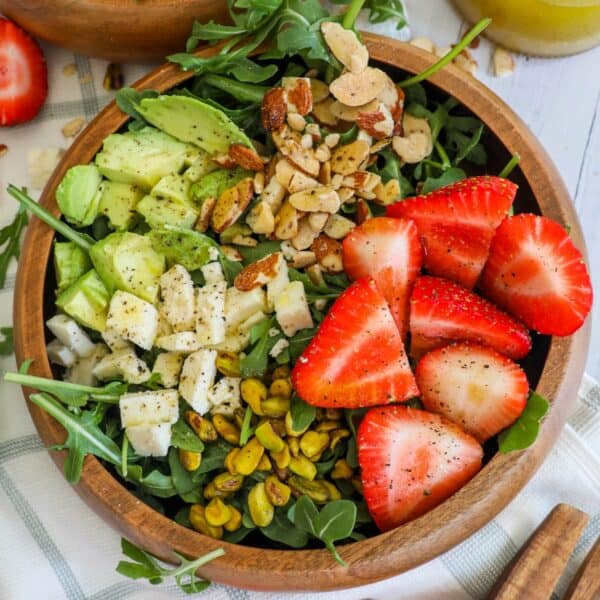
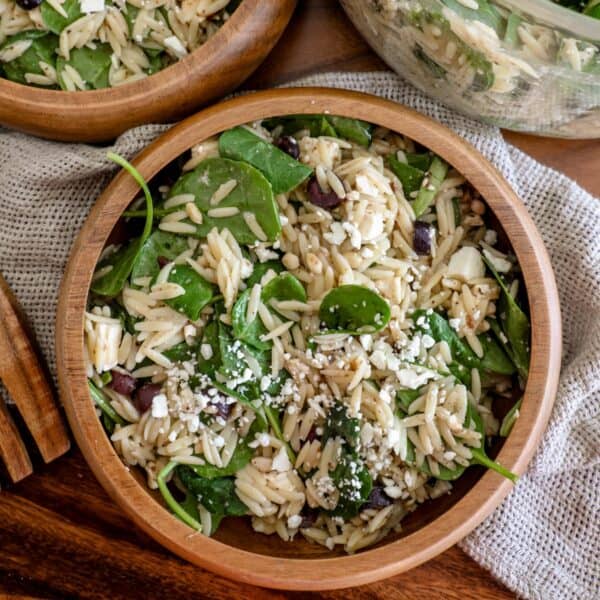
Flavor Packed Salads
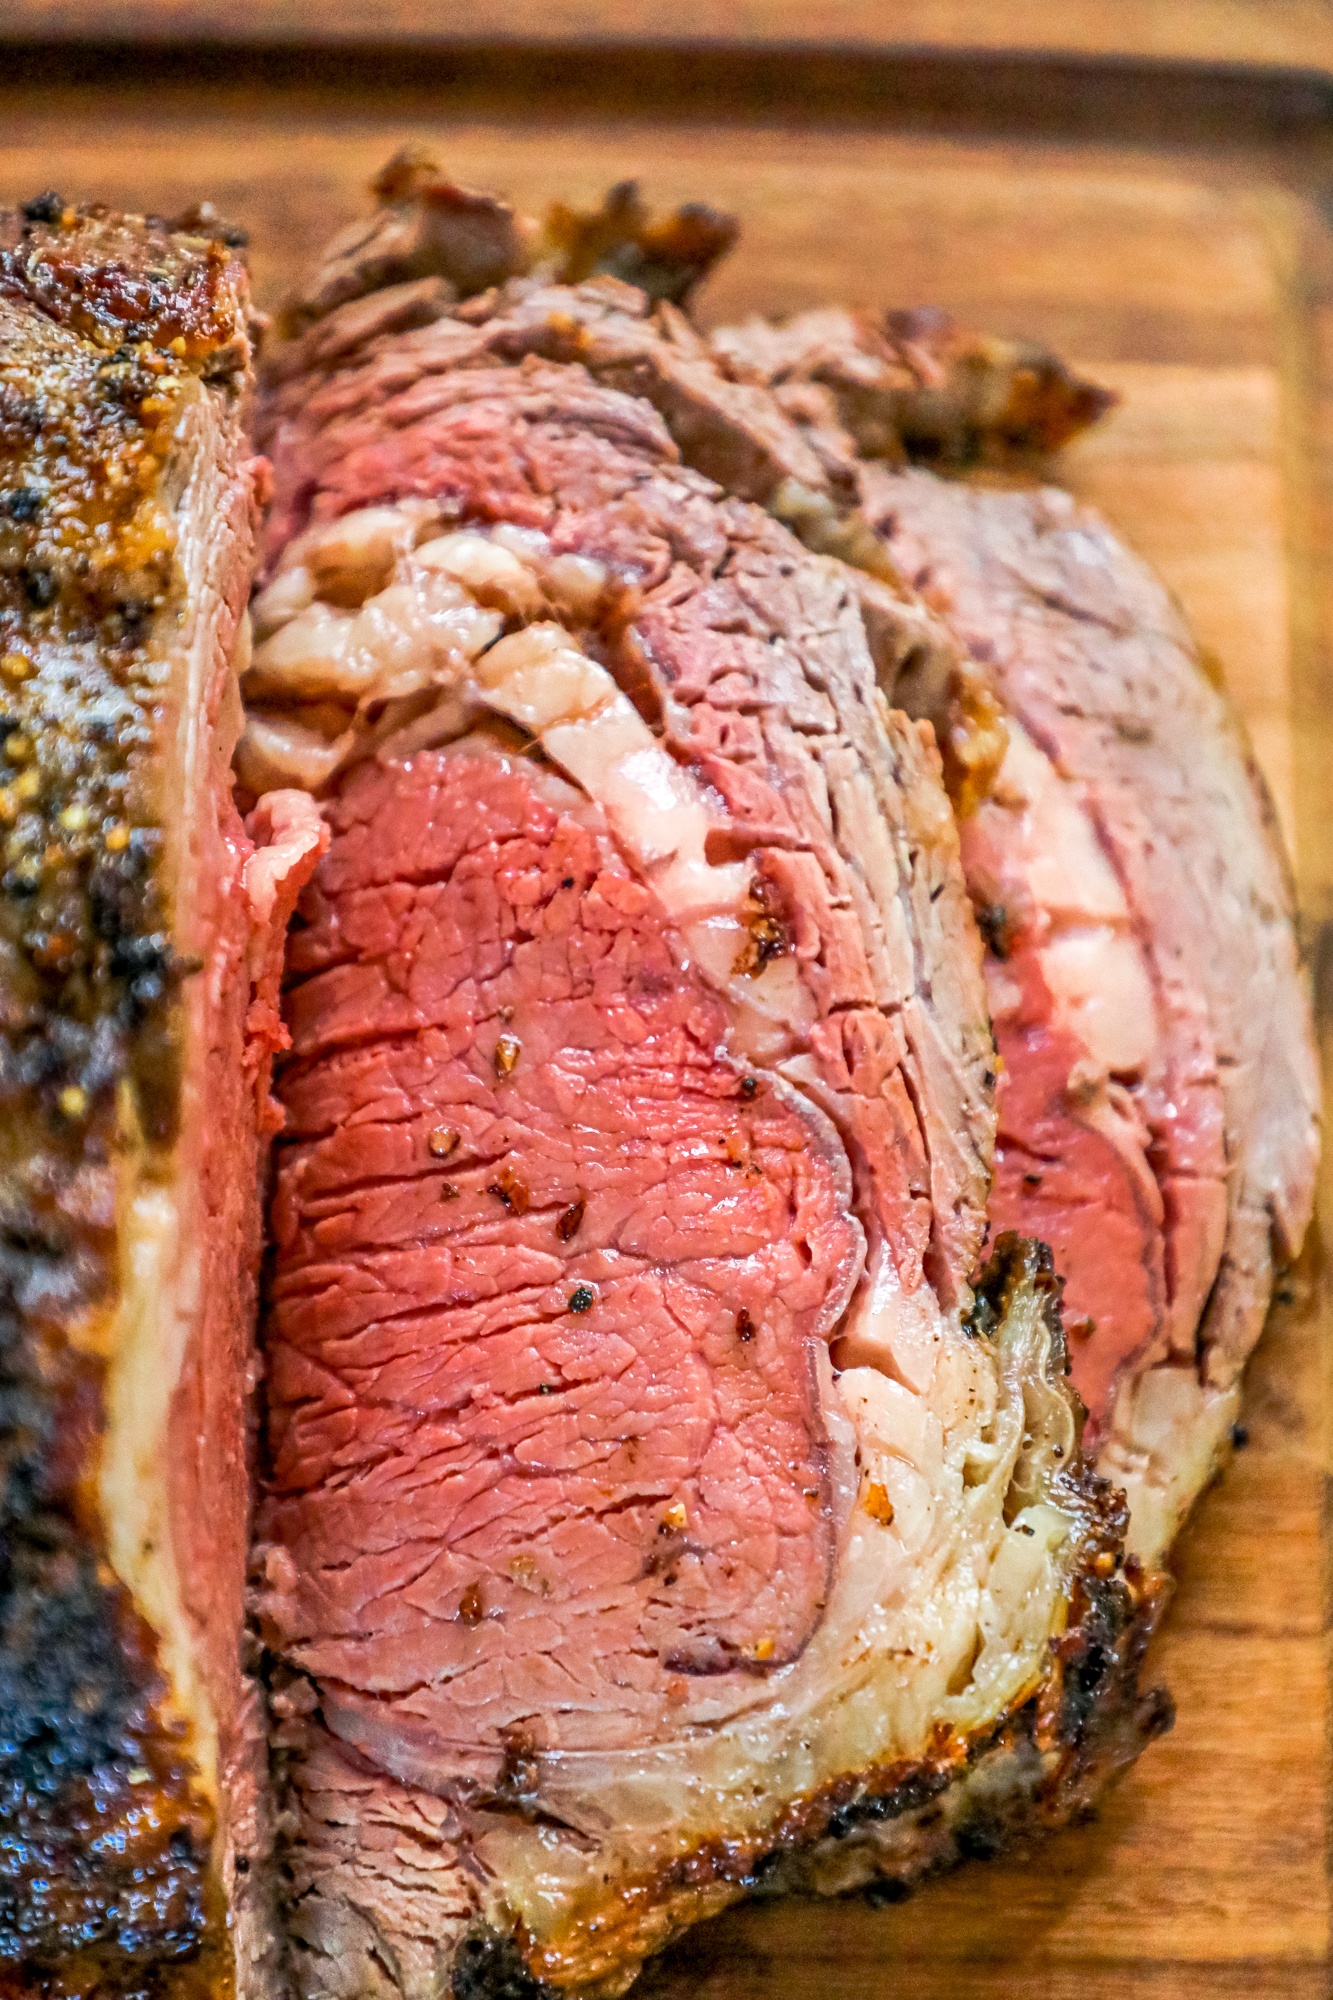
Grill & Smoker

Instant Pot & Air Fryer Recipes


Sweet C’S
Welcome to my blog!
Hi – I’m Courtney O’Dell, the writer and photographer behind this blog. I’m a travel-obsessed foodie and mom of two, sharing the best recipes & tips.
Easy Keto Recipes
Easy keto dishes for every meal – using simple, everyday ingredients for a low carb diet without all the hassle!