This post contains affiliate links. Please read our disclosure policy.
There is one recipe I have made over and over more than any other on my site – my viral Baked Pork Tenderloin recipe! Pork tenderloin is one of my family’s favorite dinners, and while I have a few recipes on my site, this is the one I reach for time and time again, and with over 5,000 four-star reviews, you’ll see why.
When I first got married, I made a lot of dry, bland pork dinners my husband sweetly suffered his way through – my family didn’t eat much pork when I was growing up, and I didn’t really know how to cook it properly. I kept testing and trying different ideas until I perfected this essentially foolproof foil pouch method that is truly beyond easy, even for beginners!
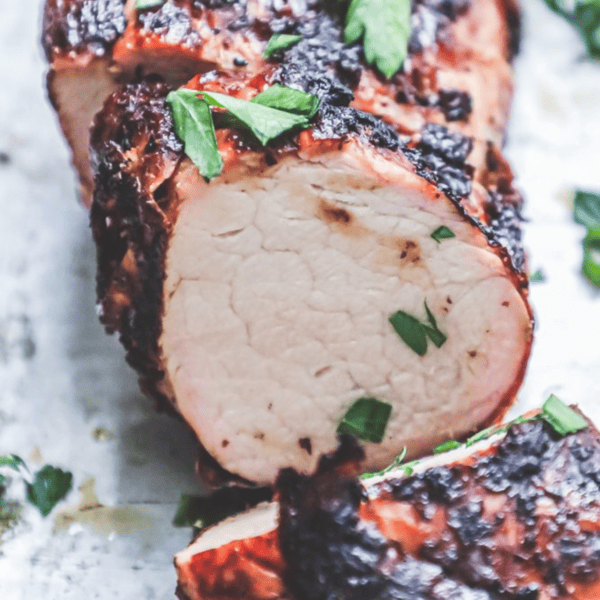
First, we will sear pork quickly for a lovely golden crust, then toss it in a foil pouch with tons of garlic, butter, and herbs so it stays juicy the whole time in the oven. This recipe has been a reader favorite since I first posted it in 2012.
For a sweeter twist, try my Teriyaki Pork Tenderloin.


Don’t want all the extras in a recipe post? We provide a skip to recipe button in the top left corner, as well as a clickable table of contents, just below, to help make this page easier to navigate.
At Sweet C’s, I add lots of tips in all of my recipes – because I am a home cook without any formal training, and I find I am more confident making dishes when I understand why it works, and what each ingredient means to the flavor of a recipe. My goal is for even the most beginner home cook to feel empowered in the kitchen.
Table of contents
- Why You’ll Love This Recipe
- How to Make The Best Easy Baked Pork Tenderloin
- Ingredients for Baked Pork Tenderloin
- Equipment Needed
- Step-by-Step Instructions to Bake Pork Tenderloin
- Why To Sear Pork First
- Common Mistakes to Avoid When Baking Pork Tenderloin
- When is Pork Tenderloin Done?
- Is it Better to Cook Pork Tenderloin at 380 or 400 Degrees?
- Can I use Parchment Instead of Foil?
- Pork Loin vs. Pork Tenderloin
- How to Store and Reheat Pork
- My Top Tips For Juicy Baked Pork
- Baked Pork Tenderloin Recipe FAQs
Why You’ll Love This Recipe
- Juicy every time – the sear locks in a golden crust, then the foil pouch steams the pork in garlic butter so it never dries out.
- One pan, minimal cleanup – after a quick sear, everything happens on a single sheet pan.
- Ready in 45 minutes – 5 minutes of prep, and the oven does the rest.
- Foolproof – if go by temperature, not time, you genuinely cannot mess this pork tenderloin recipe up!
How to Make The Best Easy Baked Pork Tenderloin
Pork Tenderloin in the Oven Facts:
| Prep time | 5 minutes |
| Cook time | 40 minutes |
| Total time | 45 minutes |
| Servings | 6 |
| Method | Quick sear + foil-pouch bake |
| Oven temp | 380°F |
| Done at | 145°F internal |
Ingredients for Baked Pork Tenderloin
- Pork tenderloin (2 lb) – not pork loin (see comparison below). Pork tenderloin is lean, mild, and quick-cooking.
- Extra virgin olive oil – for browning; pork tenderloin has little fat of its own, so oil helps it sear, instead of steam and will help prevent sticking when searing quickly.
- Celtic sea salt and fresh cracked pepper – season generously; this is a lean cut of pork, and it really needs to be well seasoned.
- Butter (4 tbsp) – butter bastes the meat as it cooks, and becomes an irresistable garlic butter pan sauce with no extra work!
- Garlic (2 tbsp, minced) – the core flavor that brings me back time and time again. Garlic powder works in a pinch. I have been known to use excessive amounts of garlic, for me there is never enough and it is one ingredient I measure with my heart.
- Italian herb seasoning blend – basil, oregano, thyme, parsley, sage (or 2 tbsp pre-mixed Italian seasoning). I reach for Italian Herb mixes because they are so simple and easy to use with a lovely, balanced blend of basil, oregano, thyme, rosemary, and marjoram.
- Optional marinade: I like to marinate with a simple bottle of Italian dressing, and marinate for 12-24 hours ahead, for extra tenderness and flavor.
Equipment Needed
- Cast iron or heavy pan/skillet – to sear pork in before roasting in the oven.
- Half sheet pan – to place the foil pouch on in the oven and prevent spills.
- Heavy-duty foil (or parchment) – to create a pouch for the pork to cook in and keep it perfectly juicy!
- Instant-read meat thermometer – the best way to avoid issues commenters have had below – always go by temperature, not by time in the oven!
Step-by-Step Instructions to Bake Pork Tenderloin
Once you gather your ingredients, we will use my trusted method:
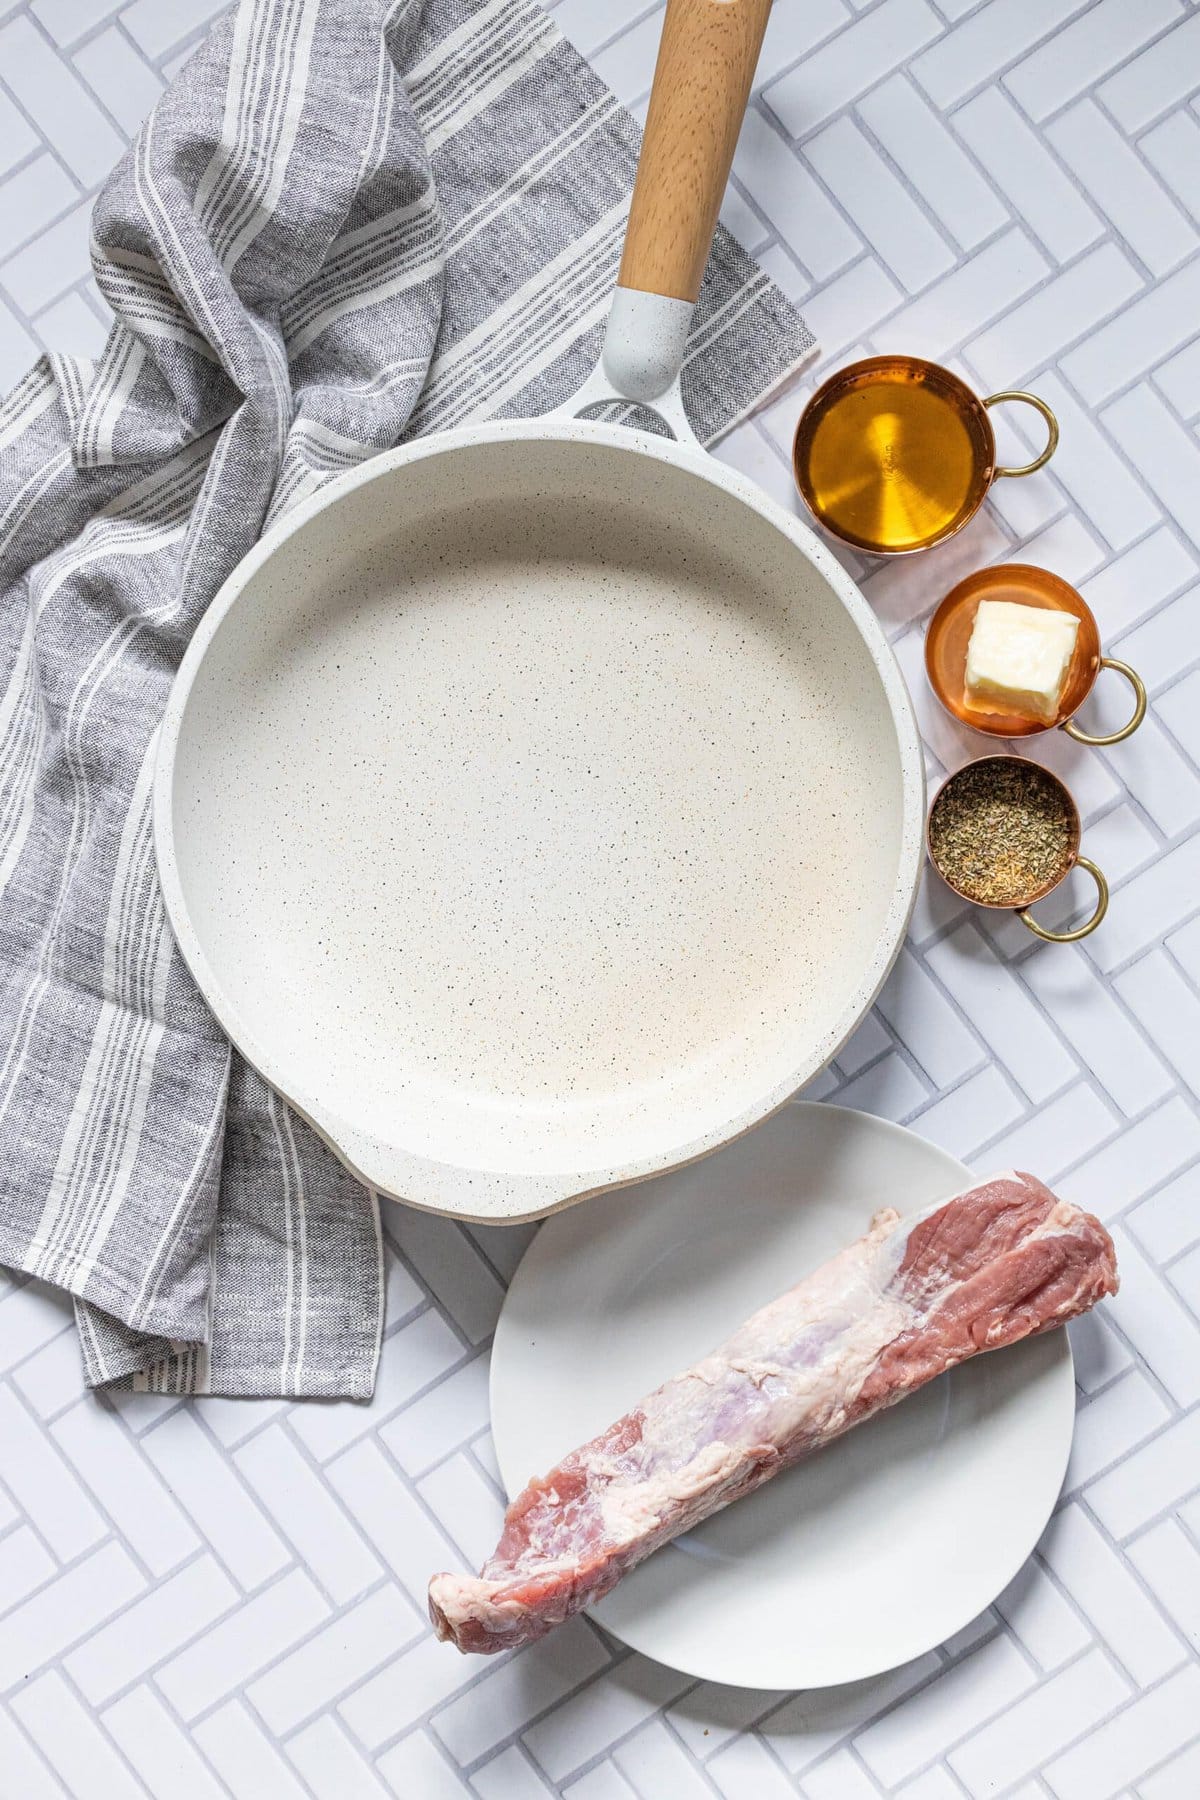
Prep
Preheat oven to 380 degrees. Line baking sheet with aluminum foil or parchment paper. In a small bowl, combine garlic, basil, oregano, thyme, parsley, and sage. Set aside.
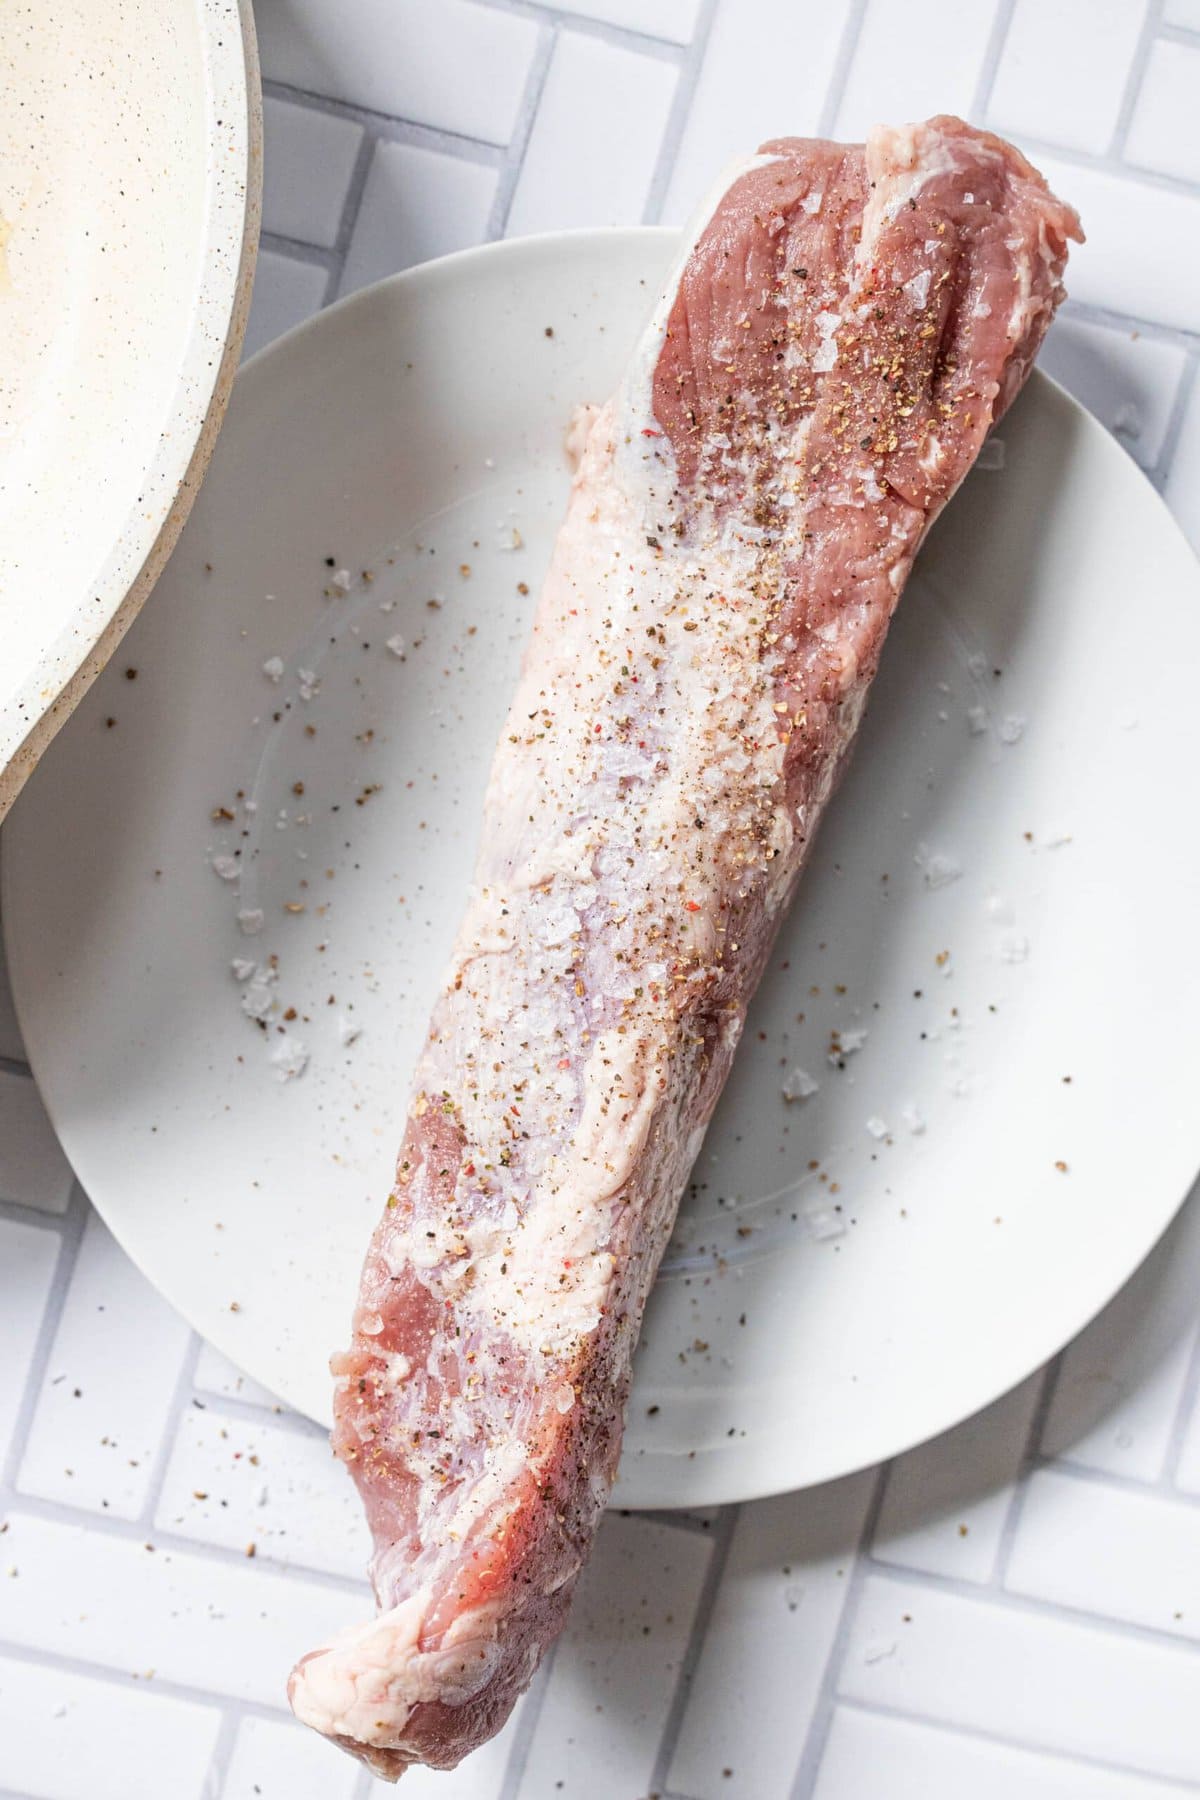
Season
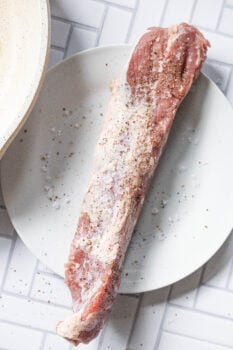
Generously season meat with salt and pepper.
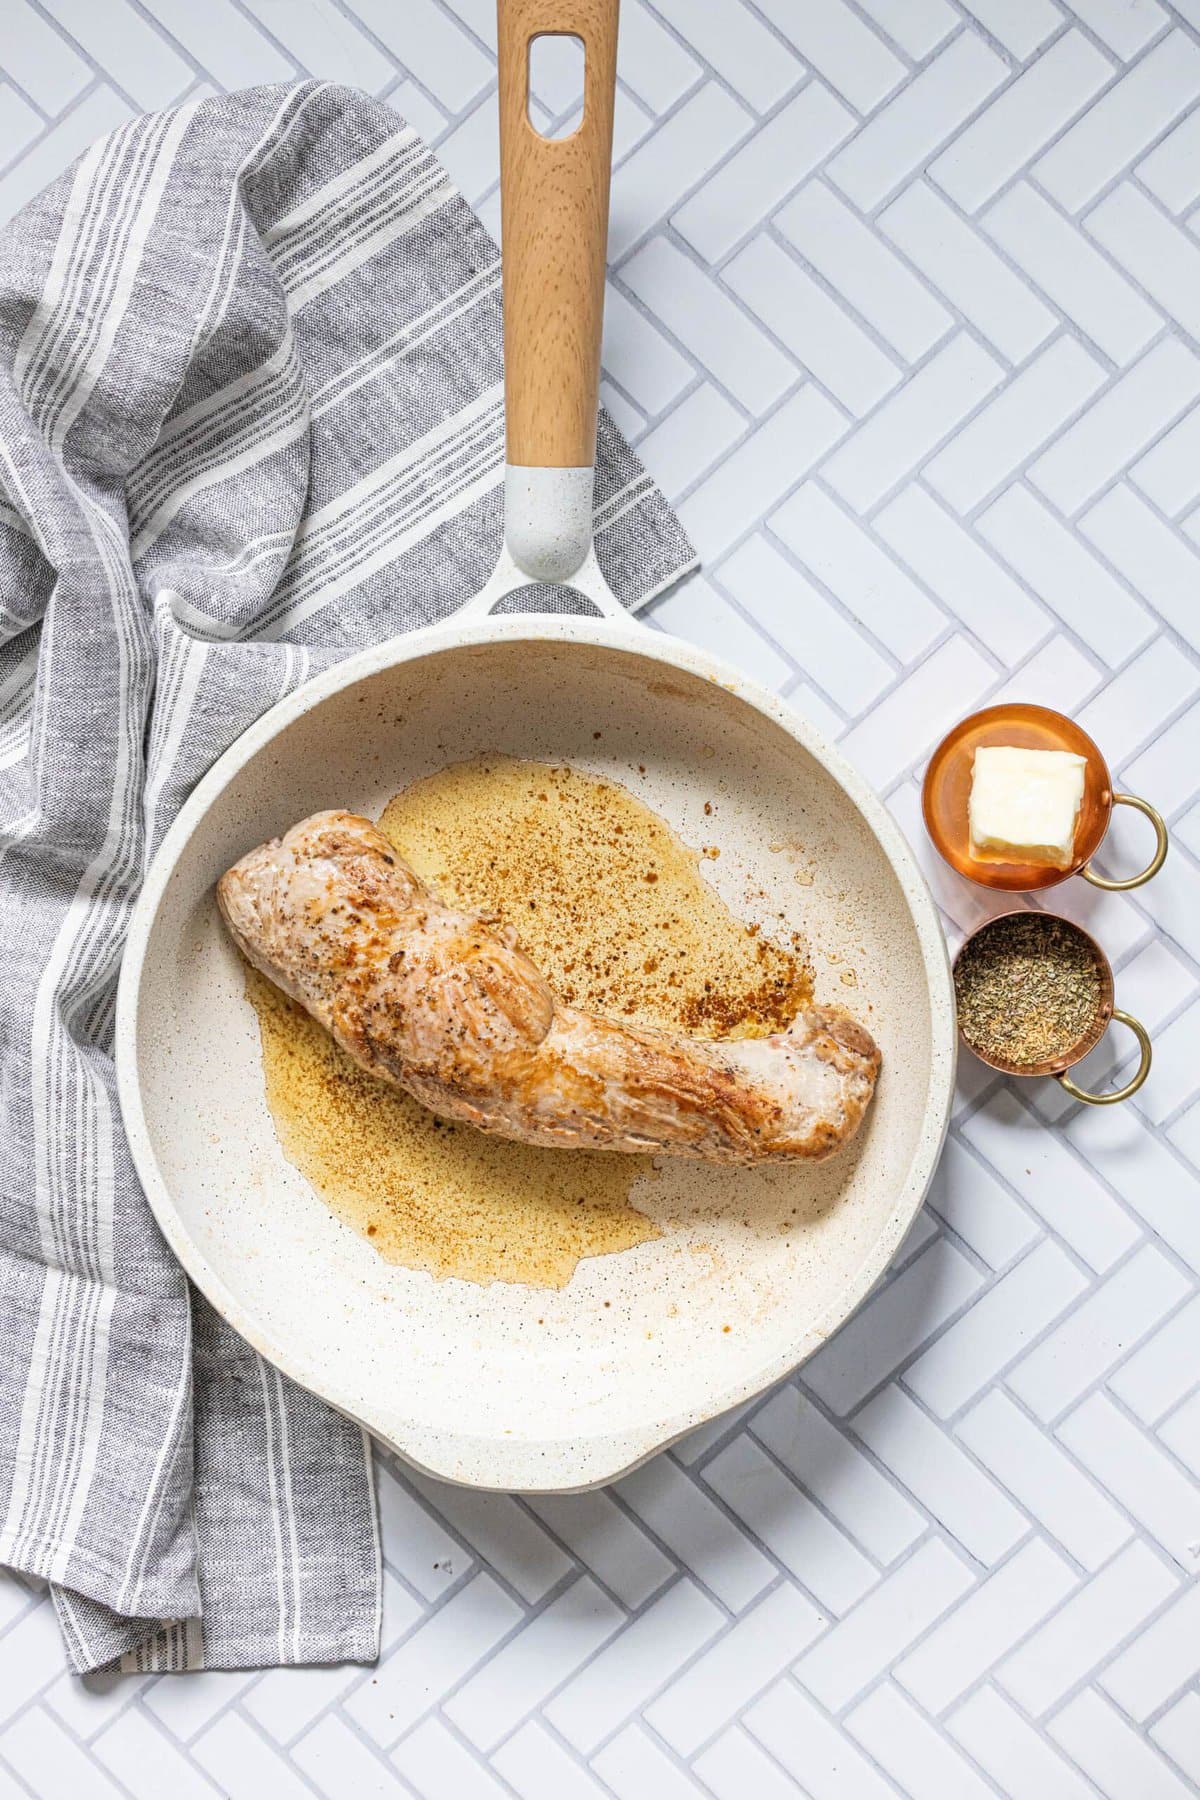
Sear
In a large pan, heat oil until shimmery. Add meat to pan, and cook on all sides until dark golden brown.
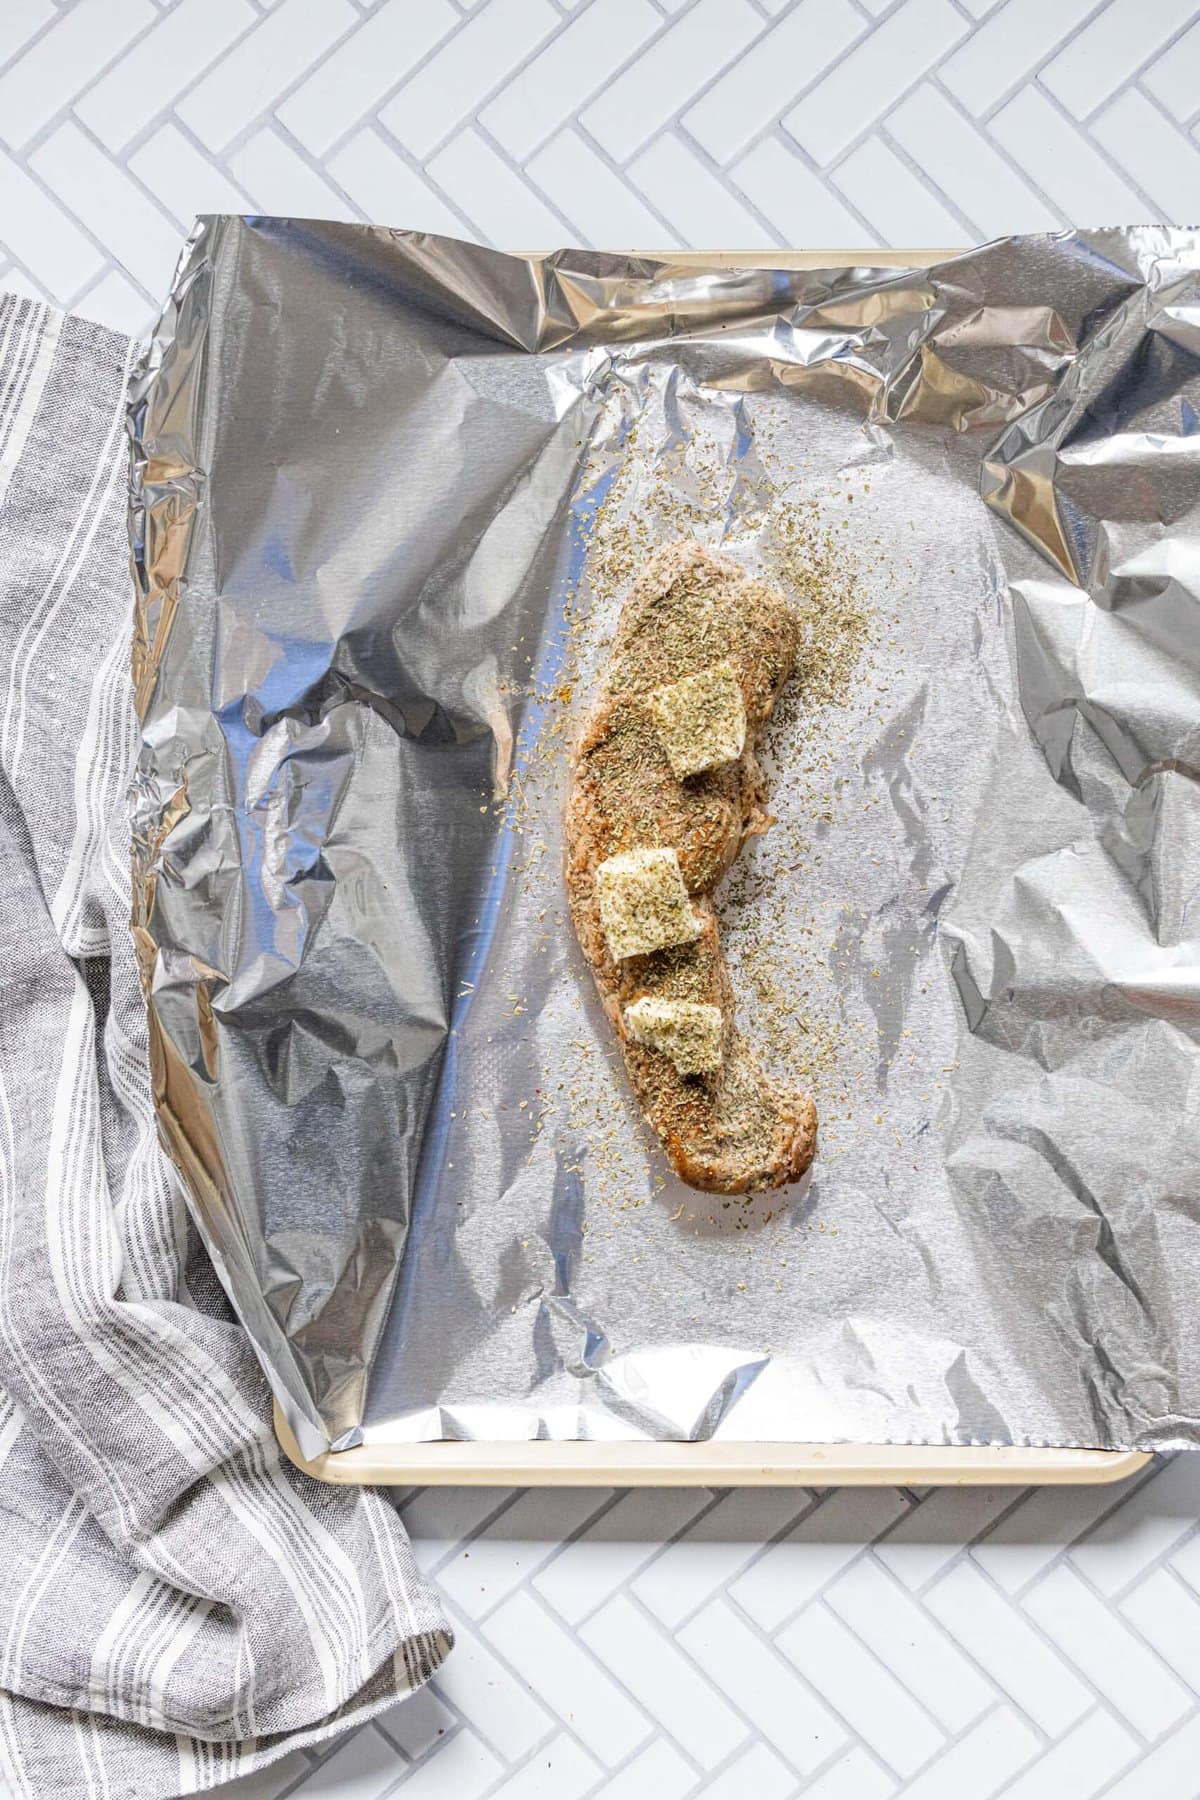
Add Herbs & Butter
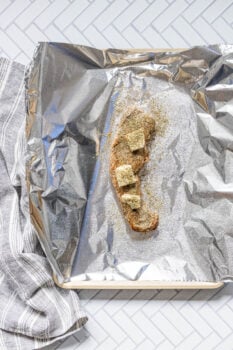
Transfer to baking sheet. Generously coat with garlic and herb mix. Place pats of butter on top of the meat.
Bake
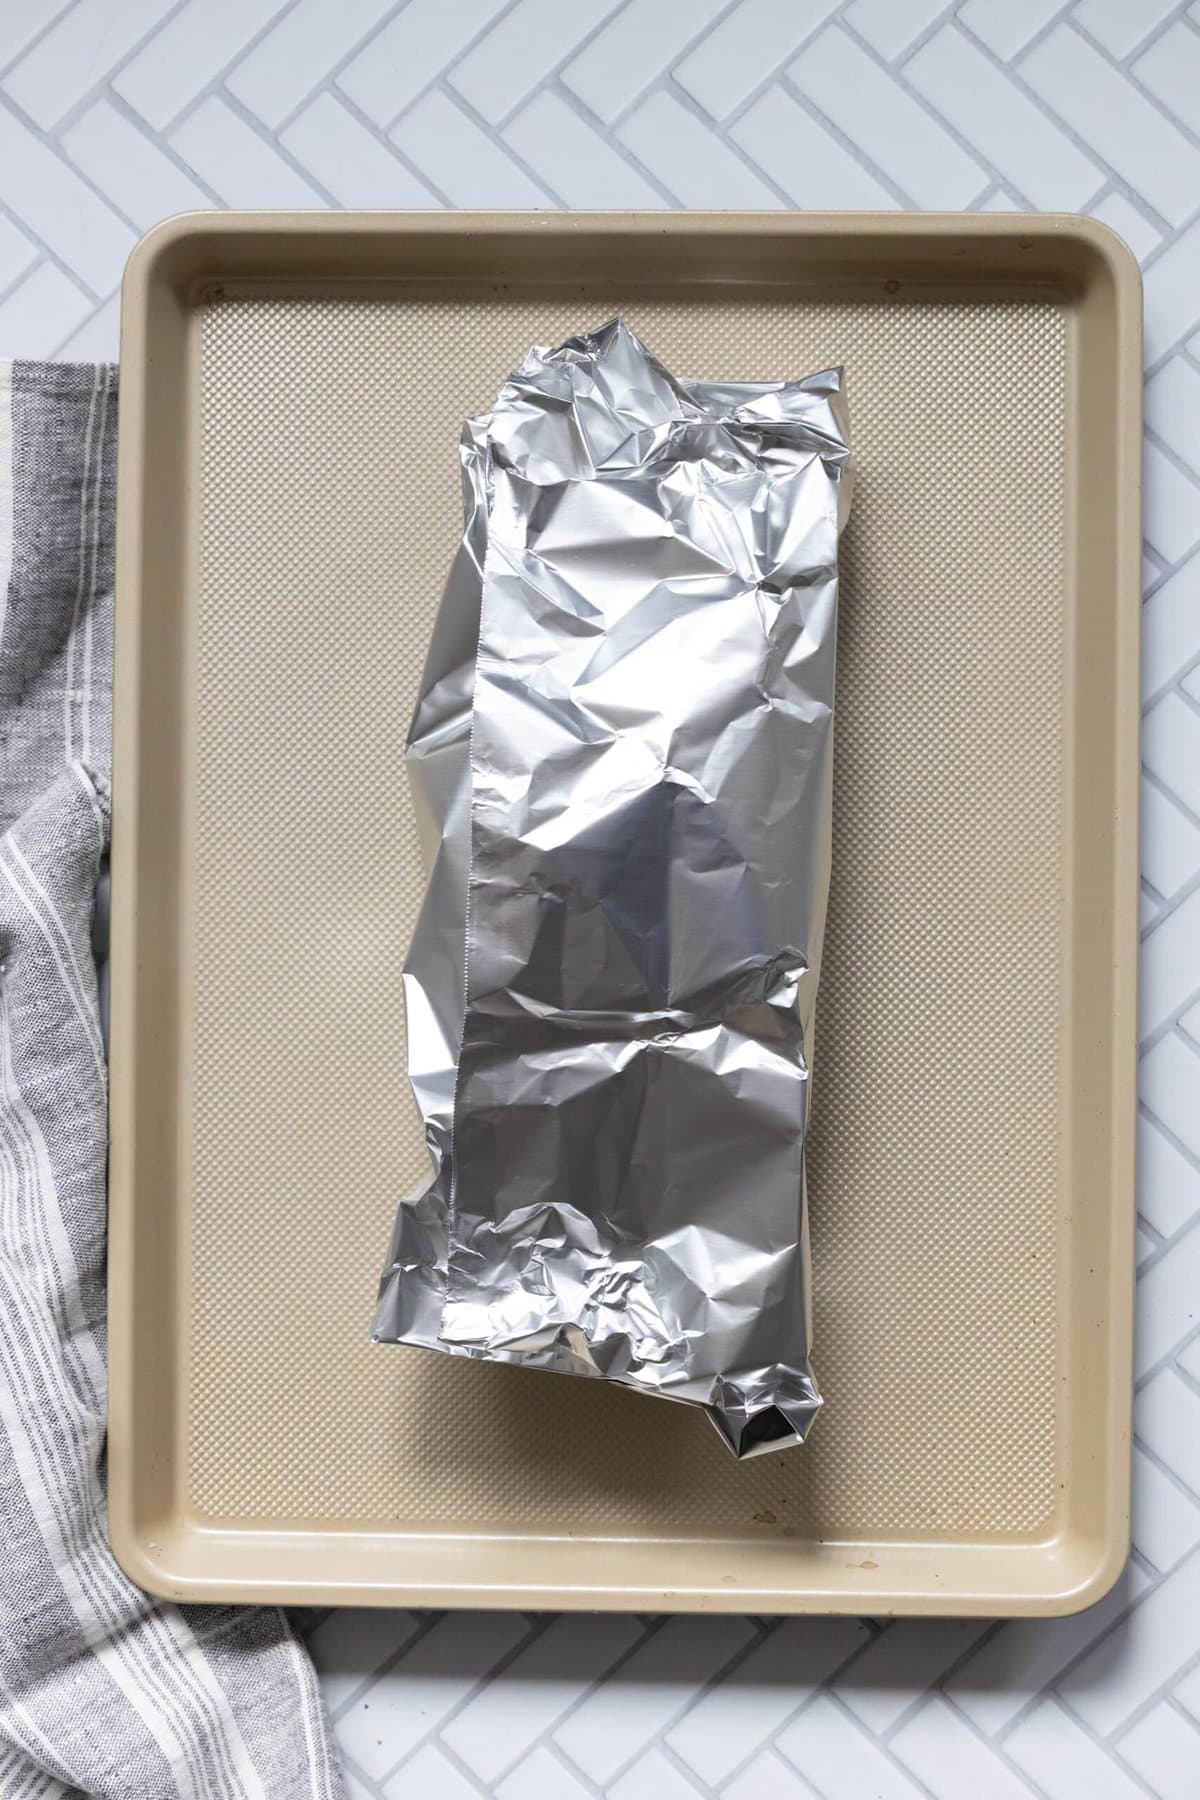
Wrap in foil (or parchment), bake until meat is 145 degrees internally at the widest, thickest part of the tenderloin (about 25 minutes for a 2lb roast).
Rest, Slice, Enjoy!
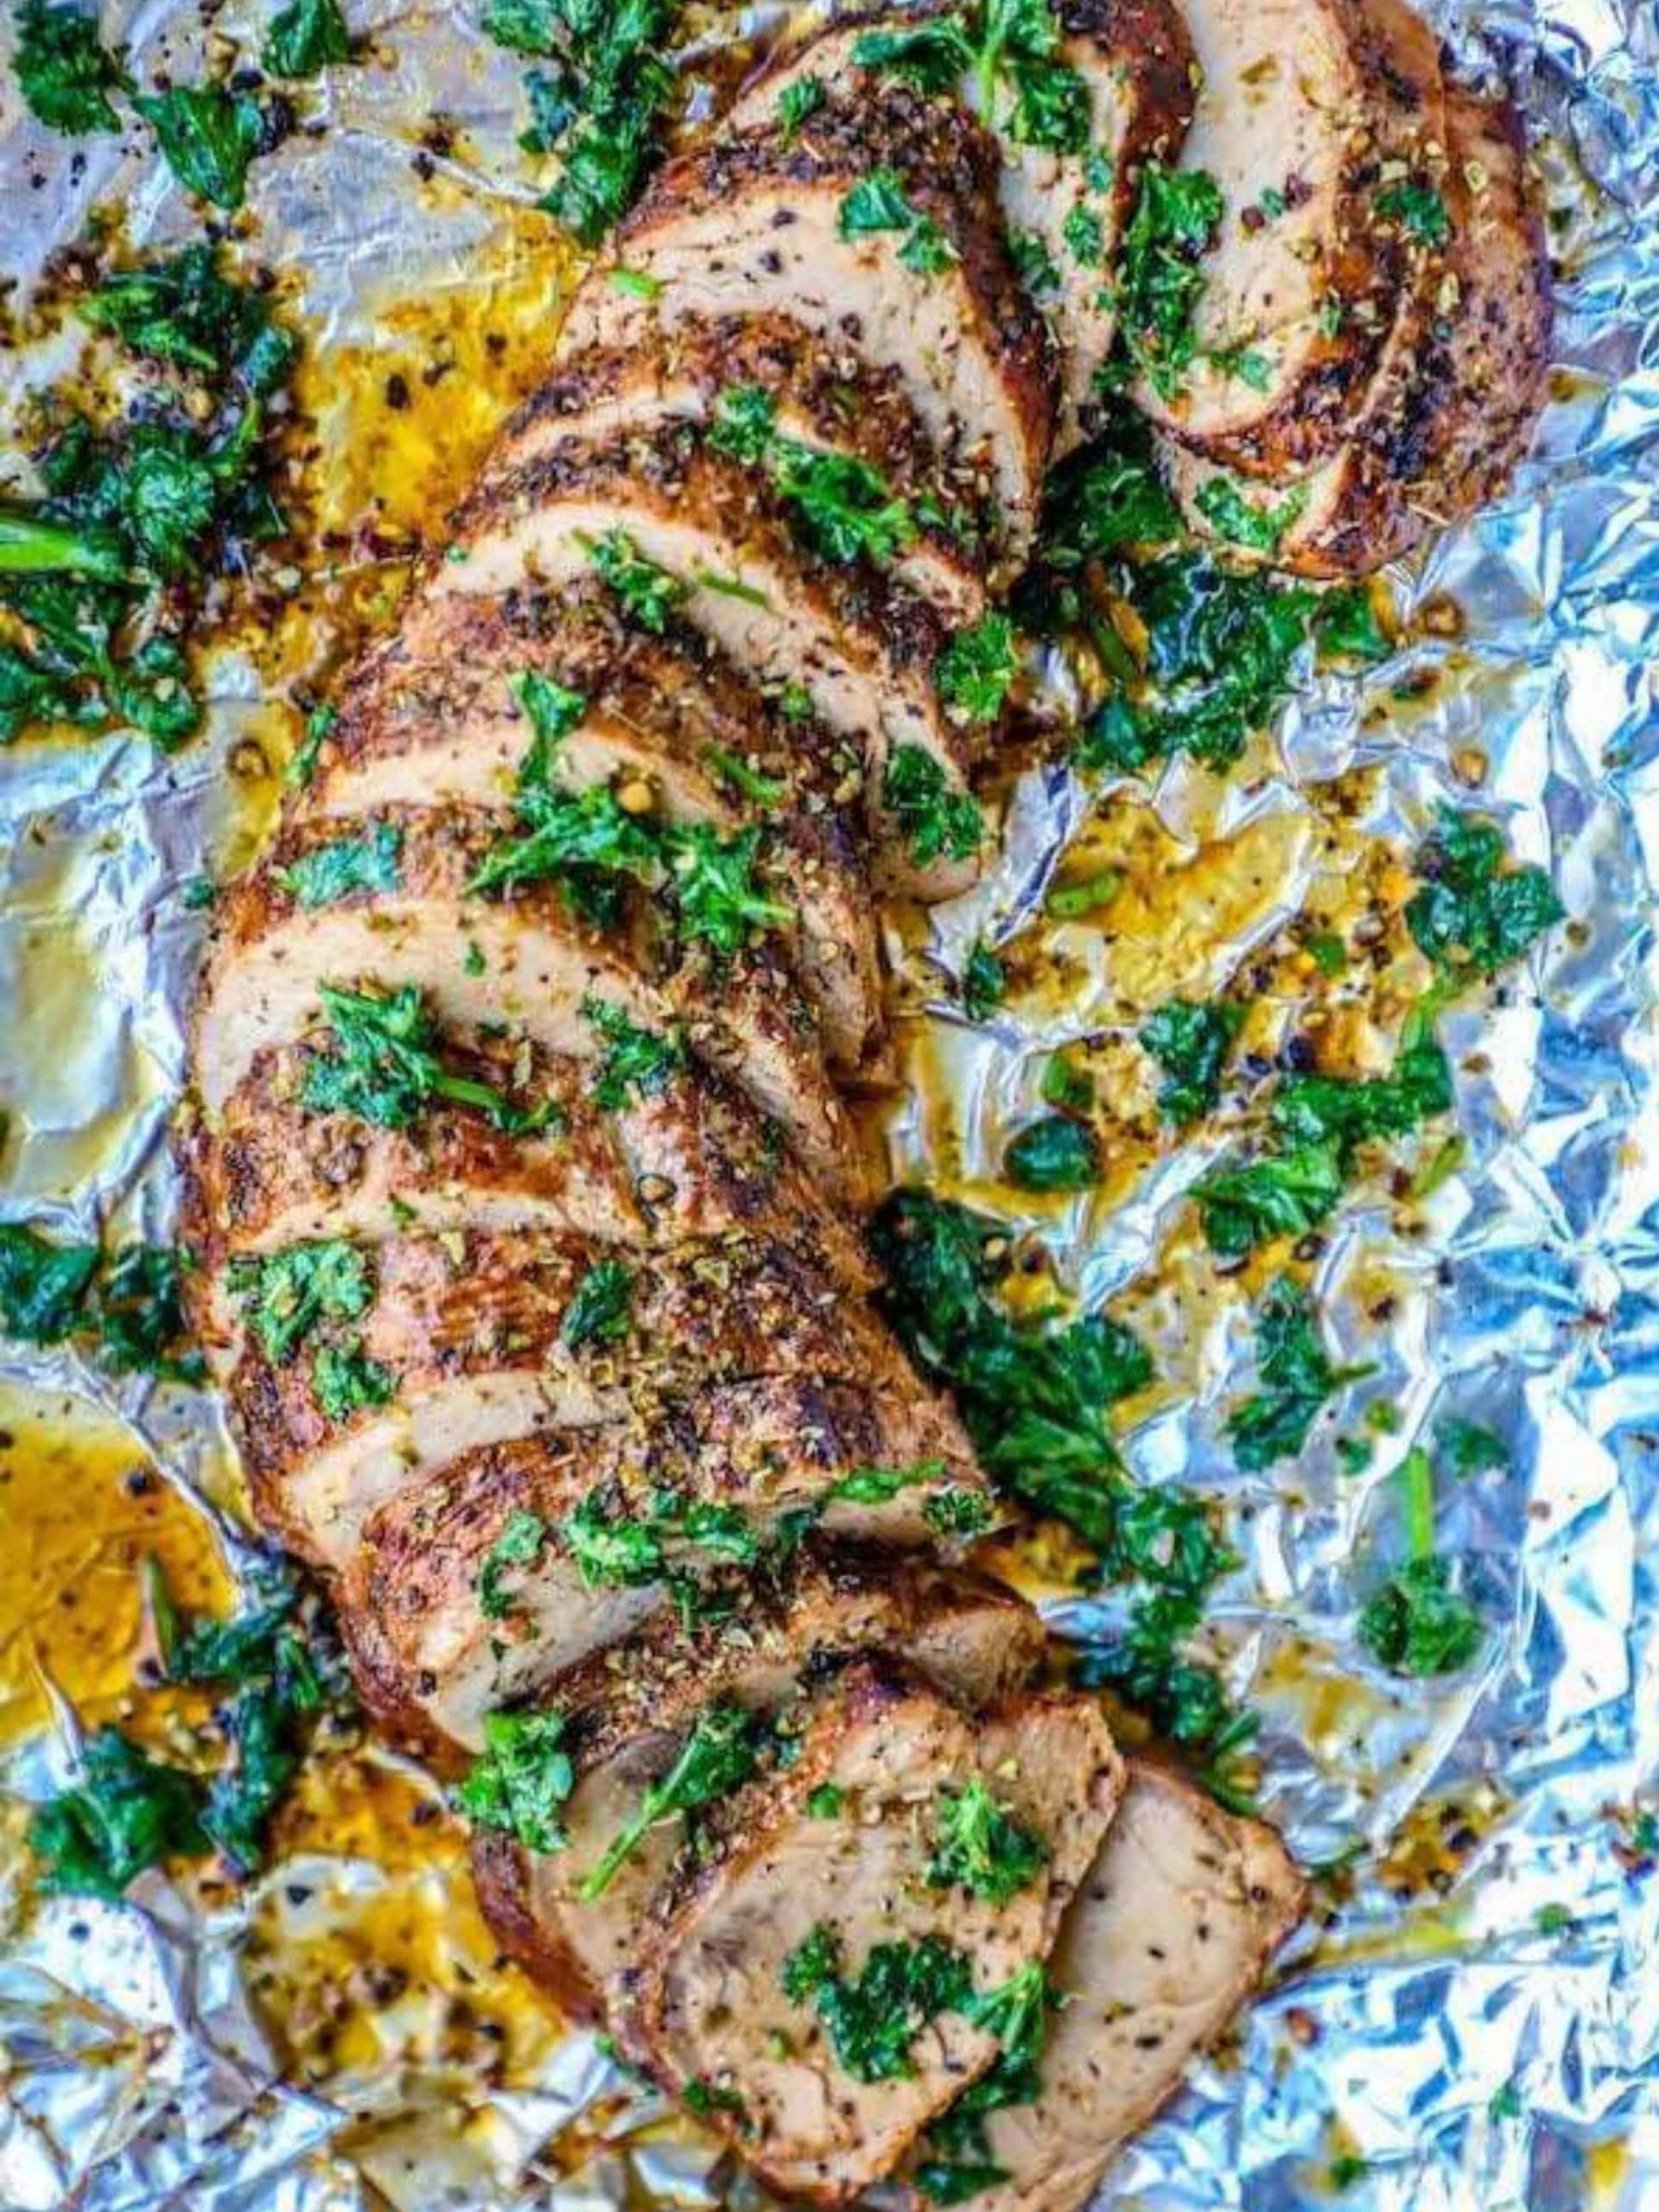
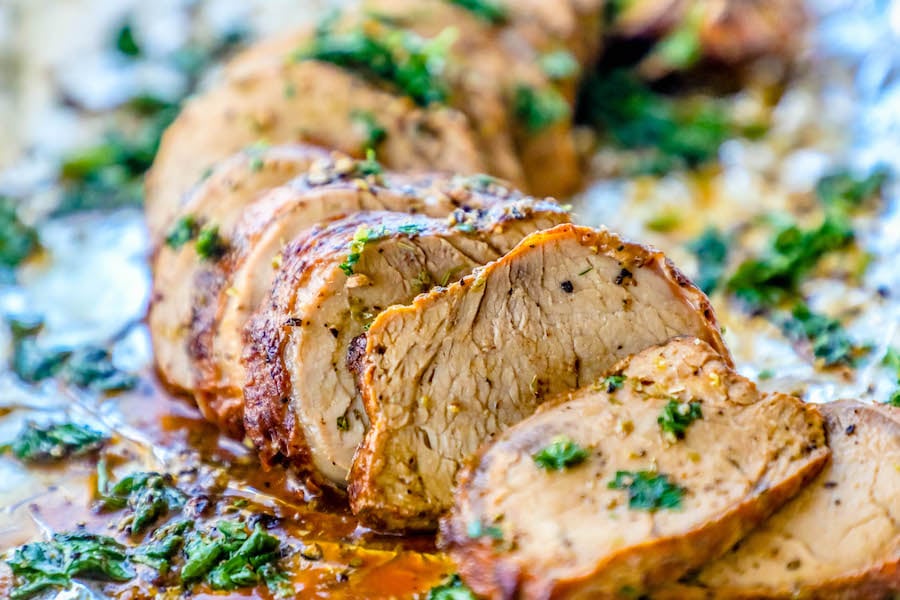
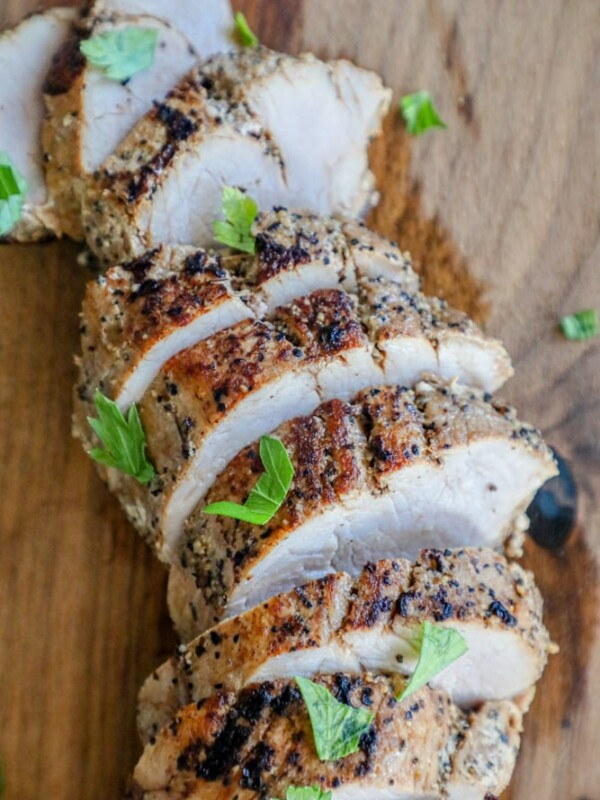
When pork has come to temperature, remove and let rest, tented with foil, for at least five minutes to lock in juices.
My Pro Tip
Why To Sear Pork First
You’ll see some recipes that skip searing entirely. It’s a shortcut that still works – but searing first gives this recipe its golden, caramelized crust and deeper flavor, and it only adds about 5 minutes.
It also makes the color far more appetizing – pork can look a bit grey when roasted without a sear, and is much more appetizing-looking with a lovely golden crust!
If you’re short on time, you can skip the sear: season the pork, and continue on with the foil pouch method in the oven for about 40 minutes until pork is cooked to 145 degrees.
Common Mistakes to Avoid When Baking Pork Tenderloin
- Cooking by time instead of temperature. Tenderloins can vary in size a lot – always pull it based on a thermometer reading, not the clock.
- Skipping the rest. Cutting immediately releases the juices you just locked in. Give it at least 5 minutes.
- Overcooking “to be safe.” 145°F with a little pink in the center is fully safe per USDA guidelines and far juicier than well-done.
- Confusing loin for tenderloin. They’re not interchangeable – see my notes below.
- Not patting the meat dry before searing. Wet pork steams instead of browning.
When is Pork Tenderloin Done?
Remove from the oven at 140 degrees. Cooking to 145 means removing meat from the oven at 140 degrees, as it will carryover cook the additional 5 degrees in the foil as you let it rest.
Pork is done cooking at 145 degrees. The USDA set the guideline of 145 degrees as a safe temperature for pork consumption. This might look a touch pink – pink pork is no longer an indicator of “doneness”, or that the tenderloin is unsafe to eat, as long as it has reached 145 degrees.
Is it Better to Cook Pork Tenderloin at 380 or 400 Degrees?
While it is often better to cook pork quickly at 400, this recipe involves cooking in a foil pouch – so the moisture from the pork and butter will circulate to help cook it faster, without drying out – and calls for 380 degrees.
If you’re skipping the pouch, cook at 400.
Can I use Parchment Instead of Foil?
Using parchment paper is absolutely fine for this method if you would rather use it instead of foil – just fold into a pouch like foil and you’re set!
Just don’t use wax paper, it will melt!
Pork Loin vs. Pork Tenderloin
| Differences | Pork Tenderloin | Pork Loin |
|---|---|---|
| Size | 1–2 lbs, long and thin | 3+ lbs, wide and thick |
| Cook time (this recipe) | 25–30 min | +10-20 min longer |
| Texture | Very tender | Slightly firmer |
| Best for | Weeknight dinners | Feeding a crowd |
This recipe is written for a pork tenderloin. If you’re working with a pork loin, follow the steps below.
For a dedicated pork loin recipe, try my Garlic Herb Butter Pork Loin and Potatoes.
My Pro Tip
Pork Loin or Tenderloin?
Be sure to select a pork tenderloin, not a pork loin, when making this recipe. A loin will work – but it needs to roast in the oven longer.
Since both are lean cuts of meat, the method is basically the same, just with different timing. Plan for 10-20 additional minutes in the oven for a pork loin, and always use an instant-read thermometer to gauge your progress!
How to Store and Reheat Pork
If you love this easy recipe, but can’t eat it all, never fear – it is beautiful and delicious as leftovers, or for meal prep!
Storage
- In the fridge. Place all leftovers in an airtight container and keep in refrigerator for up to four days.
- In the freezer. To freeze so you can eat later, place in a plastic bag or wrap in plastic wrap and keep in freezer for up to three months. Try to freeze in small batches – ideally, you will freeze in individual servings, or the amount you will need to reheat. If you freeze a large tenderloin and go to thaw and reheat it, you shouldn’t freeze again afterwards – so try to freeze only as much as you will be eating again when reheating in each freezer bag.
Reheating
- From the freezer. Let frozen leftovers thaw naturally in the refrigerator overnight, and bake at 350, wrapped in foil, until piping hot when ready to serve.
- From the fridge. Bake at 350 in a foil pouch until piping hot. You can also pan-fry slices of tenderloin in a bit of butter or olive oil – simply cook on medium until very hot, and serve. Of course, you can always microwave to piping hot, too!
My Top Tips For Juicy Baked Pork
Marinate before cooking. Marinating or brining meat before cooking will always help to soften the meat and keep it from drying out. I love using a bottle of simple Italian Dressing or a cup of olive oil with some lemon juice, salt, and pepper for an easy overnight marinade.
Let rest. Let meat rest for 5-10 minutes after removing from the oven to lock in the juices – don’t cut too early, or they will all run out!
Try other herbs & spices. Add a couple teaspoons garlic powder, onion powder, paprika, rosemary – even some mustard – to customize your own flavors! You want 1-2 tablespoons of seasoning total, so you can mix and match your favorites as you’d like.
Make gravy. Combine pan sauce drippings with a simple roux in a pan with some broth to make a rich, decadent gravy. Simmer on the stove at medium-high heat, whisking frequently, until thickened.
My Pro Tip
Go by Temp, Not Time
I get a lot of comments from readers saying they loved the recipe, but it took longer or shorter. ALWAYS go by the temperature from an electronic meat thermometer, rather than your clock. Meat size and shape can vary wildly – so go by temp, not time.
The time in the recipe is simply a guideline – do not use it as the rule!
Removing Silver Skin from Pork Tenderloin
Pork tenderloin can sometimes have a thin, shiny strip of connective tissue called silver skin. It doesn’t break down when cooked and can make the meat tough if left on. To remove it, slide a sharp knife just under the silver skin, then angle the blade slightly upward and gently cut it away in long strips while pulling the silver skin taut with your other hand.
Removing silver skin is optional. Many cooks choose to leave it on, especially for quick weeknight meals. If left in place, the pork will still be flavorful and tender, but you may notice a slightly chewy edge where the silver skin remains. Personally, I always leave it on because it doesn’t really bother me, but I know a lot of people remove it.
Pork Tenderloin Variations to Try
- Honey Mustard Pork Tenderloin – swap the garlic butter for a mix of honey, dijon mustard, and a splash of olive oil for a sweet and tangy twist.
- Cajun Pork Tenderloin – season with Cajun spice blend instead of Italian herbs for a bolder, spicier crust.
- Citrus Herb Pork Tenderloin – add orange or lemon zest to the garlic butter for a bright, fresh flavor.
- Balsamic Rosemary Pork Tenderloin – drizzle with balsamic glaze and swap in fresh rosemary for a slightly tangy, earthy variation.
Air Fryer & Grill Pork Tenderloin Variations
No oven? No problem!
Air Fryer: To make this in the air fryer, season and sear the pork tenderloin as directed, then air fry at 380°F for 15-20 minutes, flipping halfway through, until the internal temperature reaches 145°F.
Grill: To grill it, sear over direct heat for 2-3 minutes per side, then move to indirect heat and close the lid, grilling for 15-20 minutes until it reaches the same 145°F internal temperature. Let it rest 5-10 minutes before slicing either way.
What Wine to Serve With Pork Tenderloin
A buttery Chardonnay, a dry Provence Rosé, or a light Pinot Noir all complement the garlic butter without overpowering the pork.
What to Serve With Baked Pork Tenderloin
This garlic herb pork tenderloin pairs well with almost anything, but a few of our favorites are mashed potatoes or lemon butter rice to soak up the pan juices, roasted vegetables like asparagus or green beans for an easy one-pan-feeling dinner, or a simple side salad to keep things light.
For something a little heartier, try it alongside Spaetzle, or serve it up with warm dinner rolls for soaking up every bit of that garlic butter.

Baked Pork Tenderloin Recipe FAQs
This recipe calls for baking/roasting at 380 degrees in a foil pouch.
While this is lower than many roast recipes, it works with the pouch to keep your pork from drying out and staying tender and juicy!
We have in the past called for 350 degrees for this recipe, but after reader feedback have adjusted the recipe to be 380 degrees – high heat, but not so hot the outside cooks and dries out while the middle takes longer to come to temperature.
It’s important to use a meat thermometer to ensure that the pork reaches an internal temperature of 145°F (63°C) in the center before eating.
This recipe will result in juicy, tender pork medallions – for a steak – so we are cooking it fast, like a beef steak.
This recipe is great in a slow cooker, too – but will have a different texture. The outside sear won’t be as crisp, and the meat will have a softer texture.
You can use either fresh or dried herbs in this recipe.
If using fresh, you might want to add a bit more, since dried herbs are more intense.
Pork can be slightly pink and fully safe to eat as long as it has reached 145 degrees internal temperature.
Remove the meat from the oven at 140 degrees, opening a small bit of the foil pouch to release steam, rest, and carry over cook until the meat is 145 degrees internally after a 10-15 minute resting period.
Meat can be reheated in a foil pouch, baked in the oven at 350 degrees until it reached 140 degrees F.
It can also be pan fried with a little butter, or microwaved, to reheat. Use or reheat pork within 3-4 days.
If your meat has a large silver skin, you may remove it. However, if you don’t want to remove the silver skin, this method will give you tender results, regardless.
If you love this easy recipe please click the stars below to give it a five star rating and leave a comment! Please also help me share on Instagram, Facebook, and Pinterest!
Share on Facebook
SharePin this now to find it later
Pin ItFollow on Instagram
Only have 30 minutes to get dinner on the table? Sign up for my 30 minute dinner plans direct to your inbox!
Find and shop my favorite products in my Amazon storefront here!
Best Easy Baked Pork Tenderloin

Equipment
Ingredients
- 1 bottle Italian Salad Dressing, optional marinade
- 2 tbsp extra virgin olive oil
- 1 tbsp sea salt
- ½ tsp fresh cracked pepper
- 2 lb pork tenderloin
- 4 tbsp butter, sliced into 4-6 pats
- 2 tbsp diced garlic
- 1 tsp dried basil*
- 1 tsp dried oregano*
- 1 tsp dried thyme*
- 1 tsp dried parsley*
- ½ tsp dried sage*
- *OR 2 tbsp Italian Herb Seasoning Blend
Instructions
- (Optional) Place pork tenderloin in a Ziplock bag or bowl and cover in the Italian Dressing, marinate for 12-24 hours.
- Preheat oven to 380 degrees.
- Line baking sheet with aluminum foil.
- In a small bowl, combine garlic, basil, oregano, thyme, parsley, and sage. Set aside.
- Generously season meat with salt and pepper.

- In a large pan, heat oil until shimmery.
- Add meat to pan and quickly sear on all sides until dark golden brown.

- Transfer to baking sheet.
- Generously coat with herb mix.
- Place pats of butter on top of the pork.
- Wrap in foil, bake until meat is 145 degrees internally at the widest, thickest part of the tenderloin (about 30 minutes for a 2lb roast)
- When pork has come to temperature, remove and let rest, tented with foil, for at least five minutes to lock in juices.
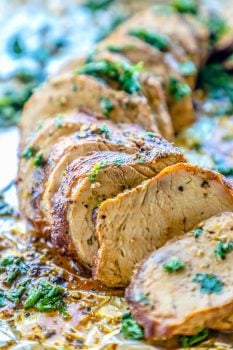
- Slice against the grain and serve immediately.
- To store leftovers, place in an airtight container and keep in refrigerator for up to three days.
- To freeze leftovers, place in a plastic bag or wrap in plastic wrap and keep in freezer for up to three months.
- To reheat, let thaw naturally in the refrigerator overnight, and bake at 380, wrapped in foil, until piping hot when ready to serve.
Video
Notes
Nutrition
Nutrition information is automatically calculated, so should only be used as an approximation.
See our web story here or an updated story here.





I join the crowd who rave about this method of preparing the herbed tenderloins. We thought it was beyond delicious and so glad we still have a 2nd one to devour! dunno how to create a 5 star (I’ll try) but thought a good review was appropos. thanks much.
Absolutely amazing!! Shared on Facebook with huge raves!
I made this last night and was very happy with it, was tasty and delicious the herbs and the butter just made the dish along with lots of garlic.
Cheers
Hands down the best! I did have to bake it for just over an hour but with a meat thermometer connected to the oven I didn’t have to fuss over it. Paired with “roasted” potatoes (in my Instant Pot) and veggies, it was the perfect Sunday meal, except there were no leftovers 😀
Delicious recipe!!!……but please post the actual recipe at the top of the page! or at the very least post a quick scroll link to it…..I almost gave up.
I understand some people want to understand the square root of a pork tender loin, but the majority just want the recipe….not the recipe’s life story.
Yes, agreed!!!!
This is her recipe and she apparently likes to chat so she can put the darn recipe wherever she wants. It’s a free recipe and your complaining about where she puts it?
Look for the Jump To Recipe button – it’s sometimes hard to find but not here. I get frustrated too sometimes because a lot of what is written on OTHER recipe blogs is about family life, where the author went for a walk, etc., but that’s not what Courtney posts here. She posts helpful hints, that are, well, helpful. If you don’t want to read that, Jump to Recipe!
There is a “skip to recipe” button for that, it takes you straight to it! When I had it the other way around, I was drowning in questions for all the stuff I have in the post. Can’t win them all.
I loved this pork recipe! Mine wasn’t nearly cooked enough after 25 minutes even though the internal temp was 140 degrees. I cooked mine for an hour and it was perfect! Will definitely make this again!
Thanks for the note, Shauntel!
It can be so tricky tot plan for exact cooking time with this recipe since pork tenderloins can vary so wildly in size, checking it as you cook is great! Glad you loved it!